I was preparing the images for Random Gems #6, going through some of the images I’d exported a long time ago and replacing them with more optimised versions. It was whilst I was doing this, searching my 68,000+ image strong Lightroom library by filename, that I came across a big set of images that I had never gotten around to editing, taken all the way back in 2012.
That time in 2012 was a point that I was really getting into my photography and so had decided to go on an official training course to learn how to use my flash properly. It was a busy time for me – I had a look at my calendar from back then and it took place only a week after a photo experience day at Woburn.
As I was in the process of pulling together a Random Gems post, I figured it was worth having a quick look at some of them, with the idea that a few might make it into the post I was working on. The fact that they didn’t, and that you’re reading this post, would certainly suggest that didn’t go to plan. I soon realised I was liking enough images to warrant sticking them in their own post, so here we are.
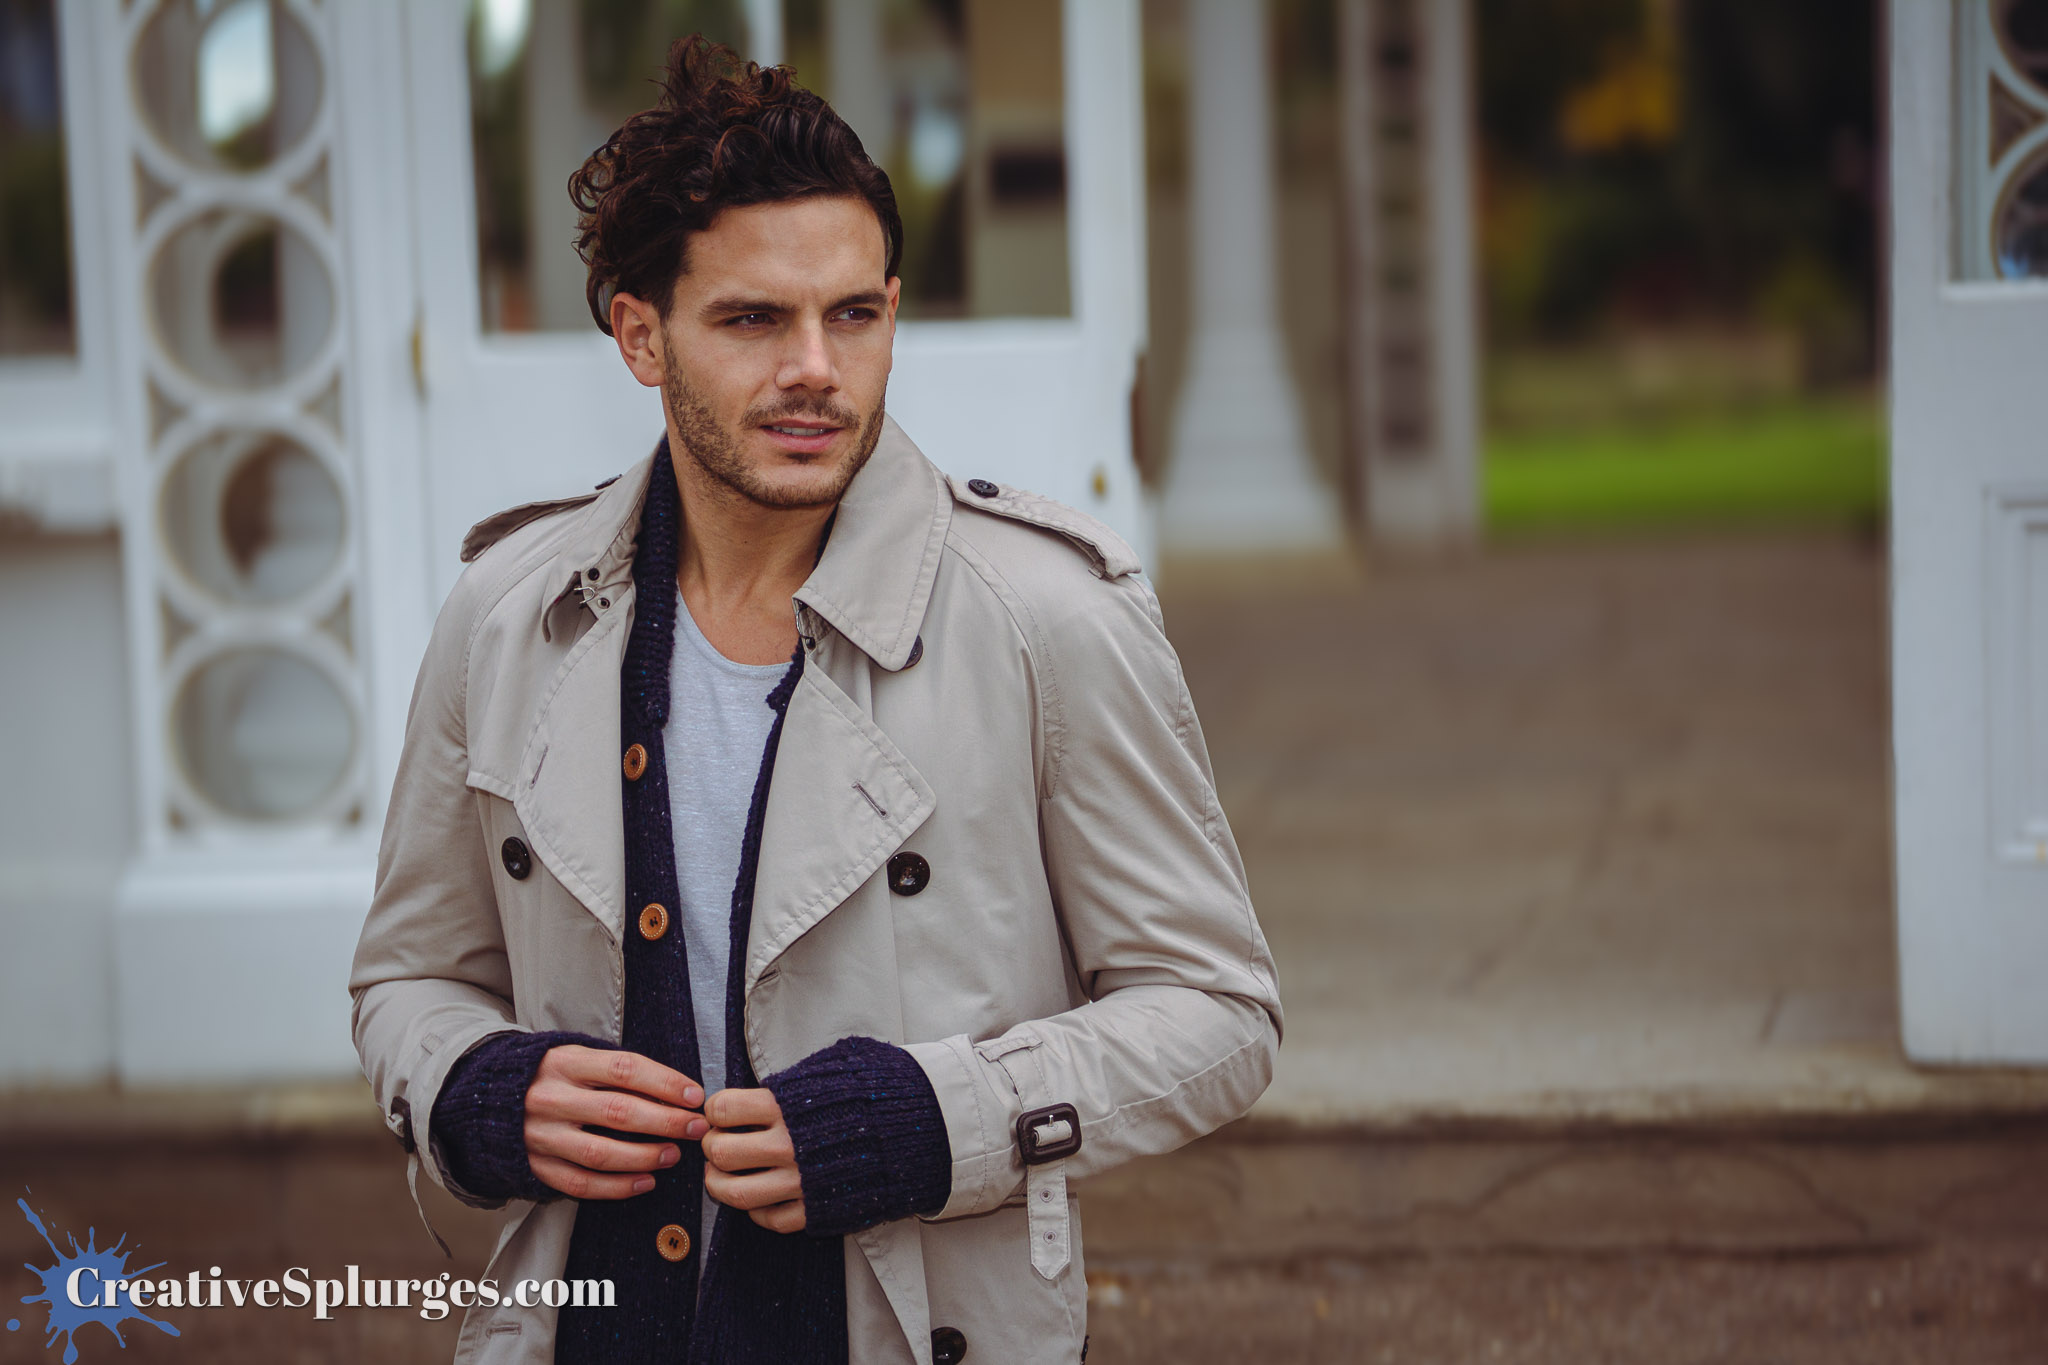
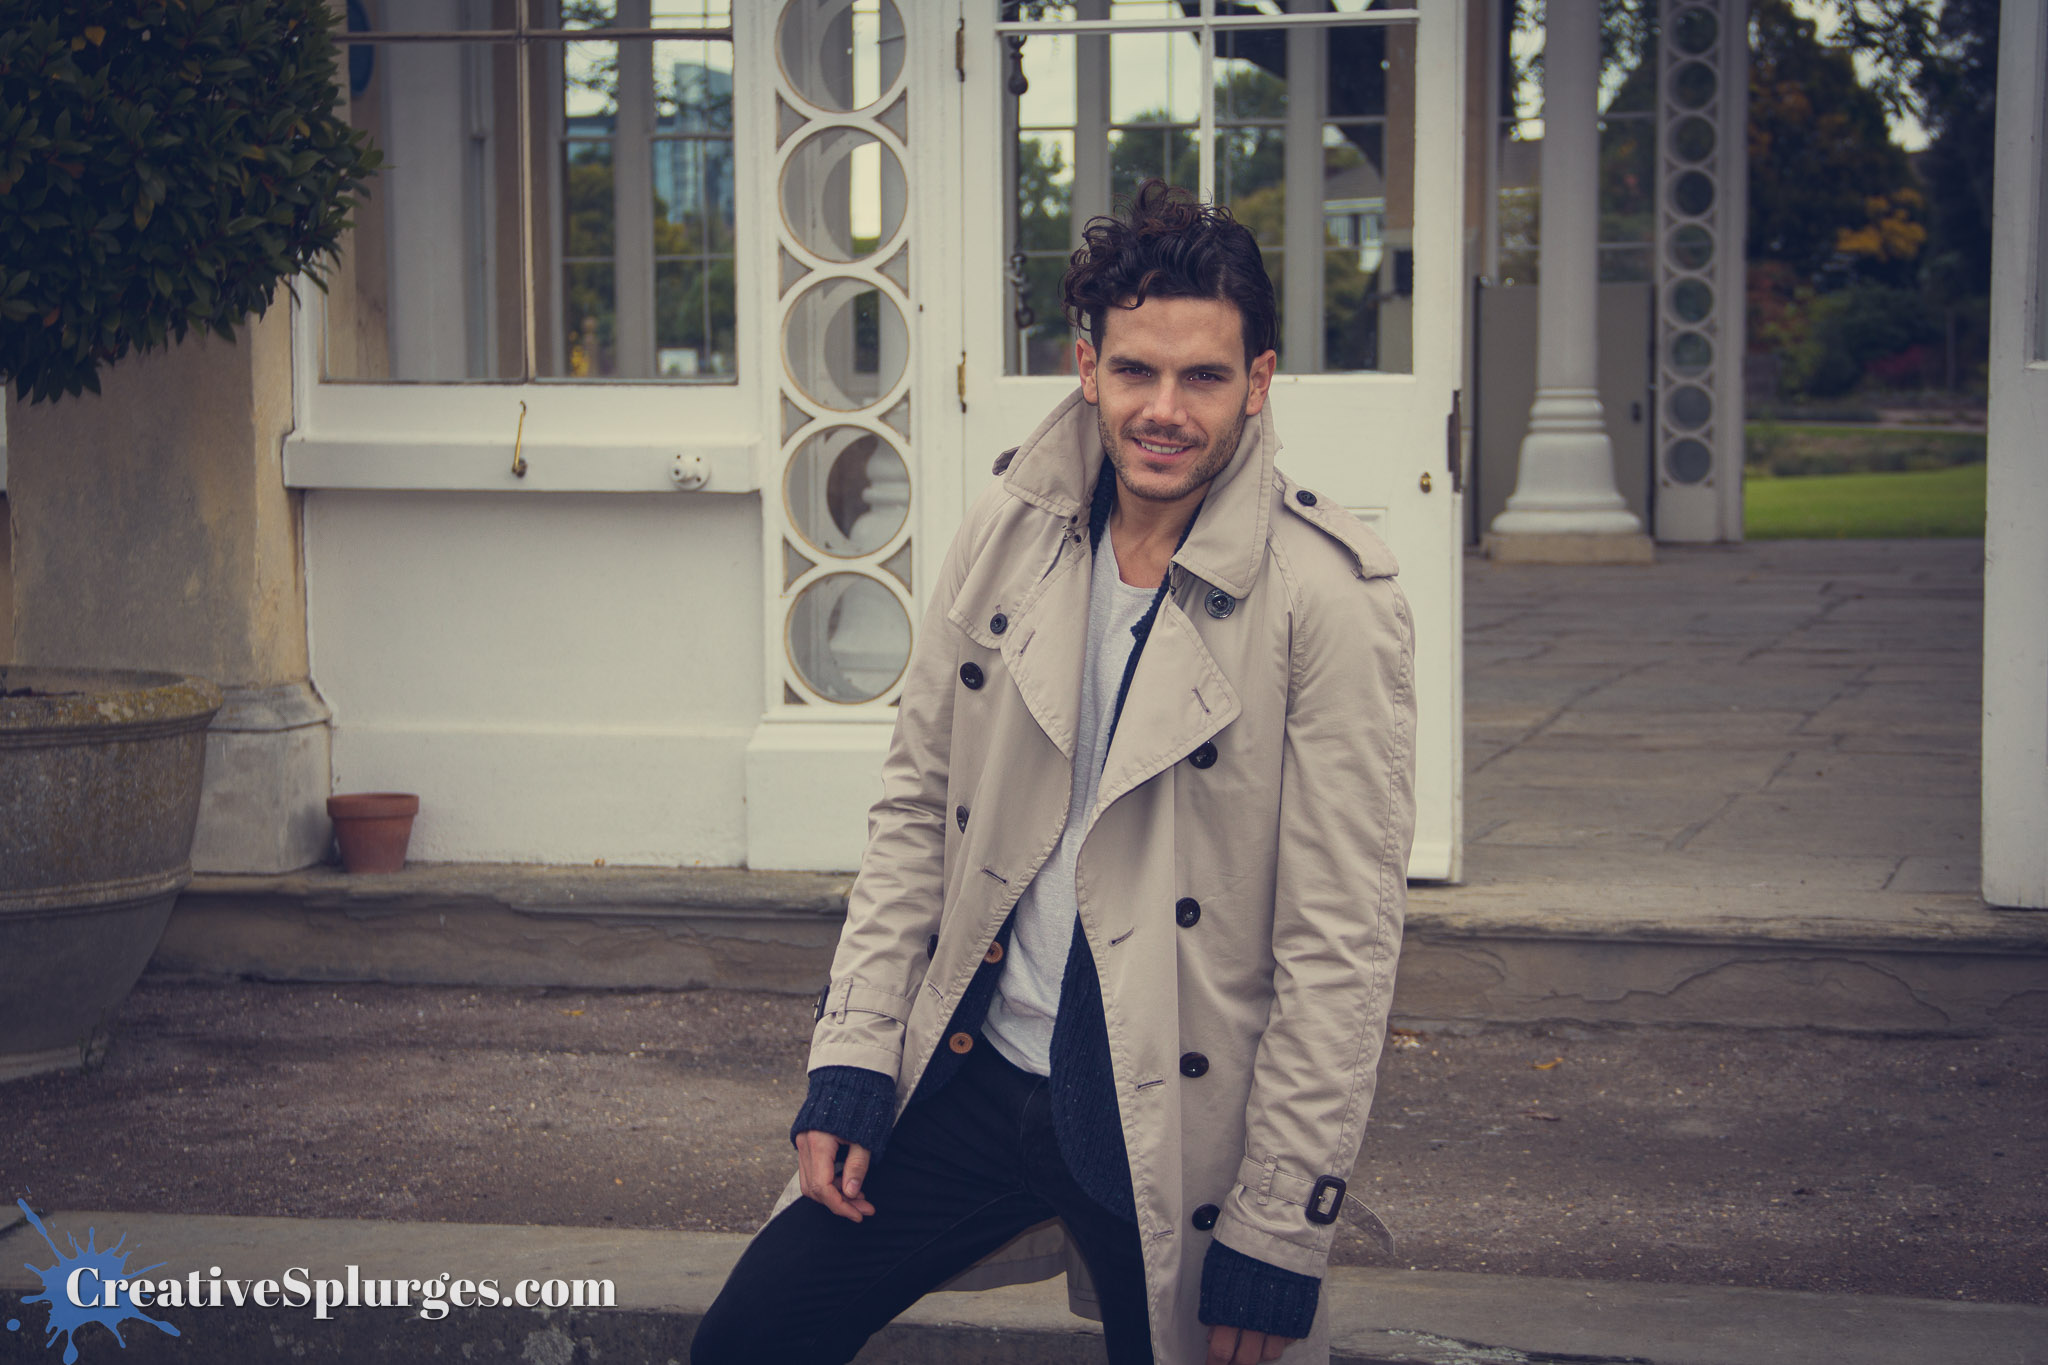
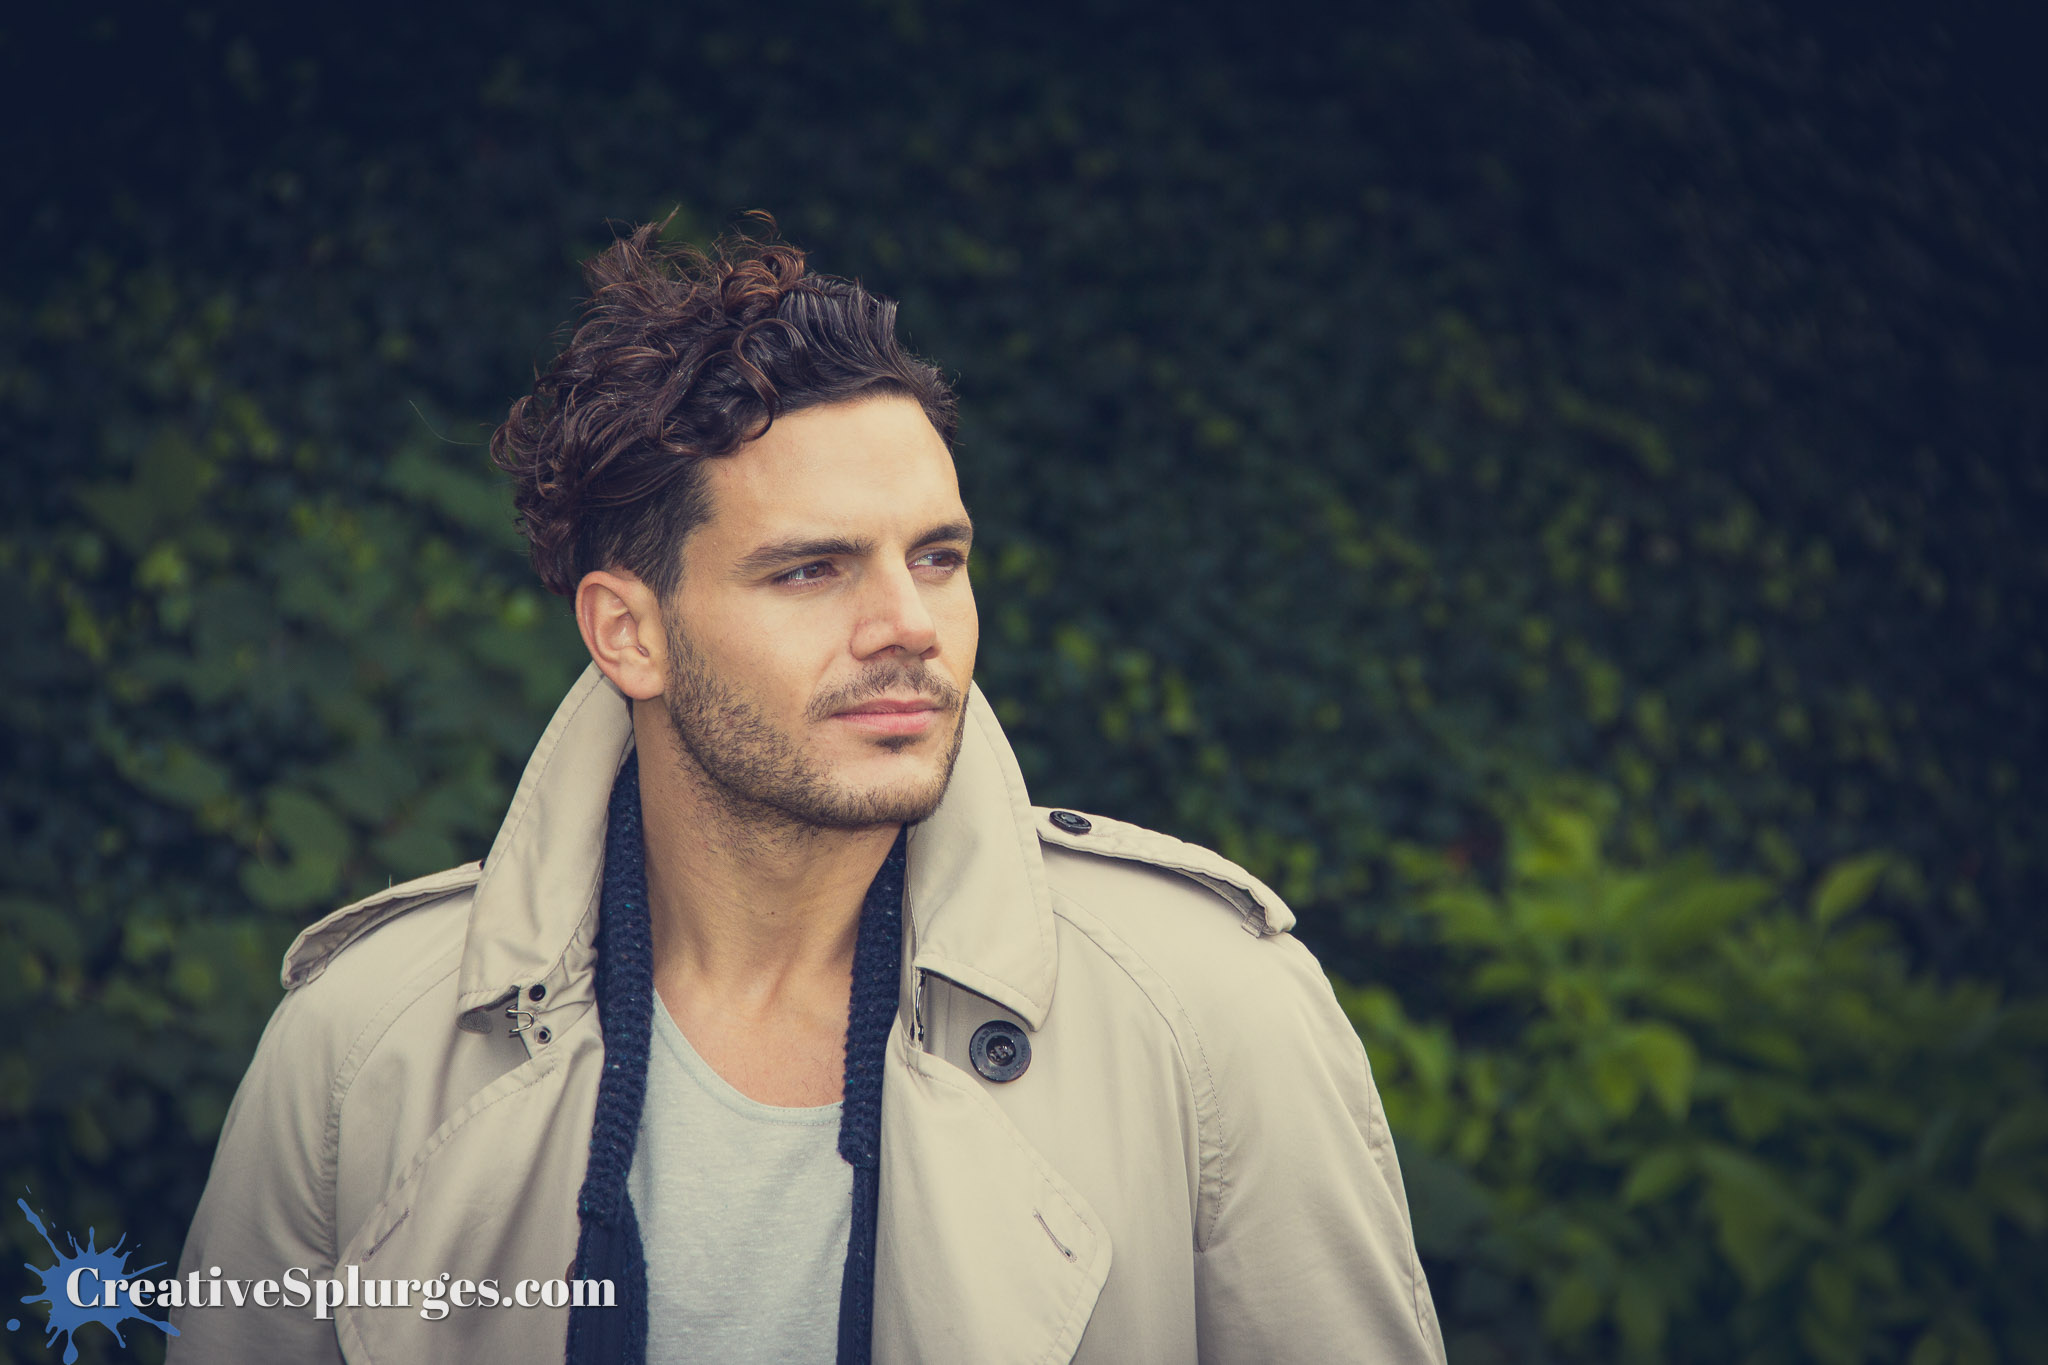
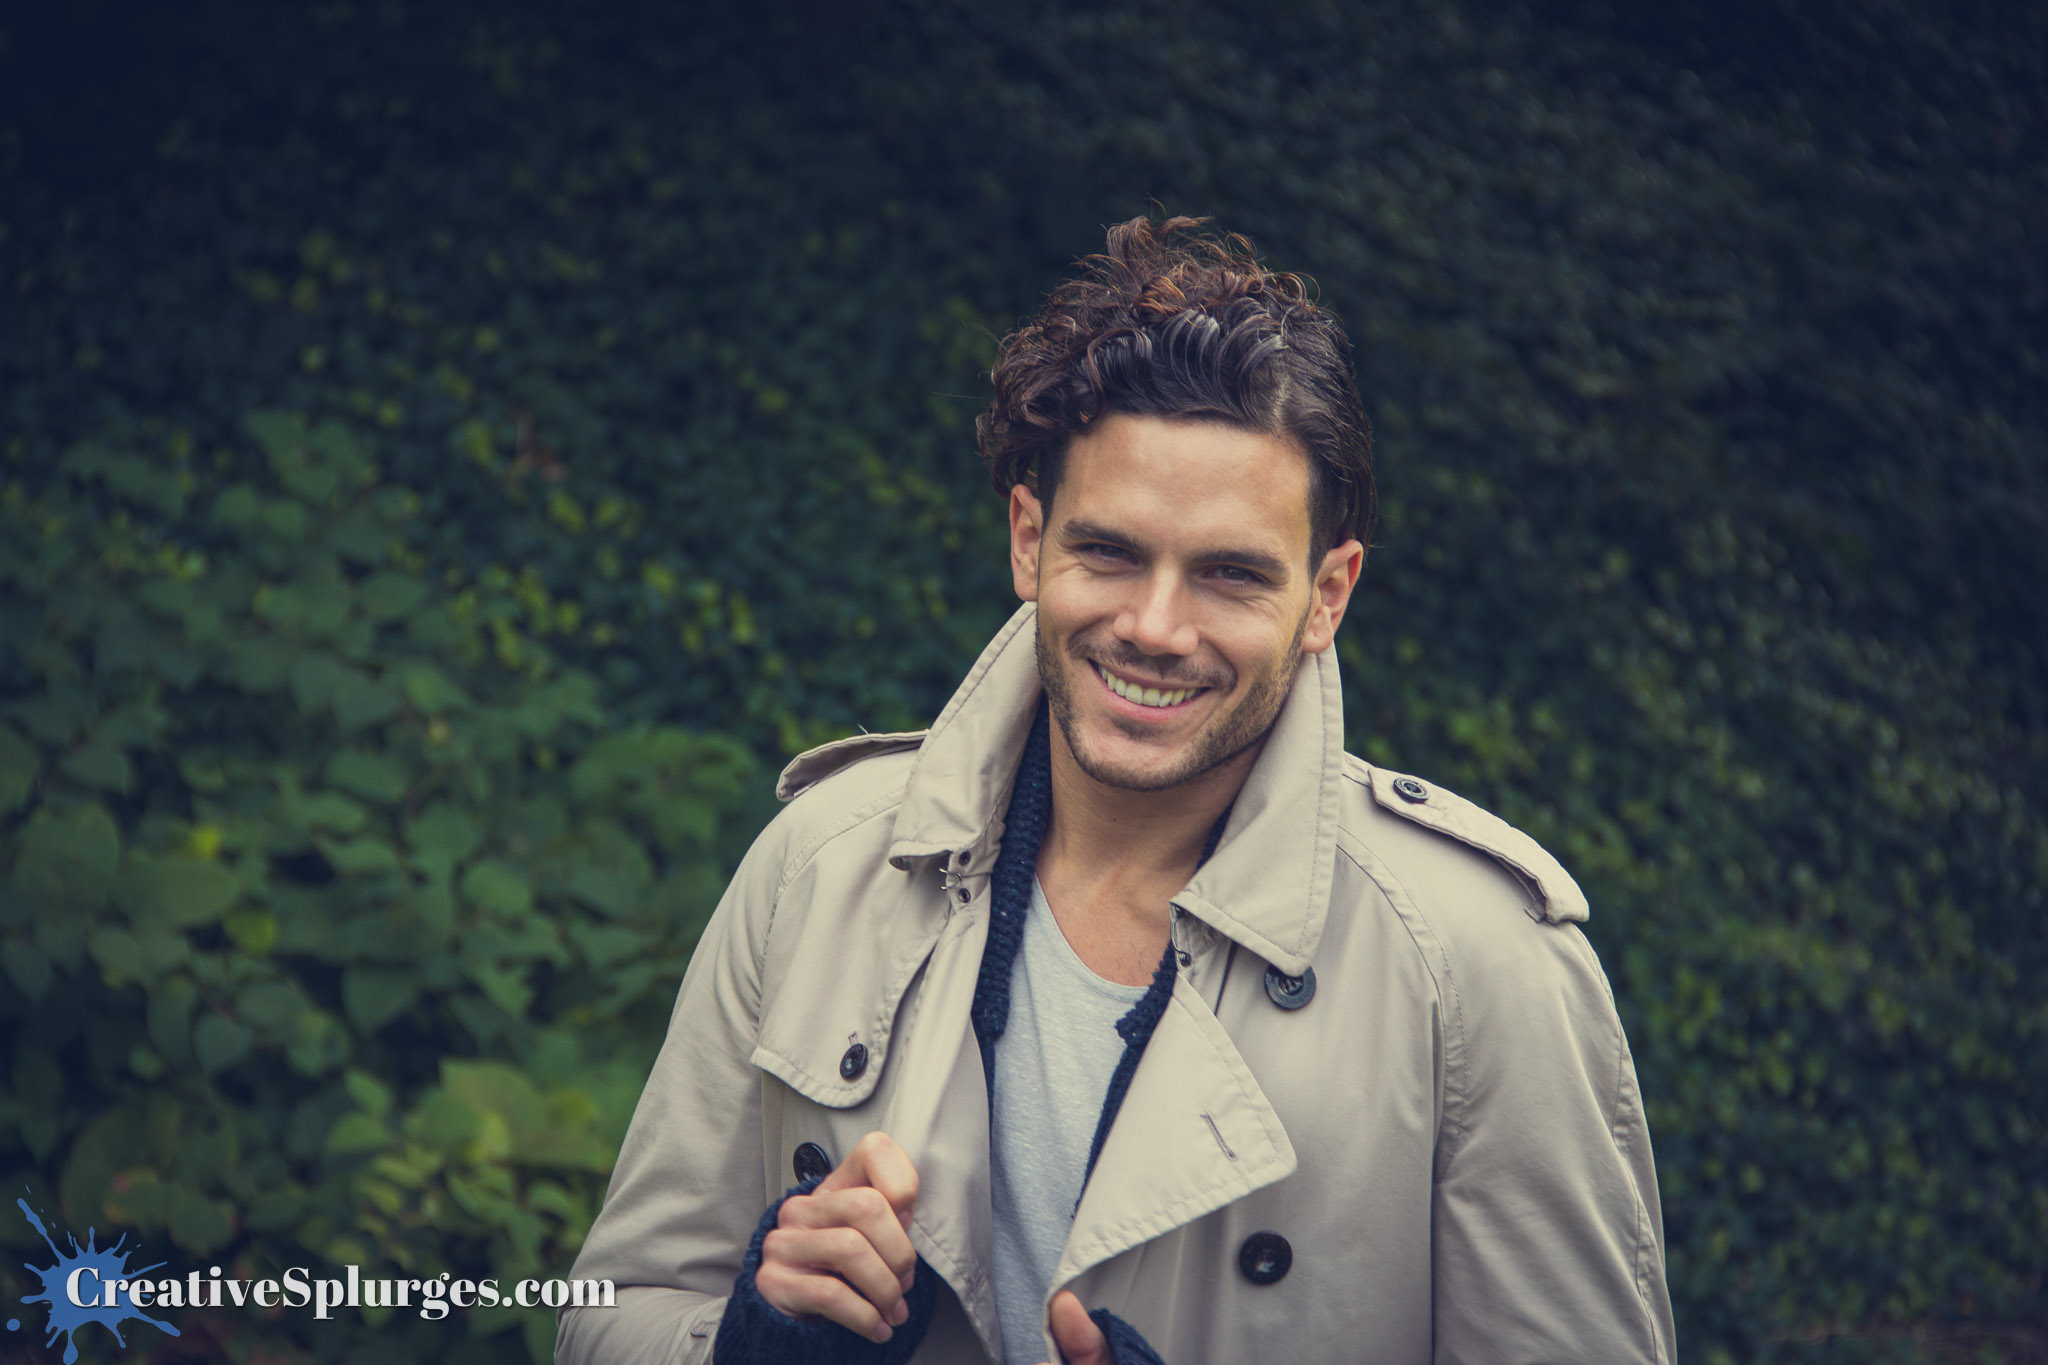
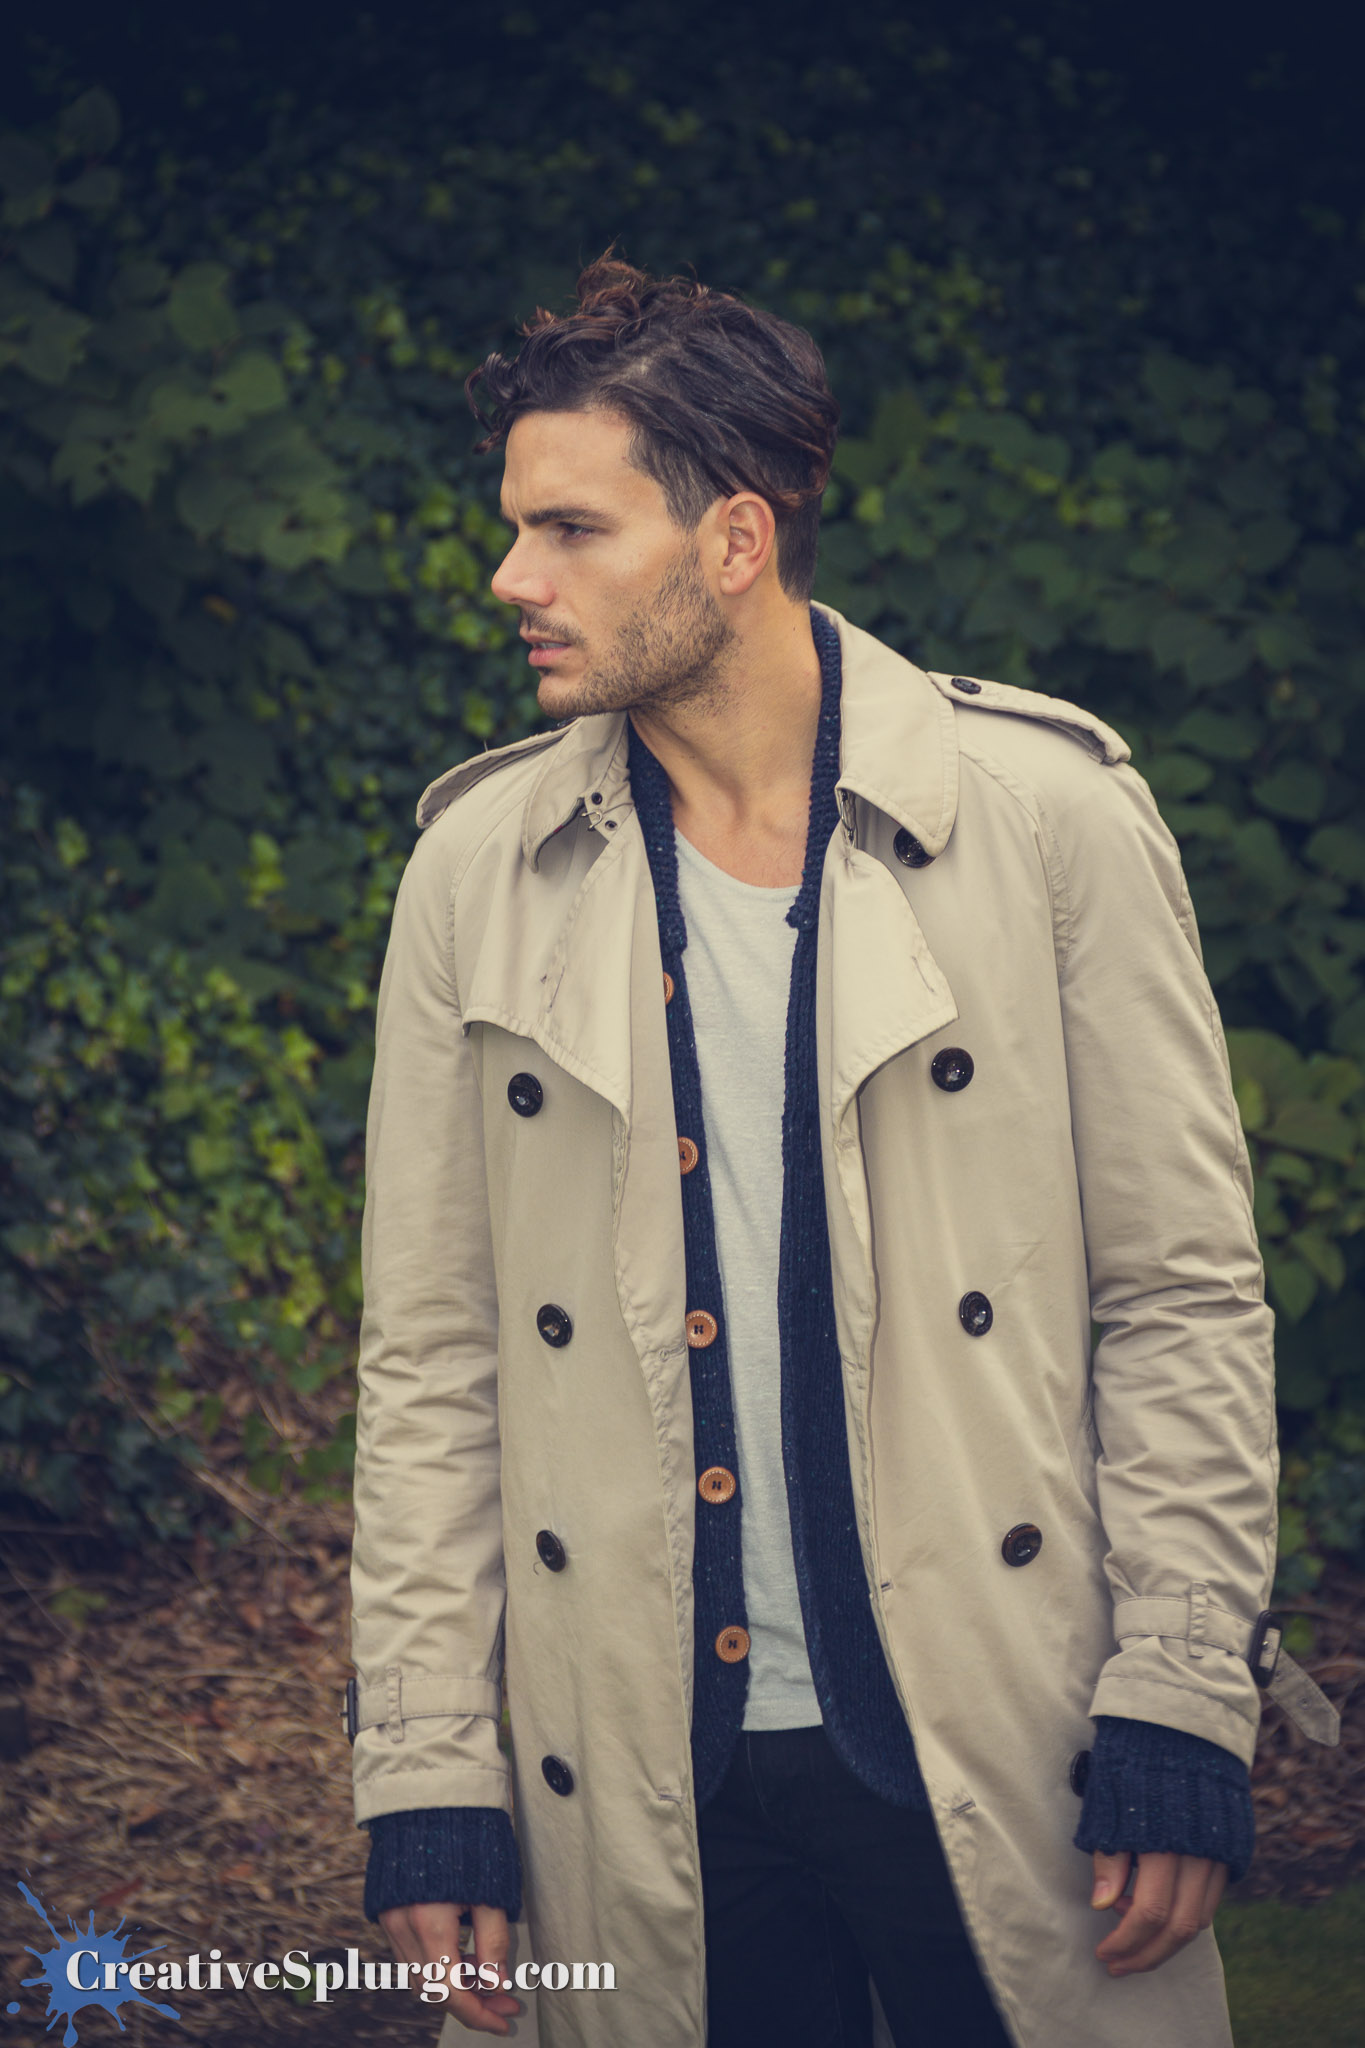
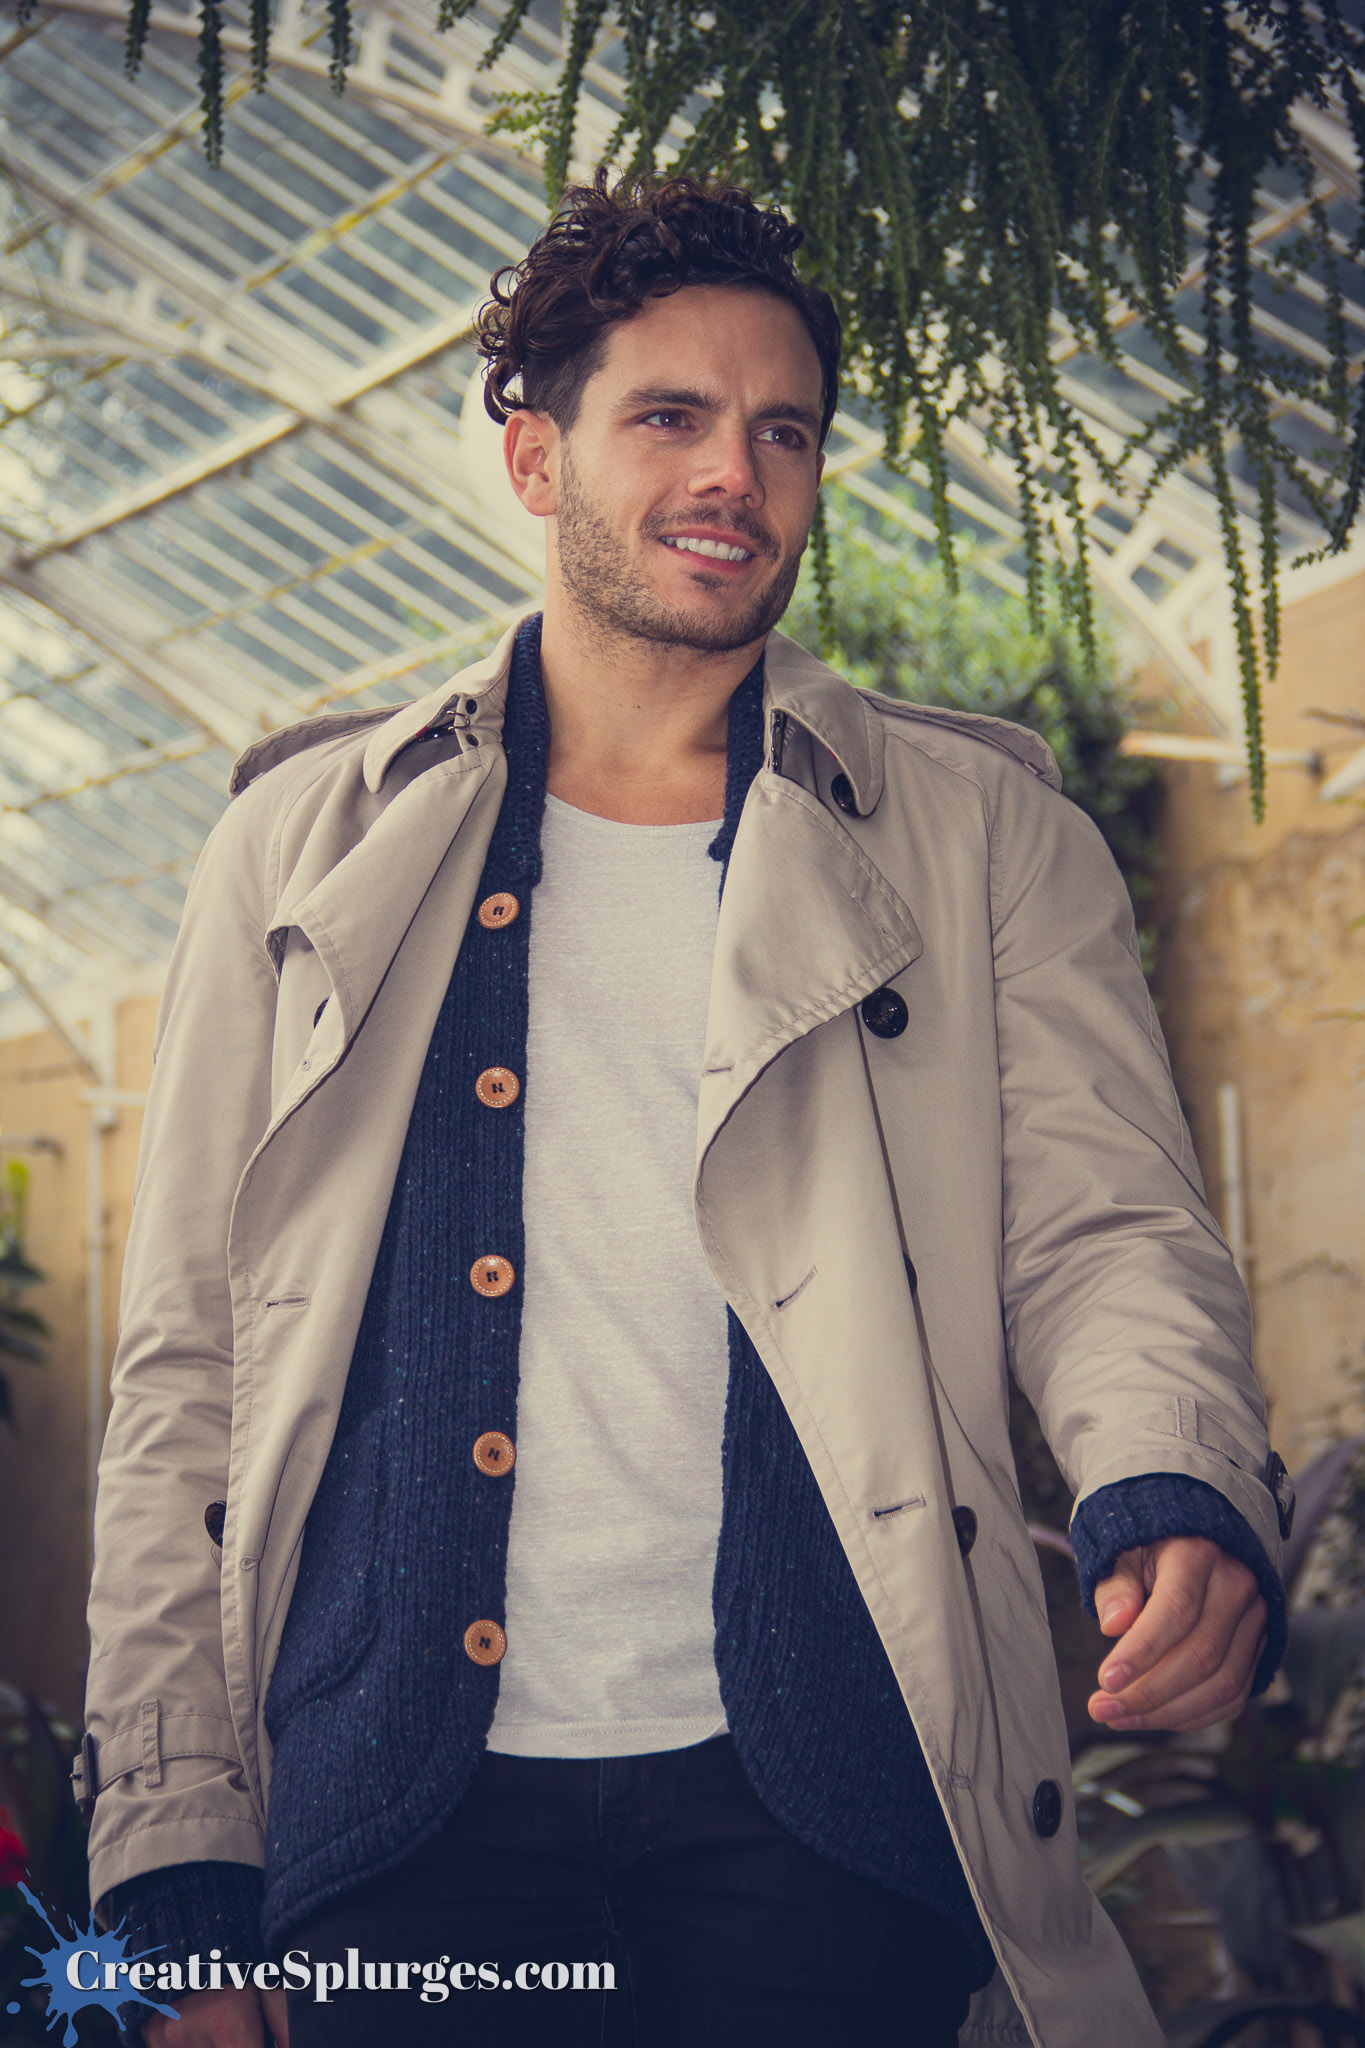
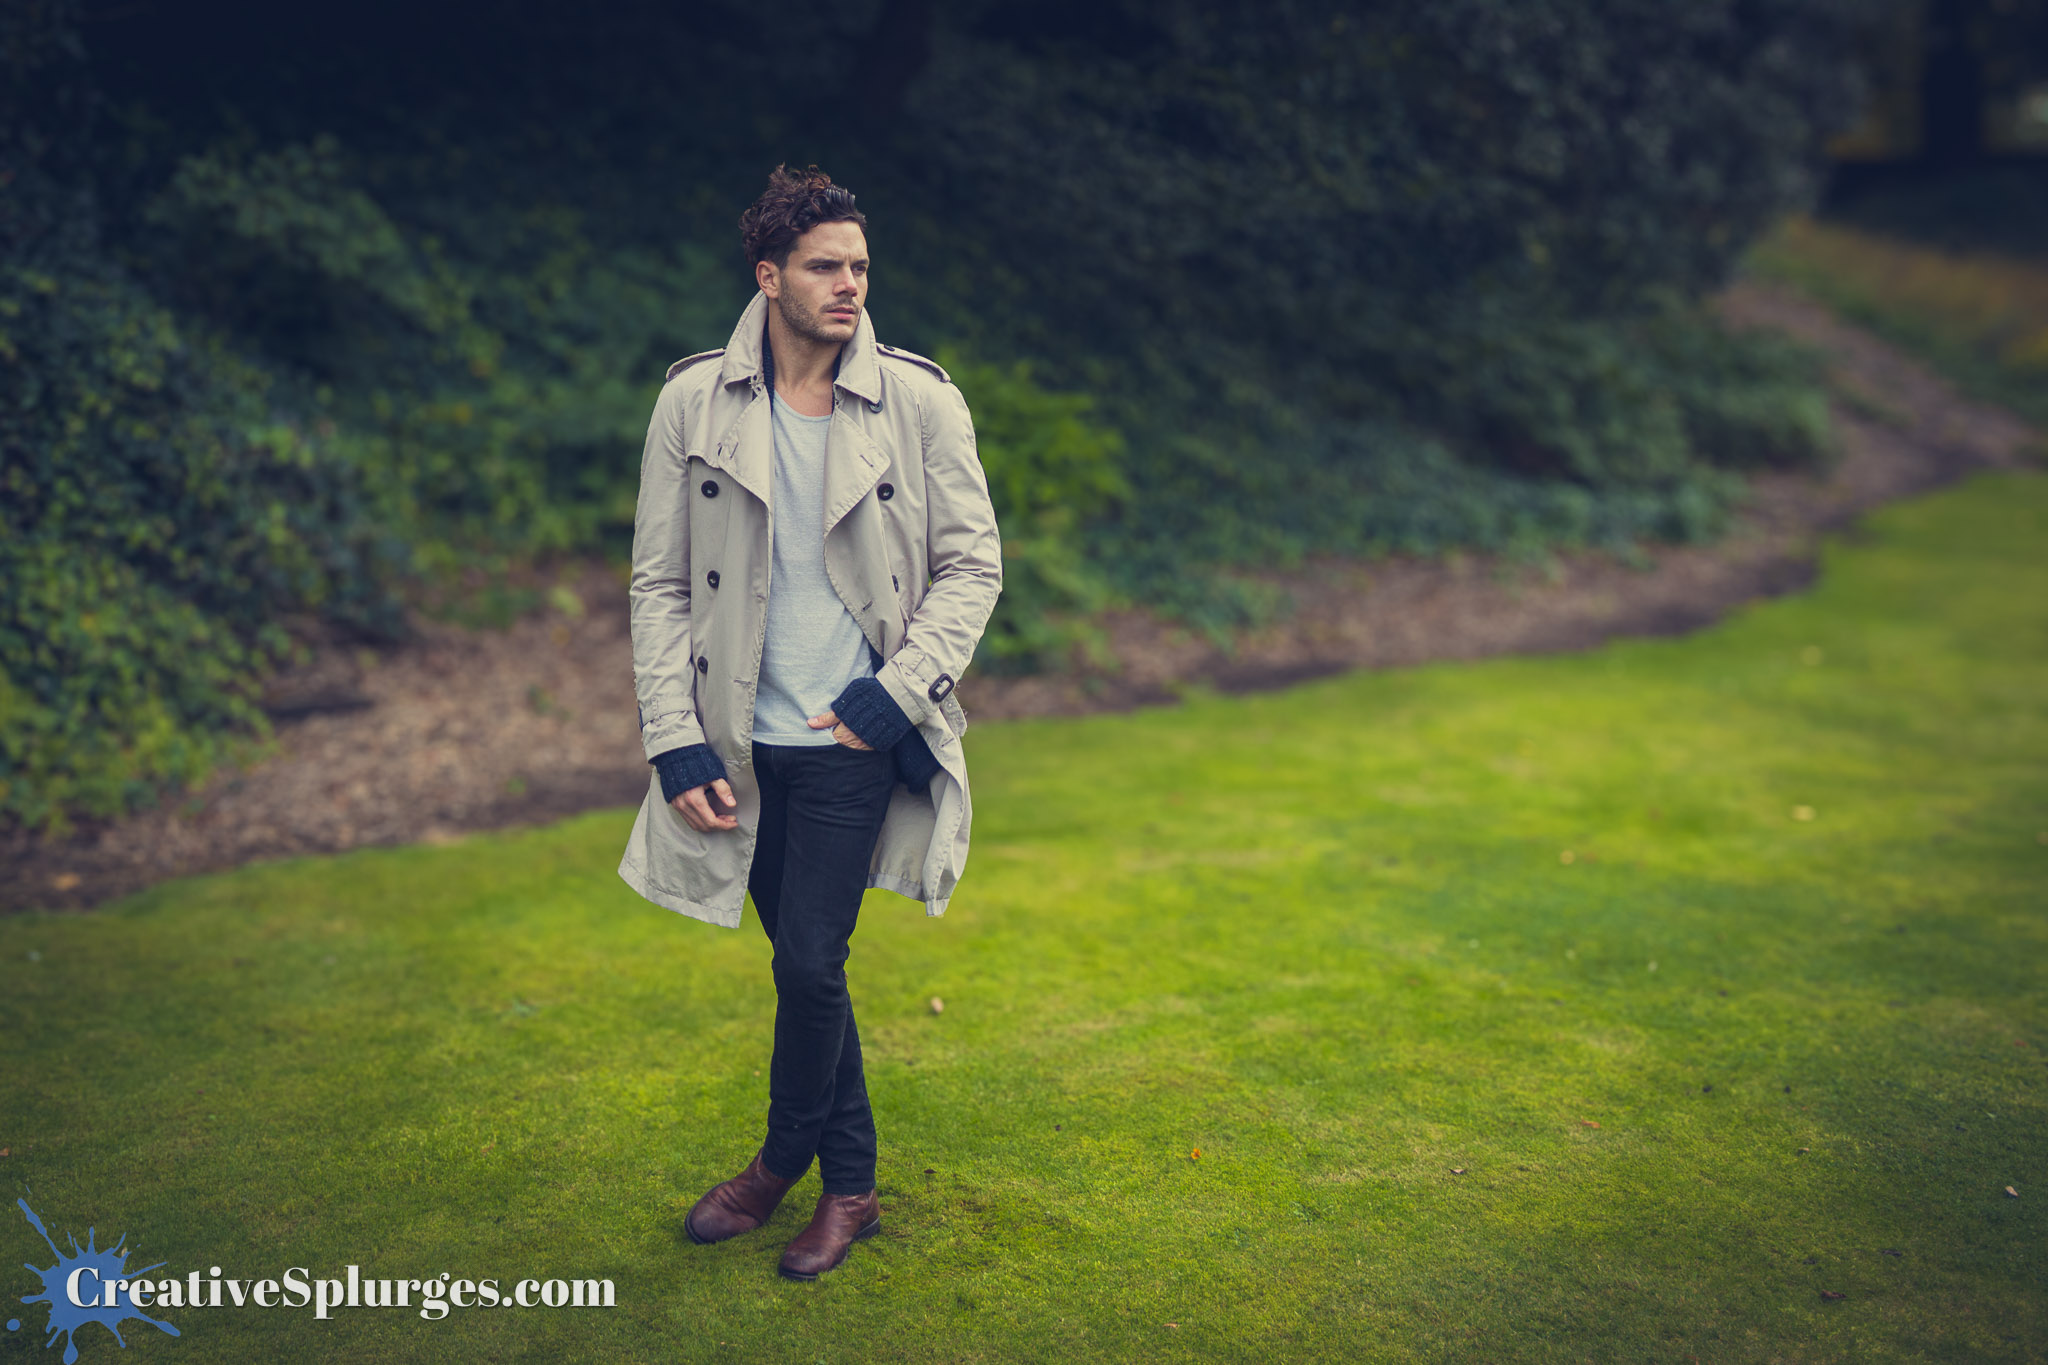
The day took place at Syon House, just up the road from where I lived at the time in Twickenham. Obviously being near enough 13 years ago my memory of this day is a bit hazy, and pieced together mostly from the photos I took. The day started with some classroom training, as we were taken through the fundamentals. Eventually we were allowed out to put that theory into practice with a model. We started outside, using flash to fill in details.
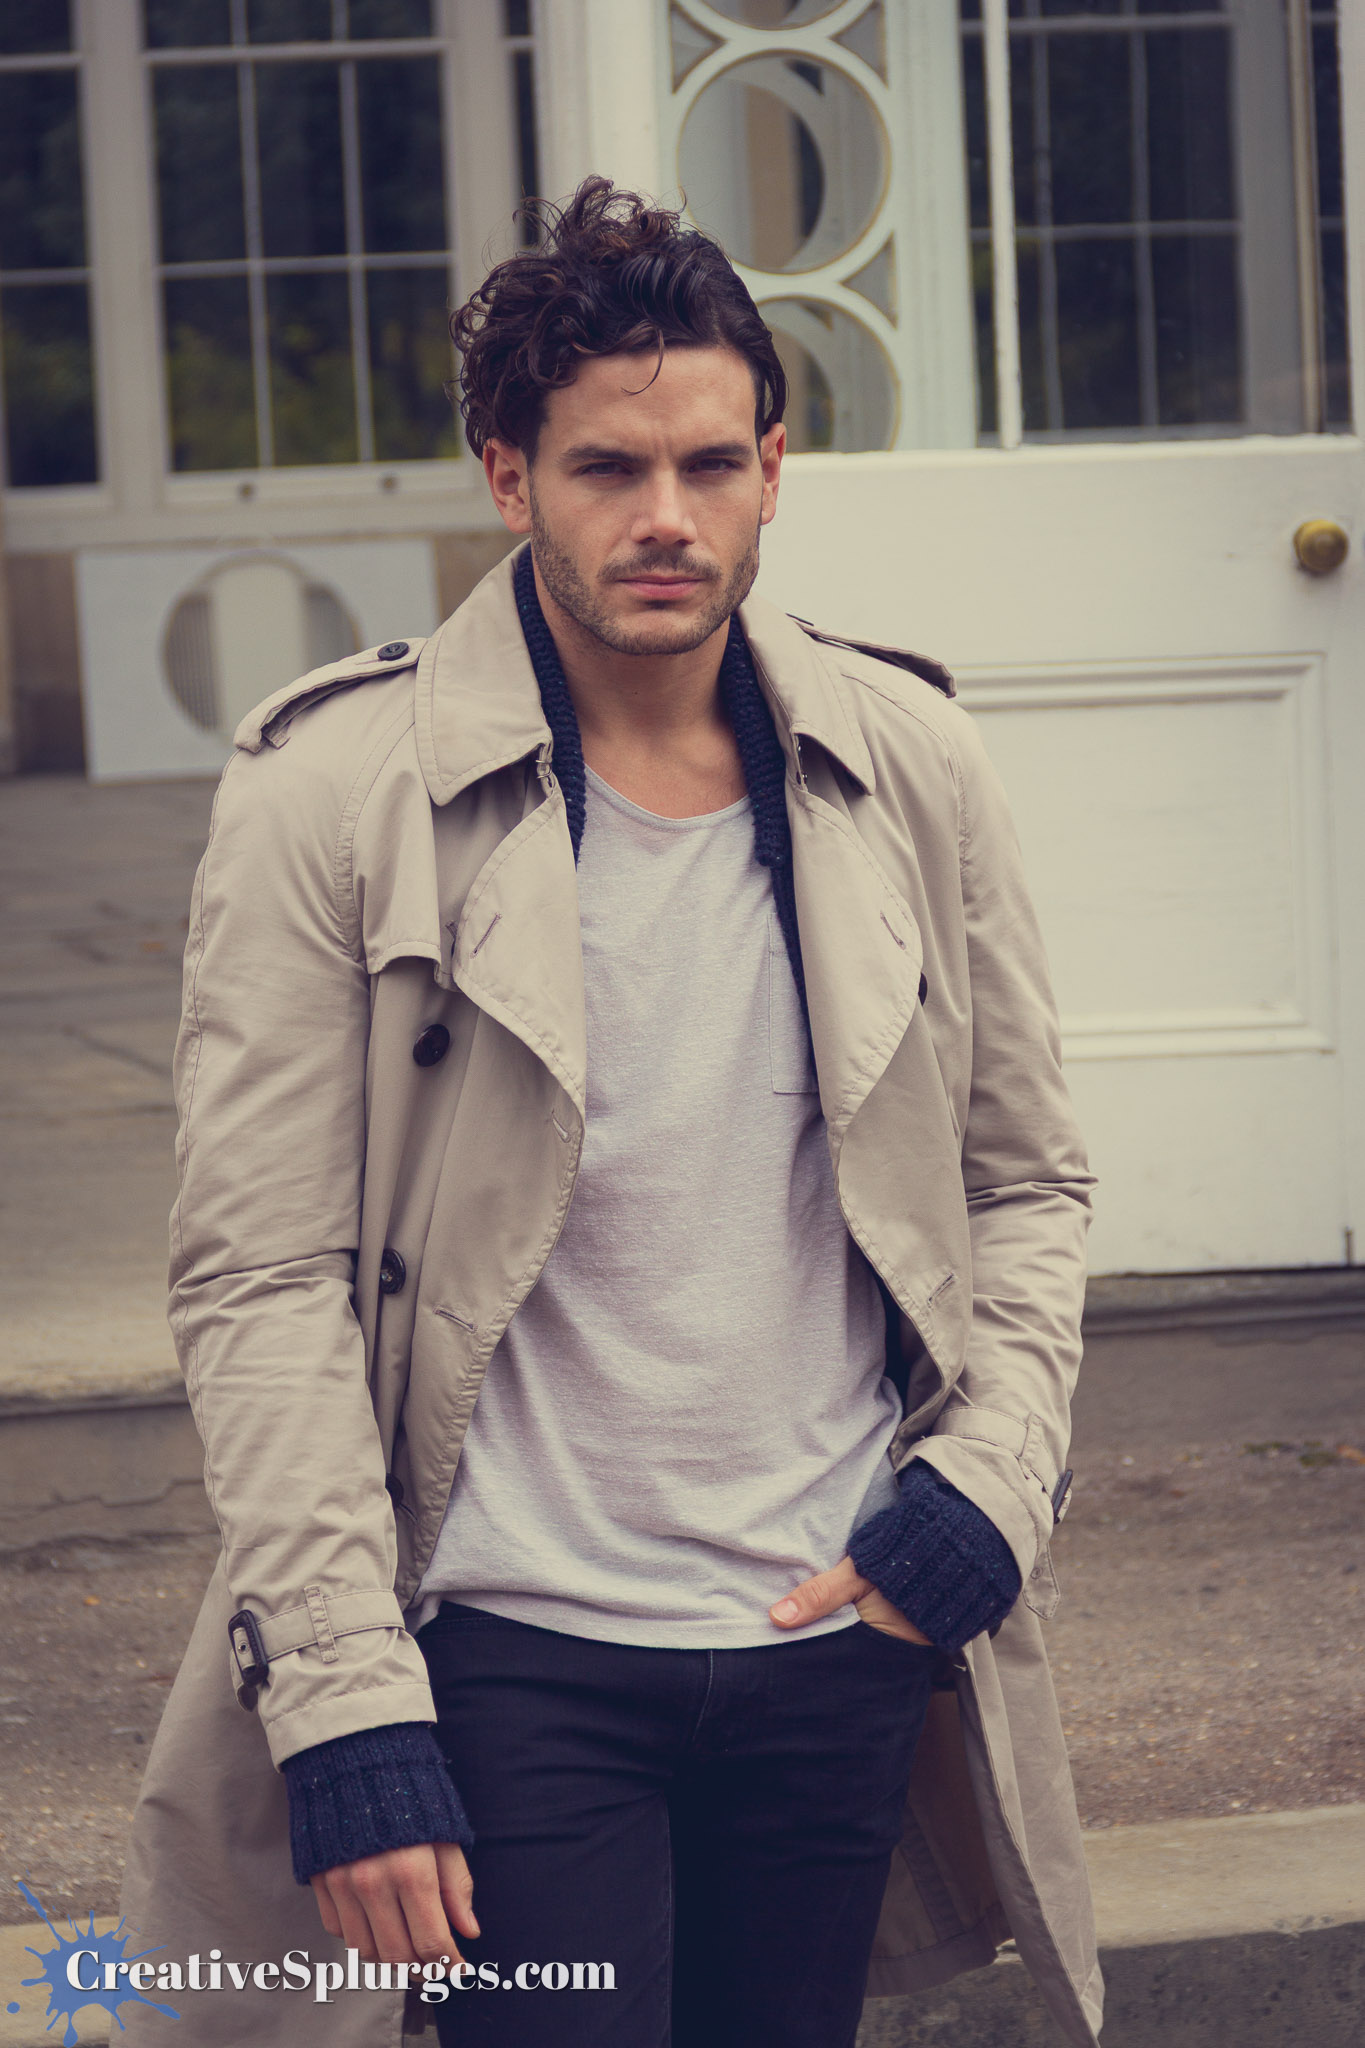
This was so long ago that I was still using my 18-135mm starter lens which had a very inconsistent f/3.5-5.6 aperture. These days that doesn’t cut it for me and I crave a much shallower depth of field, so whilst I was editing some of these shots – admittedly before I decided there would be a whole post – I used Lightroom’s Lens Blur feature to artificially make the depth of field shallower.

I did this periodically to some images as I edited, and it stands as a testament to the quality of the feature that I’m not entirely sure which photos have been edited in this way. I do know I’d stopped doing it once we reach the inside photos later on.
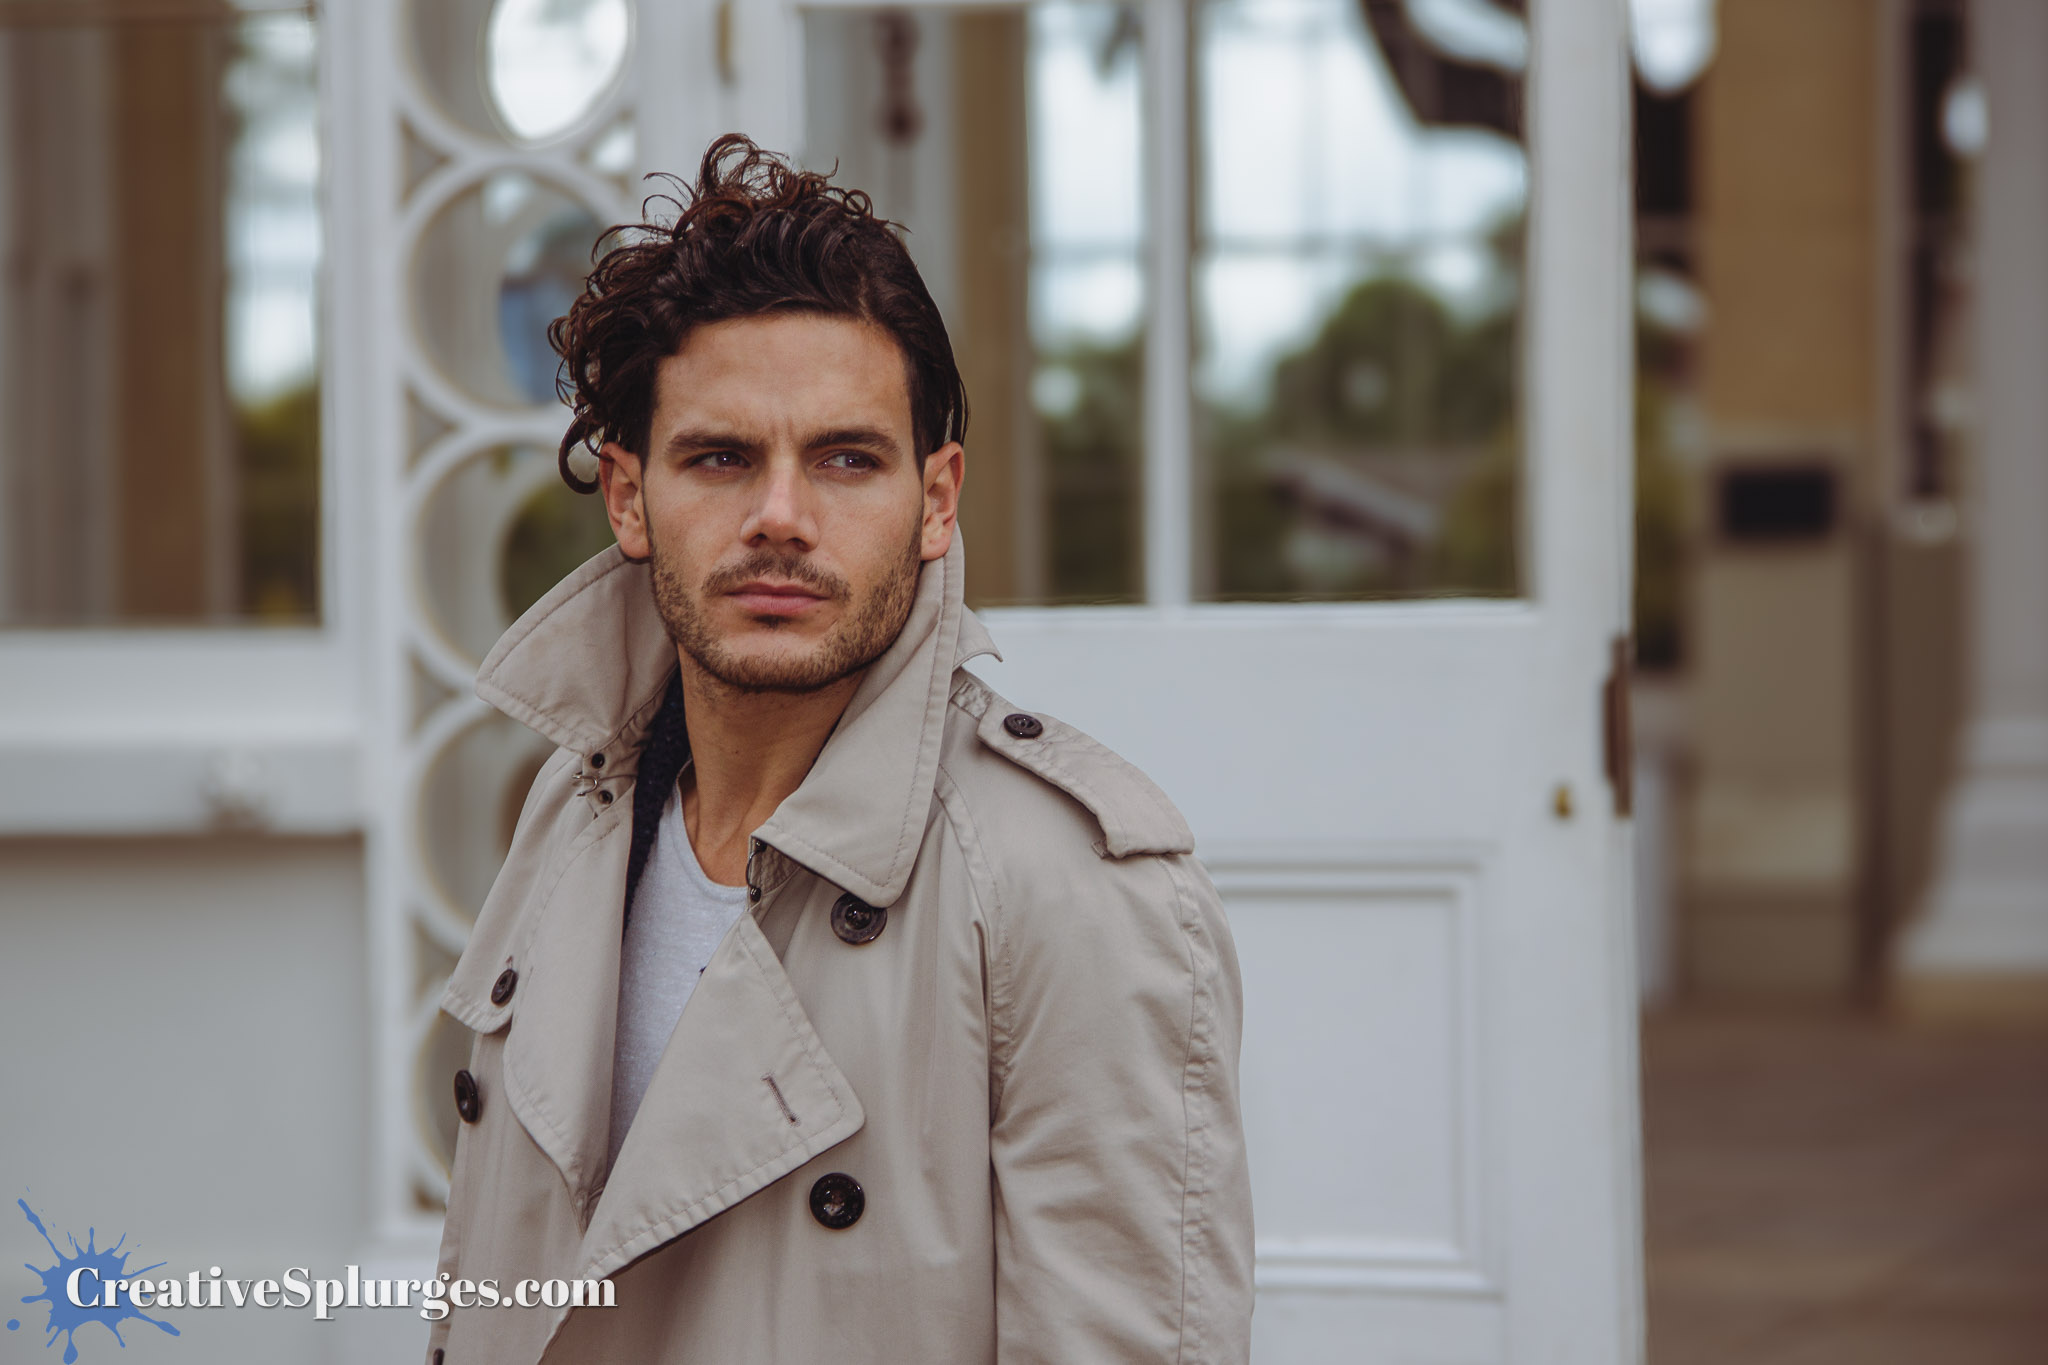
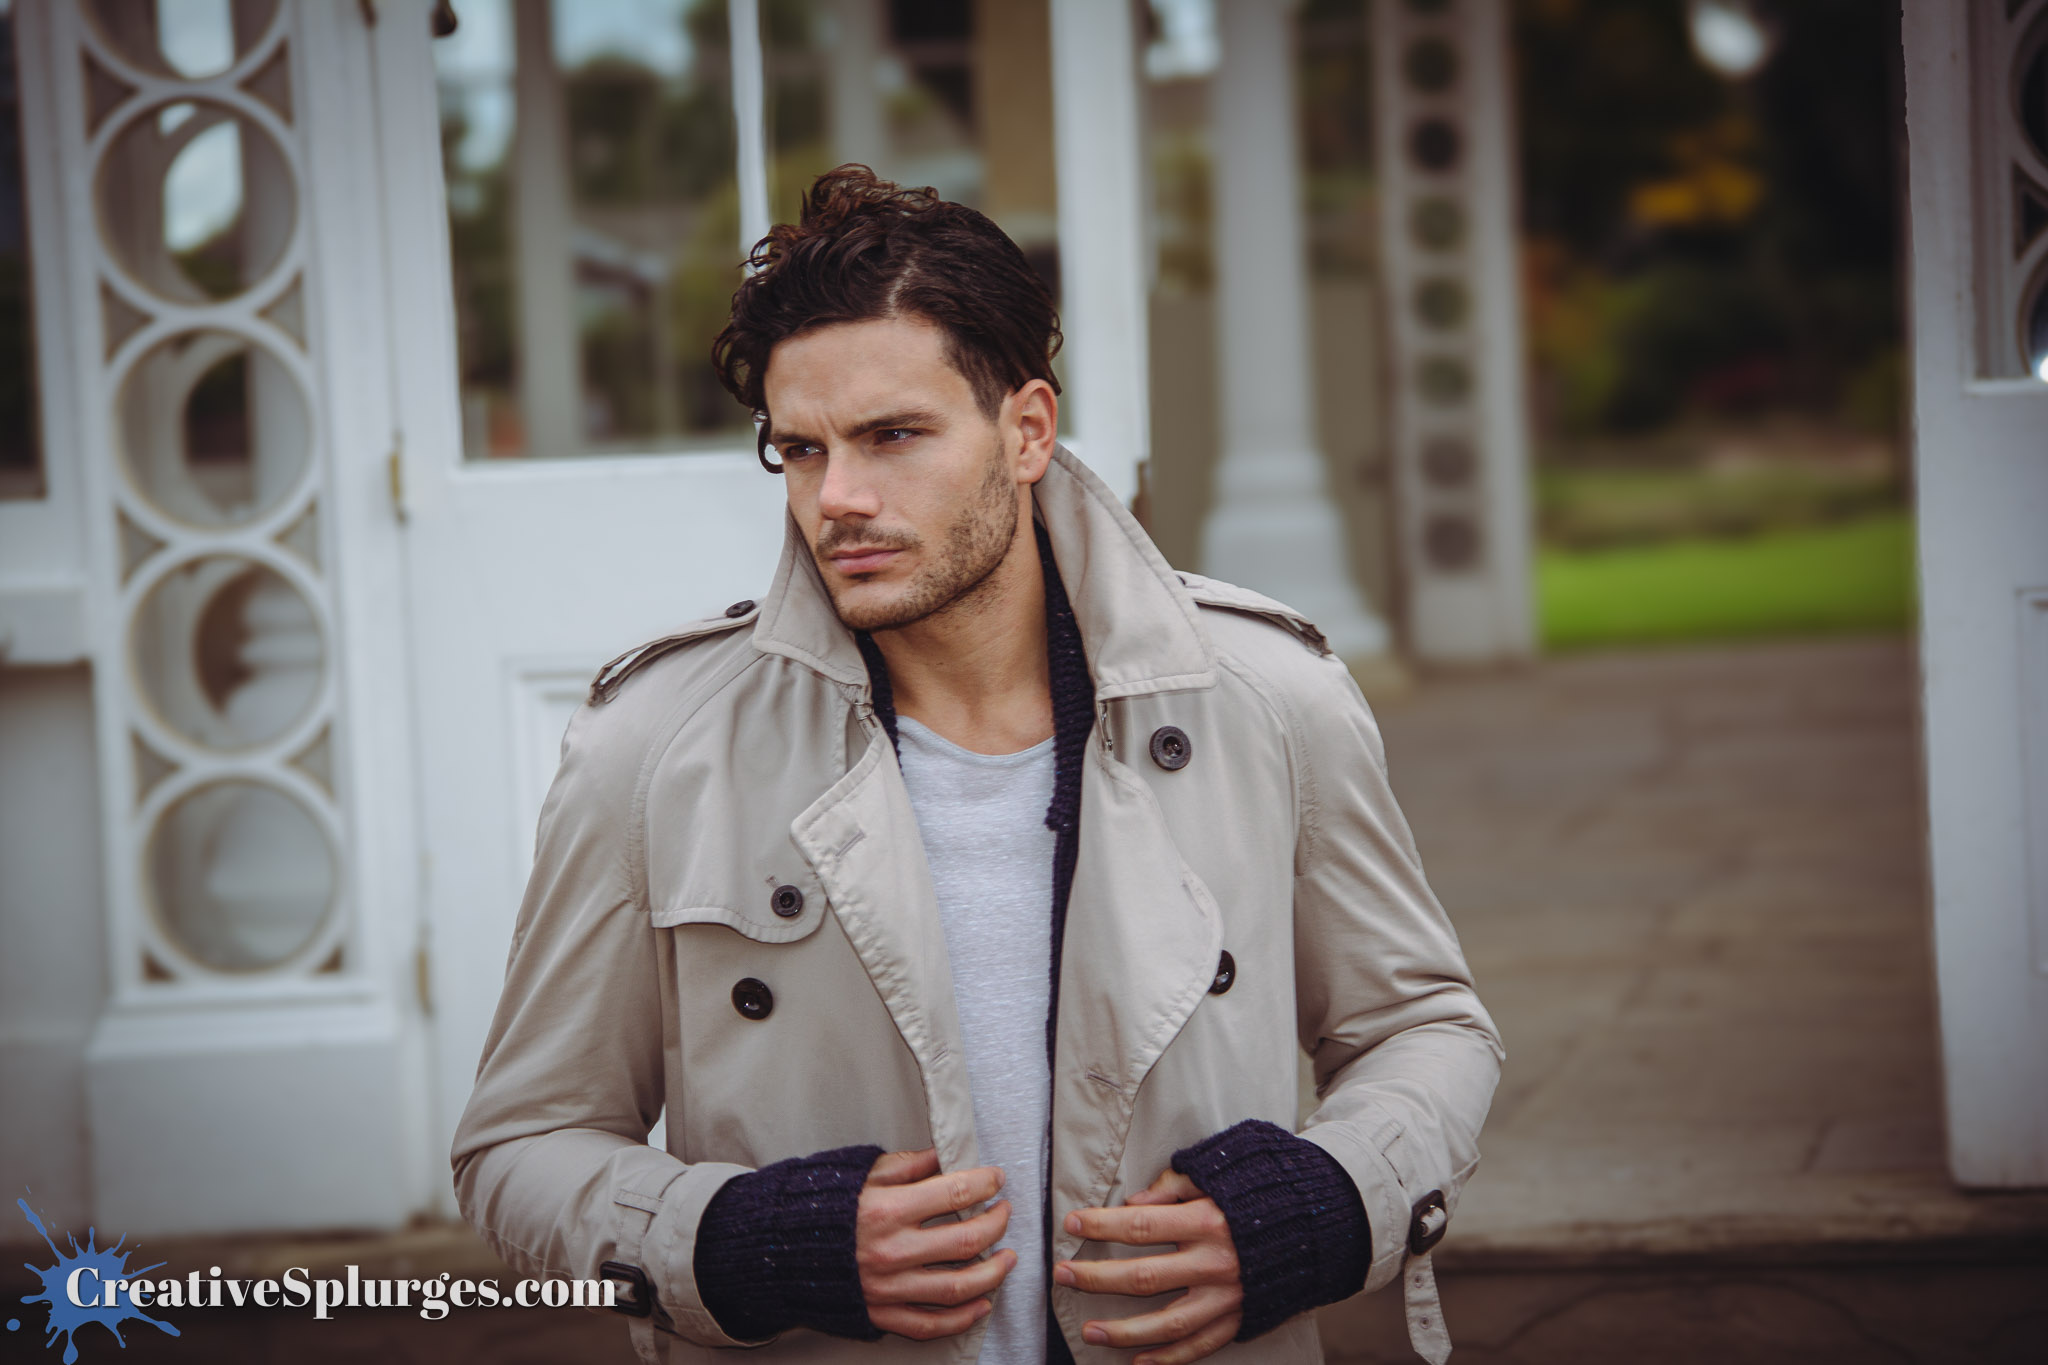
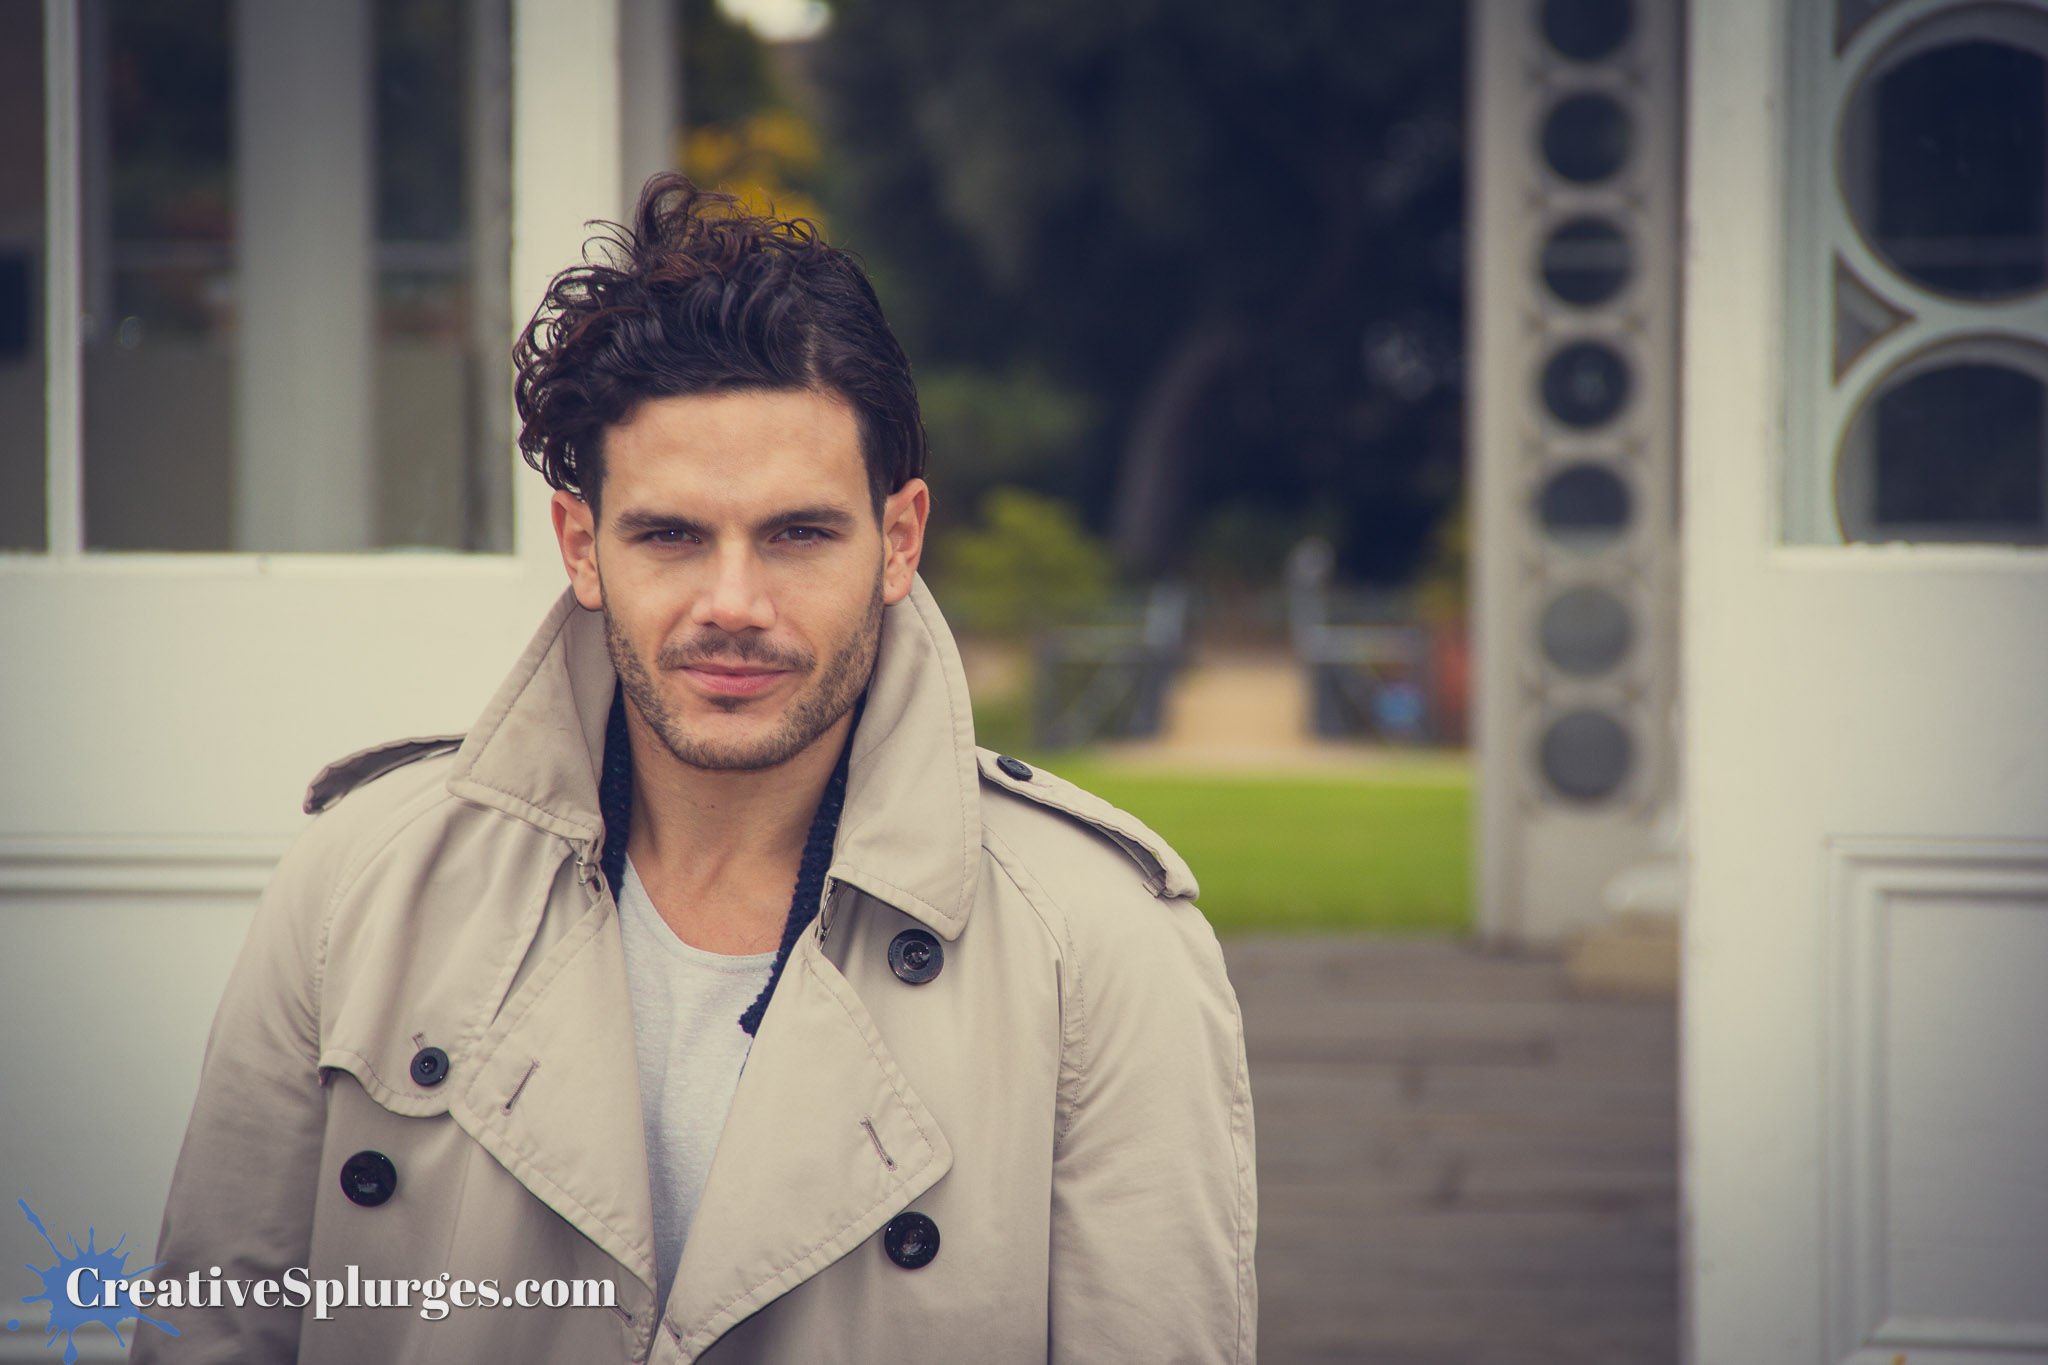
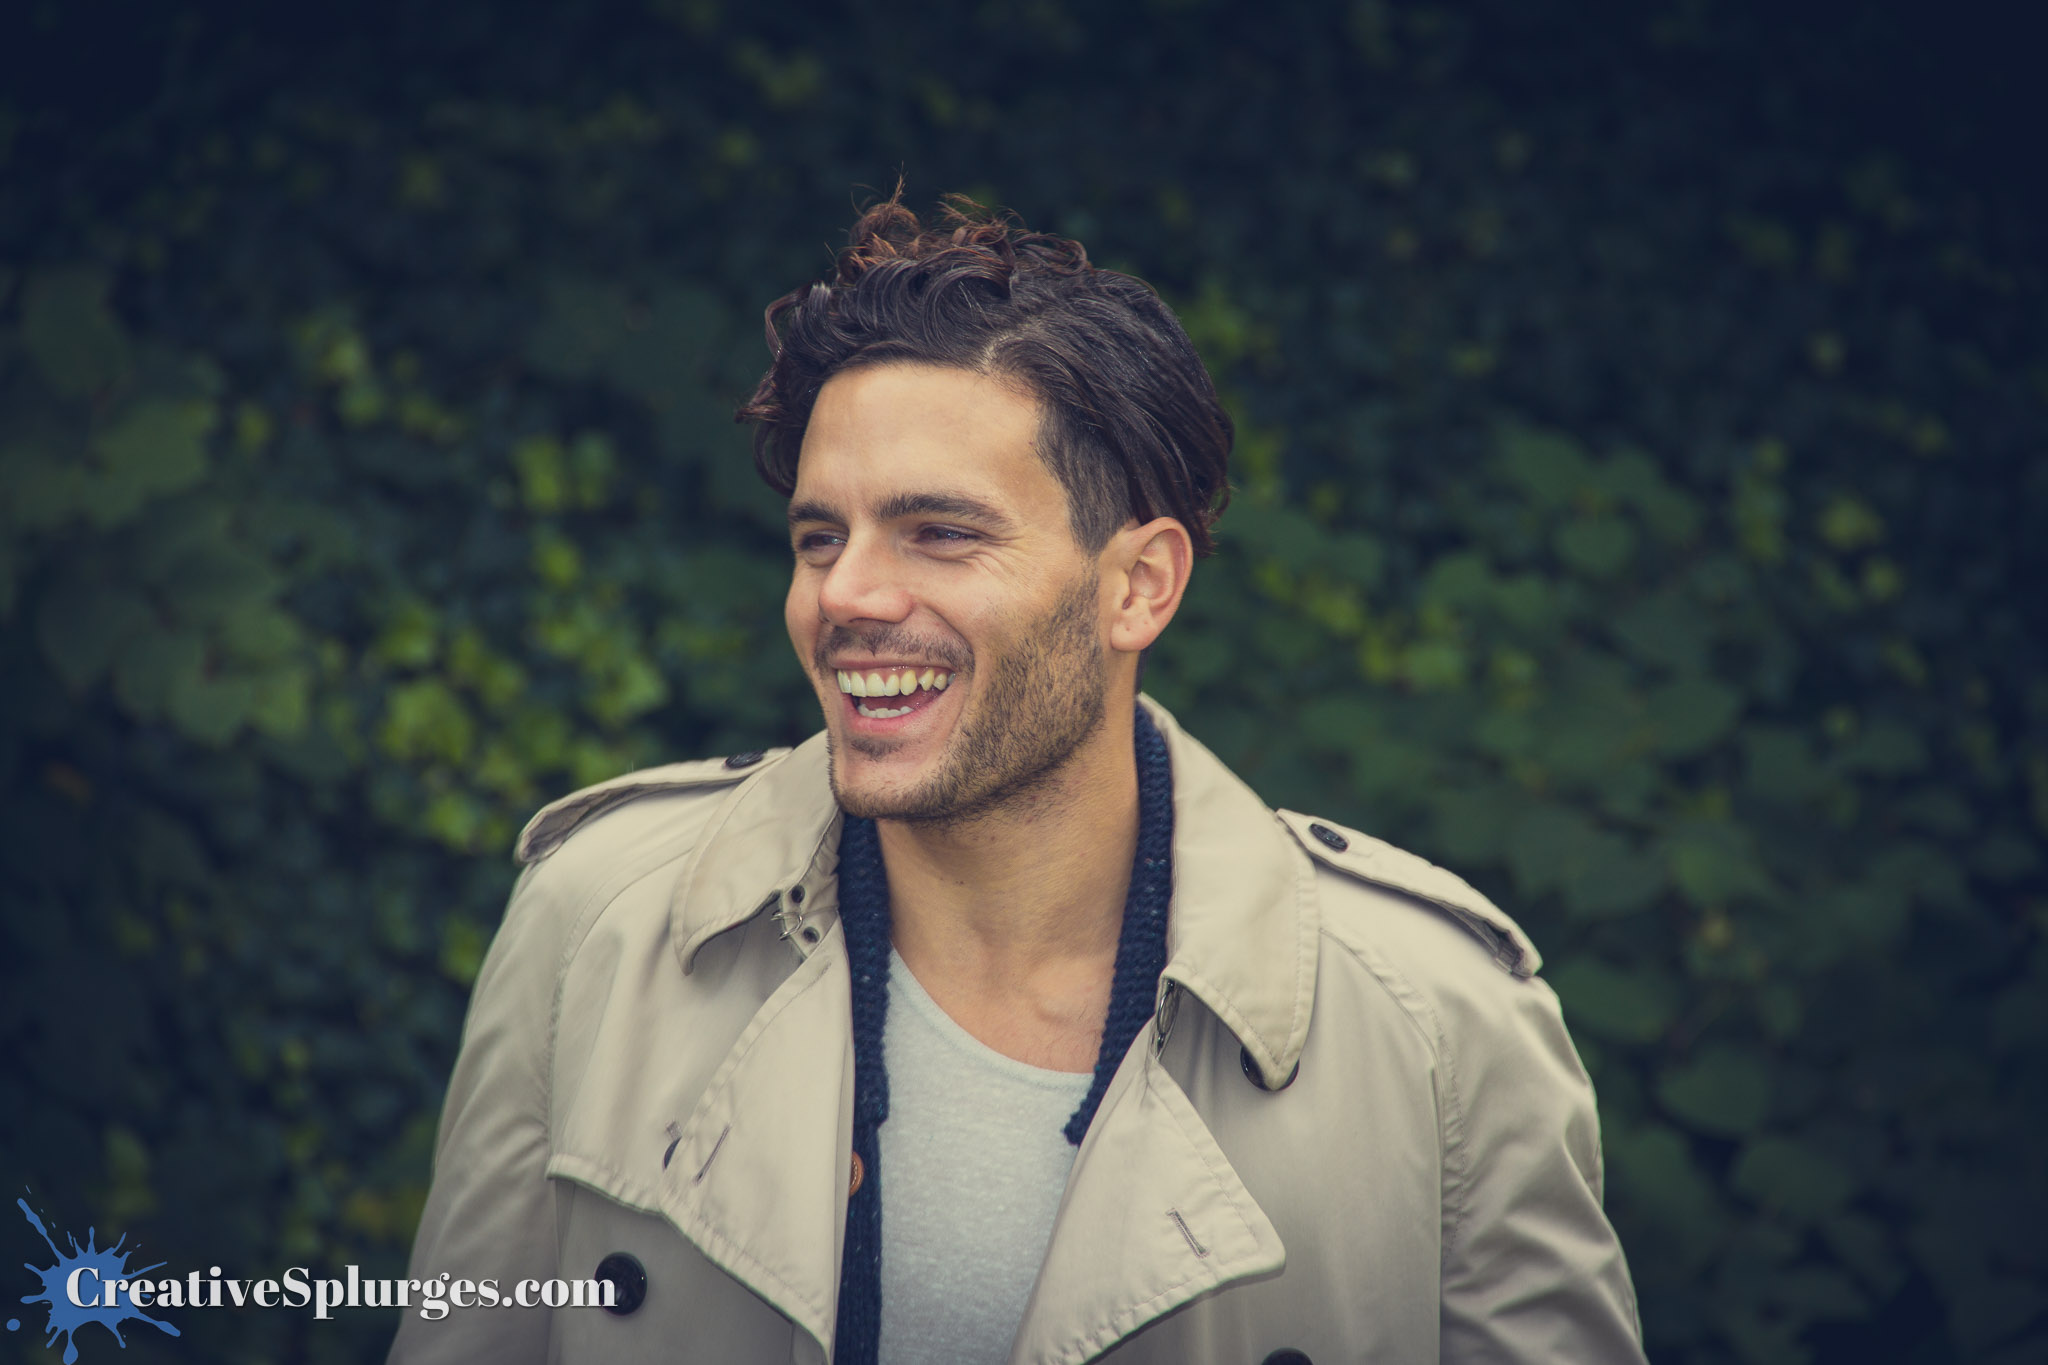
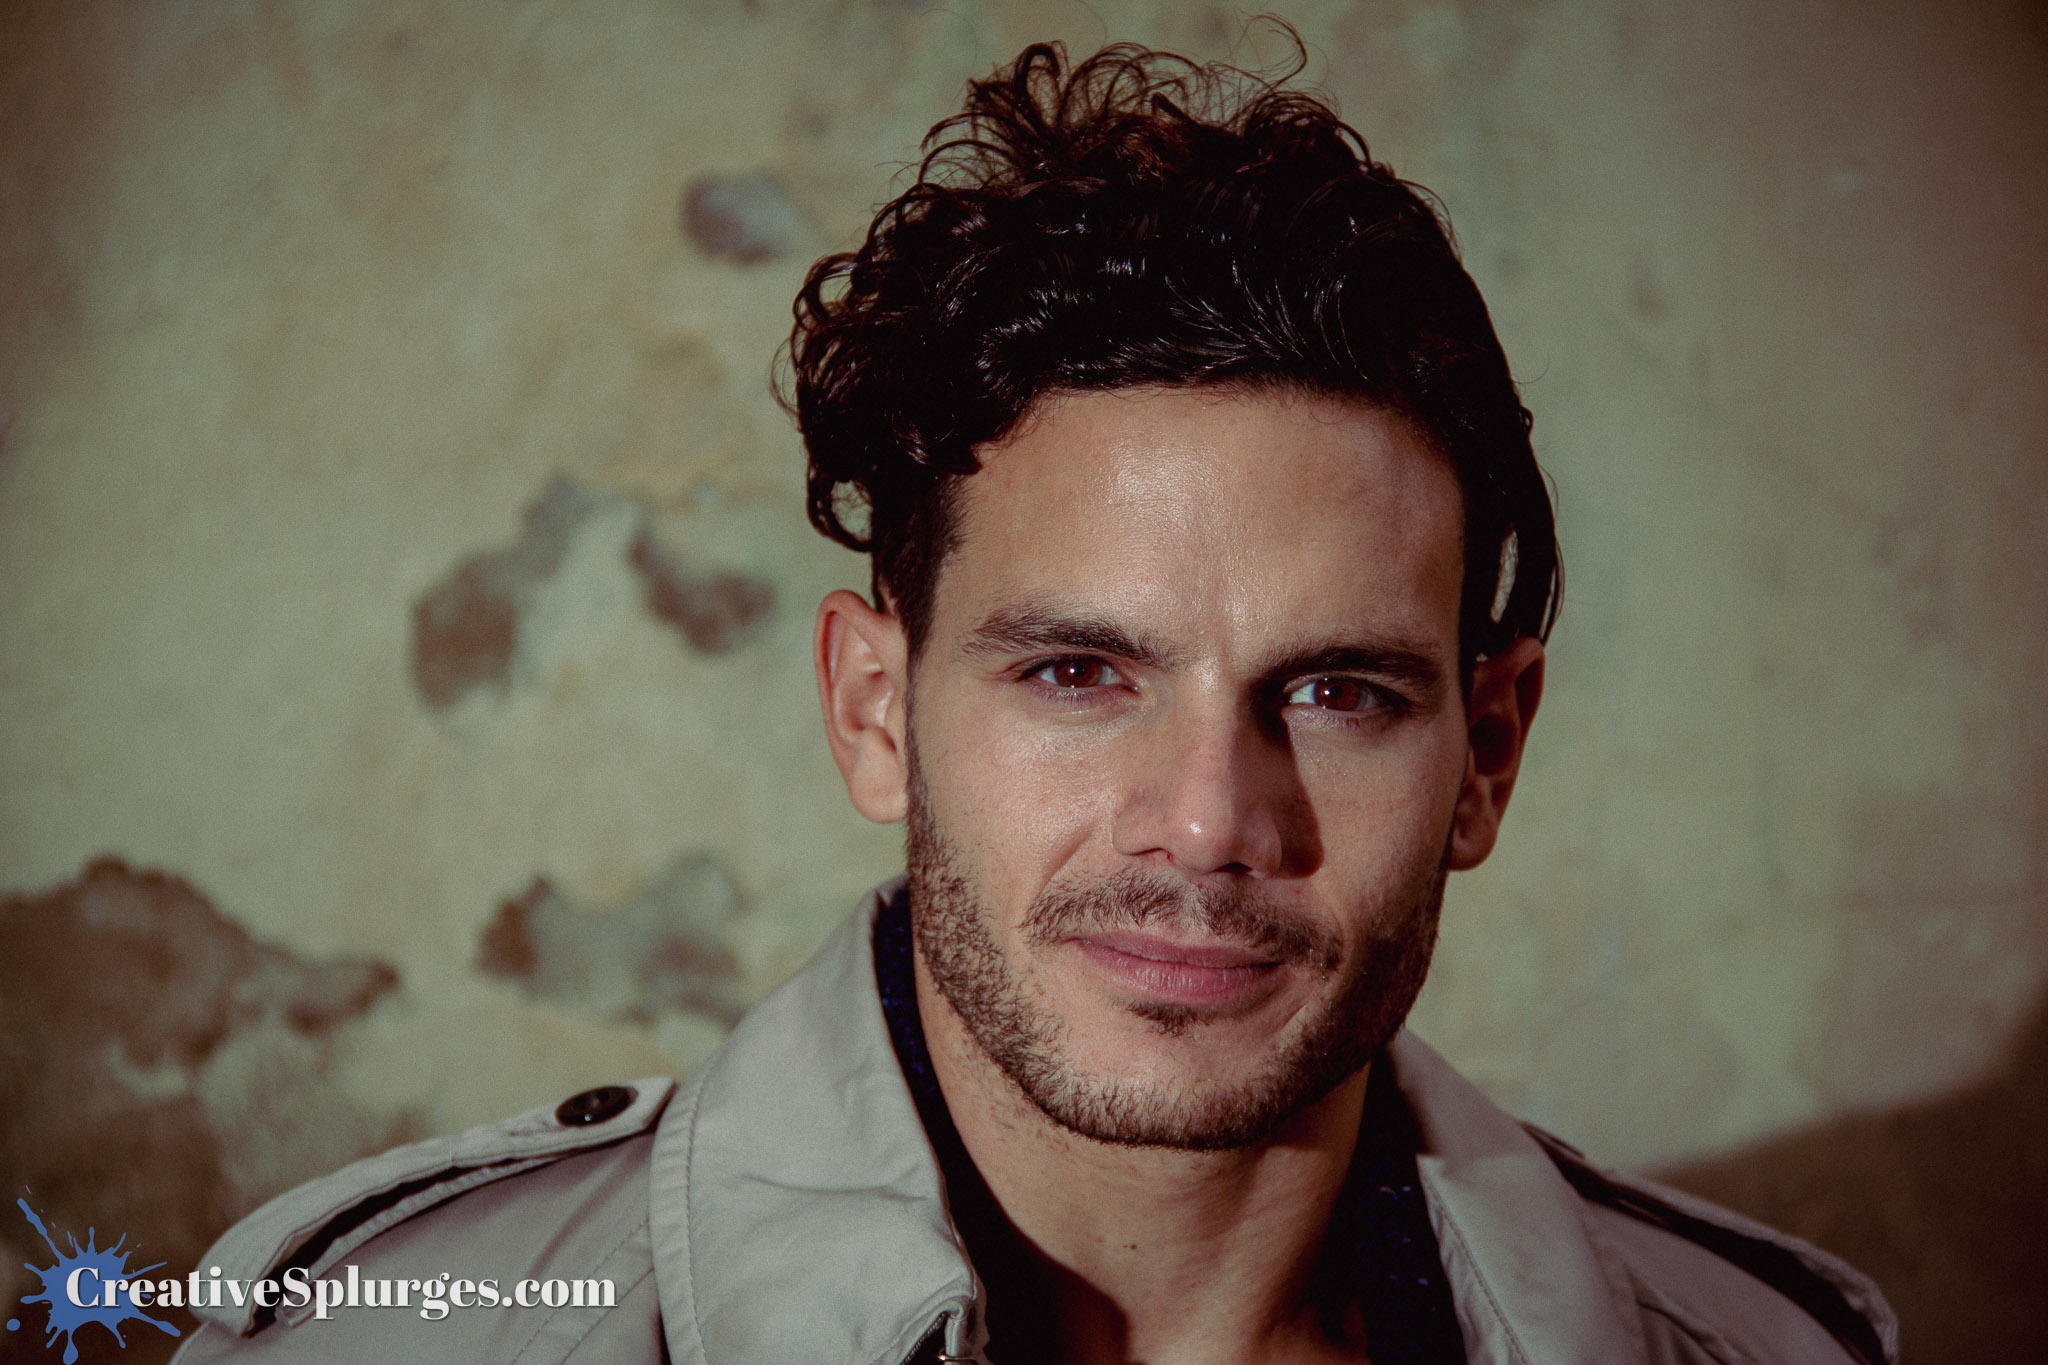
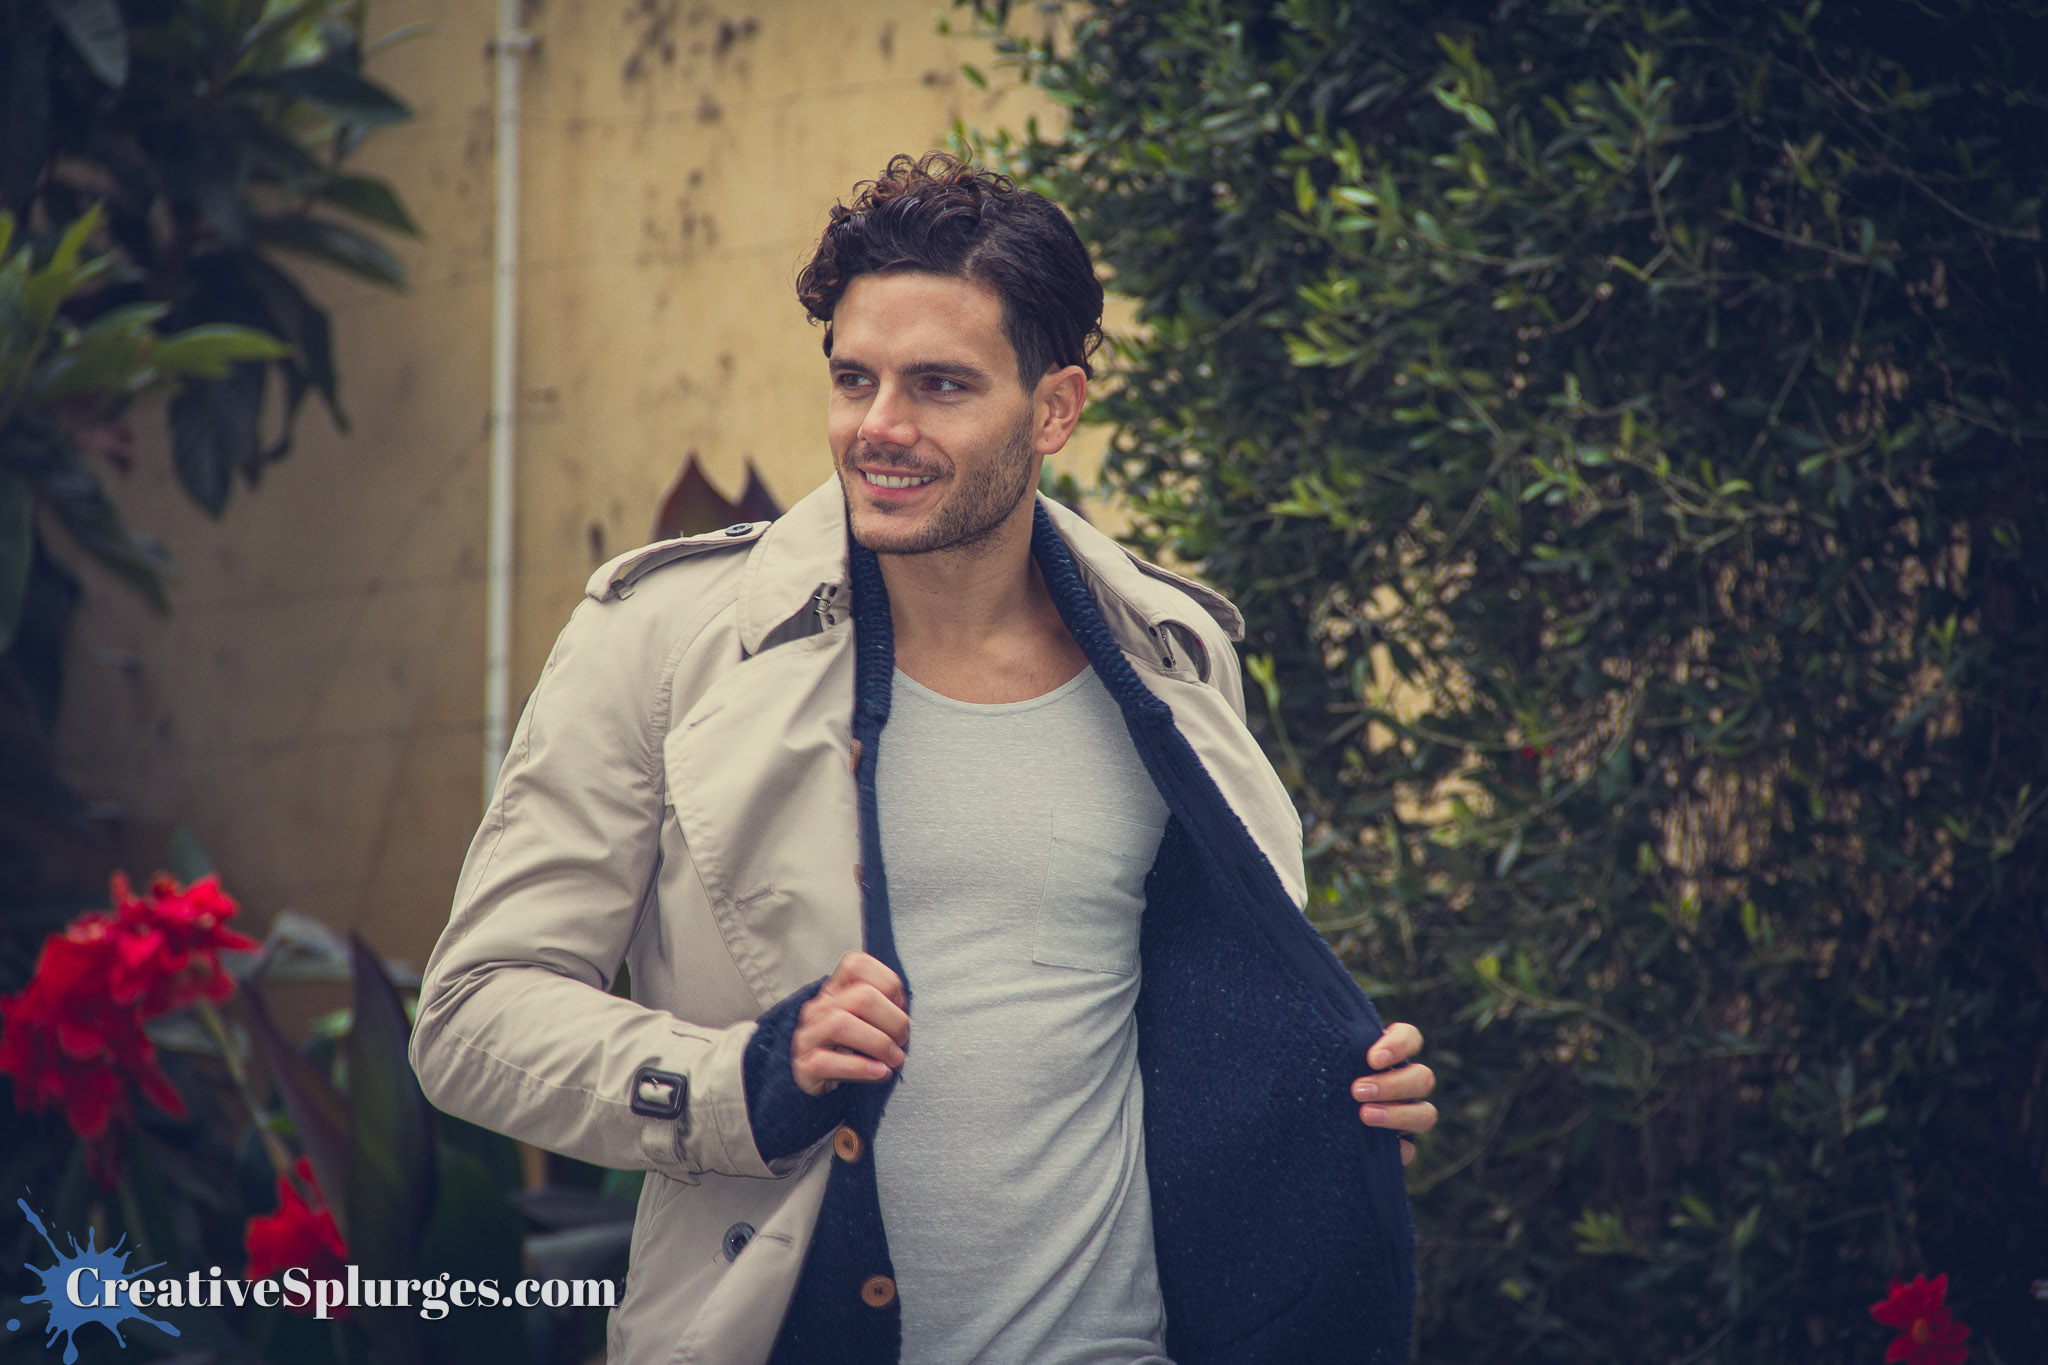
We were also using the flash to bring out the model’s eyes. I enhanced this a little further by masking their eyes and selectively increasing their brightness, which has become a standard editing step for me any time I photograph something with eyes. It’s made all the more easier with Lightroom’s subject detection, which will mask them automatically.
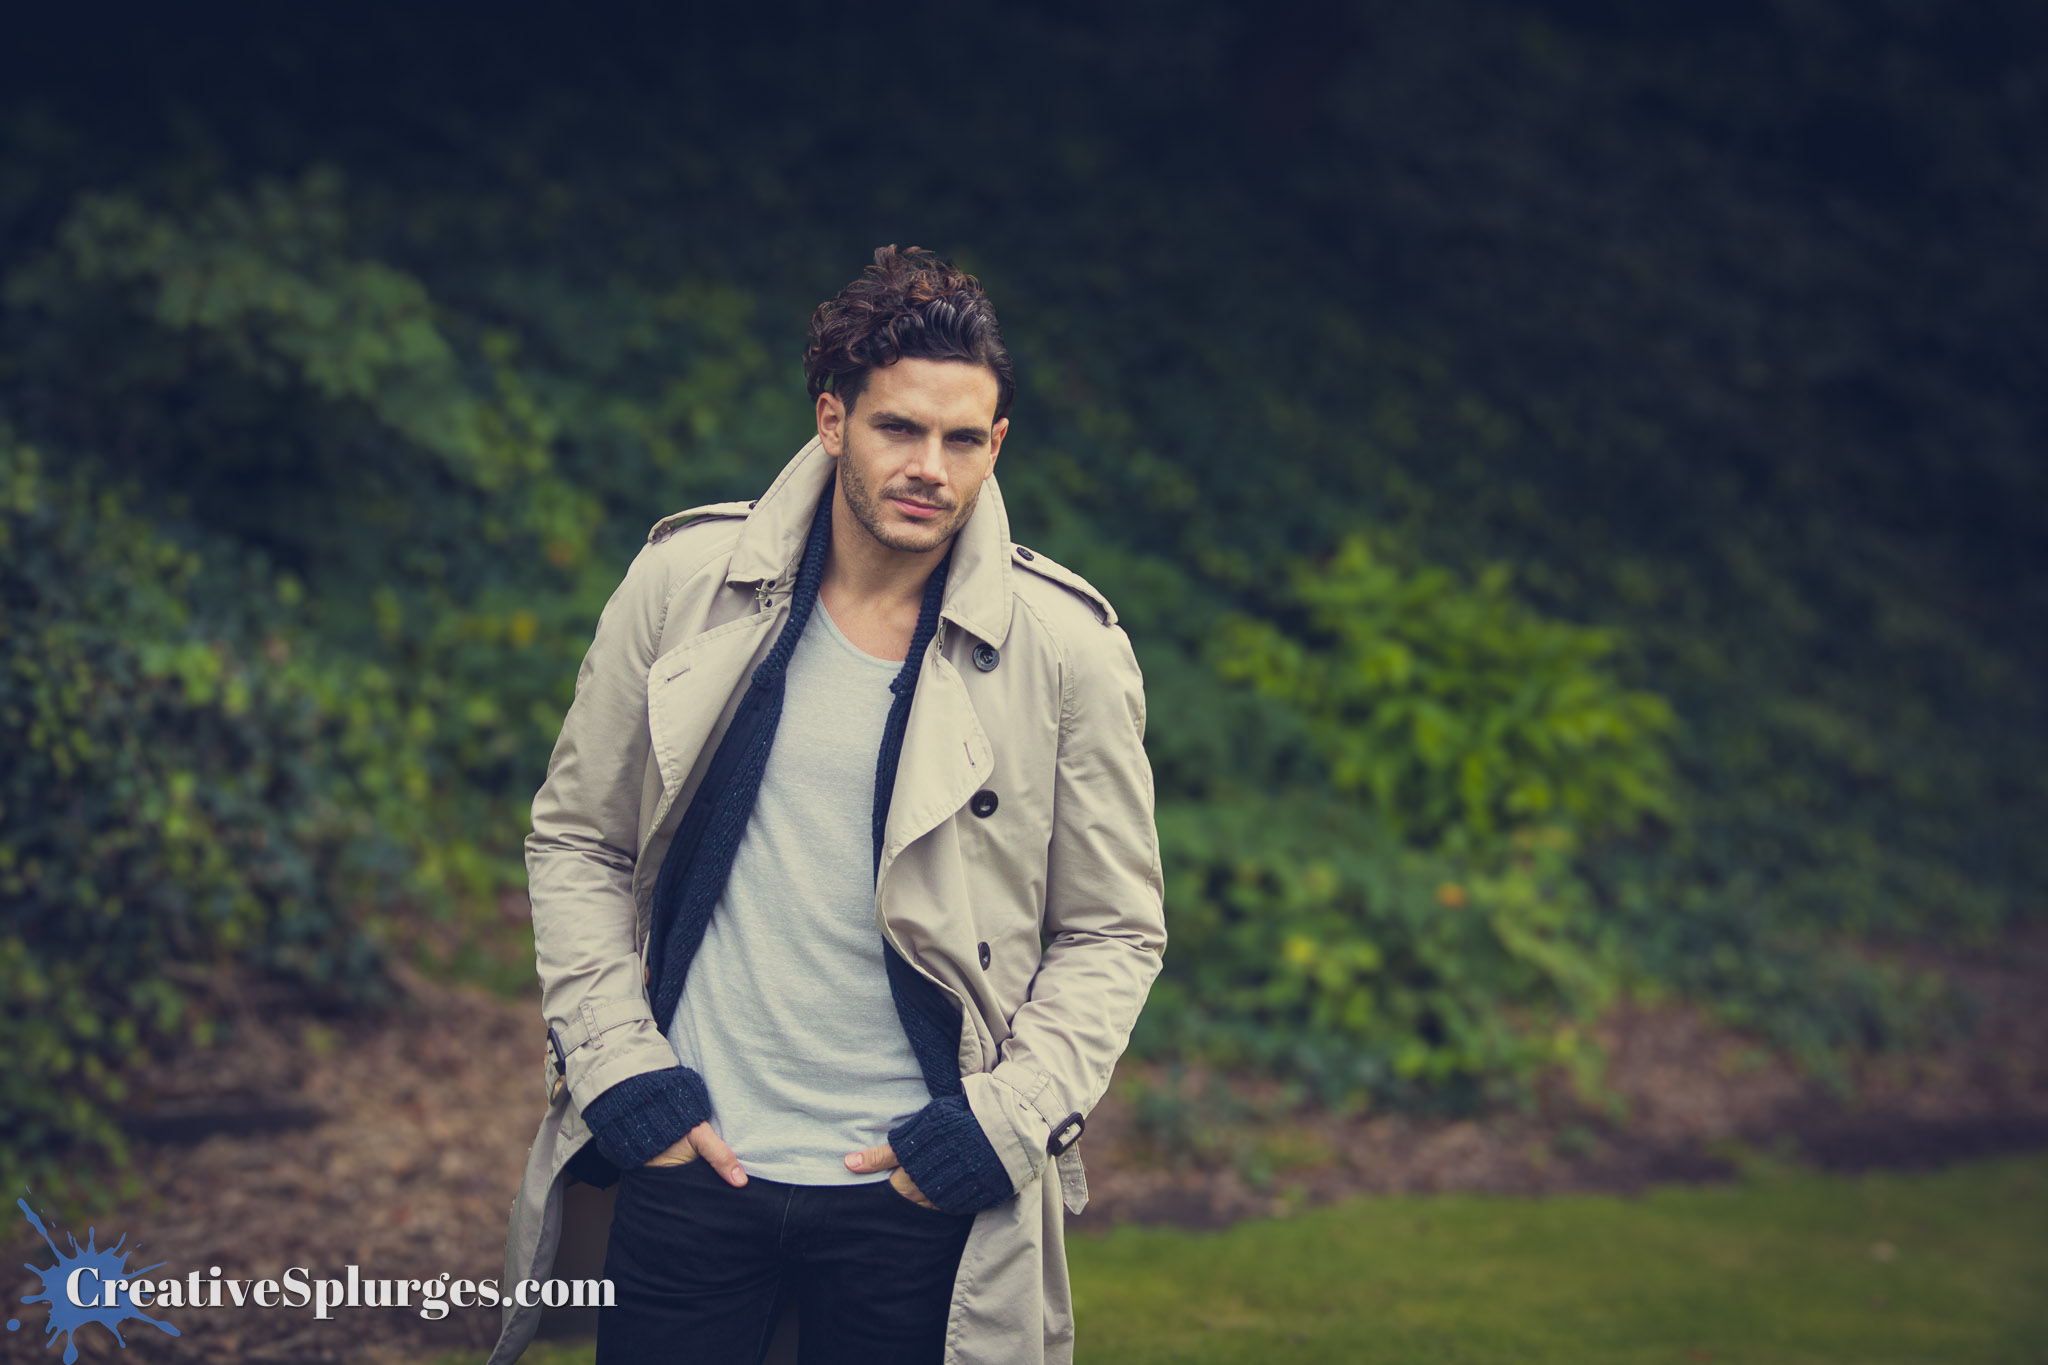
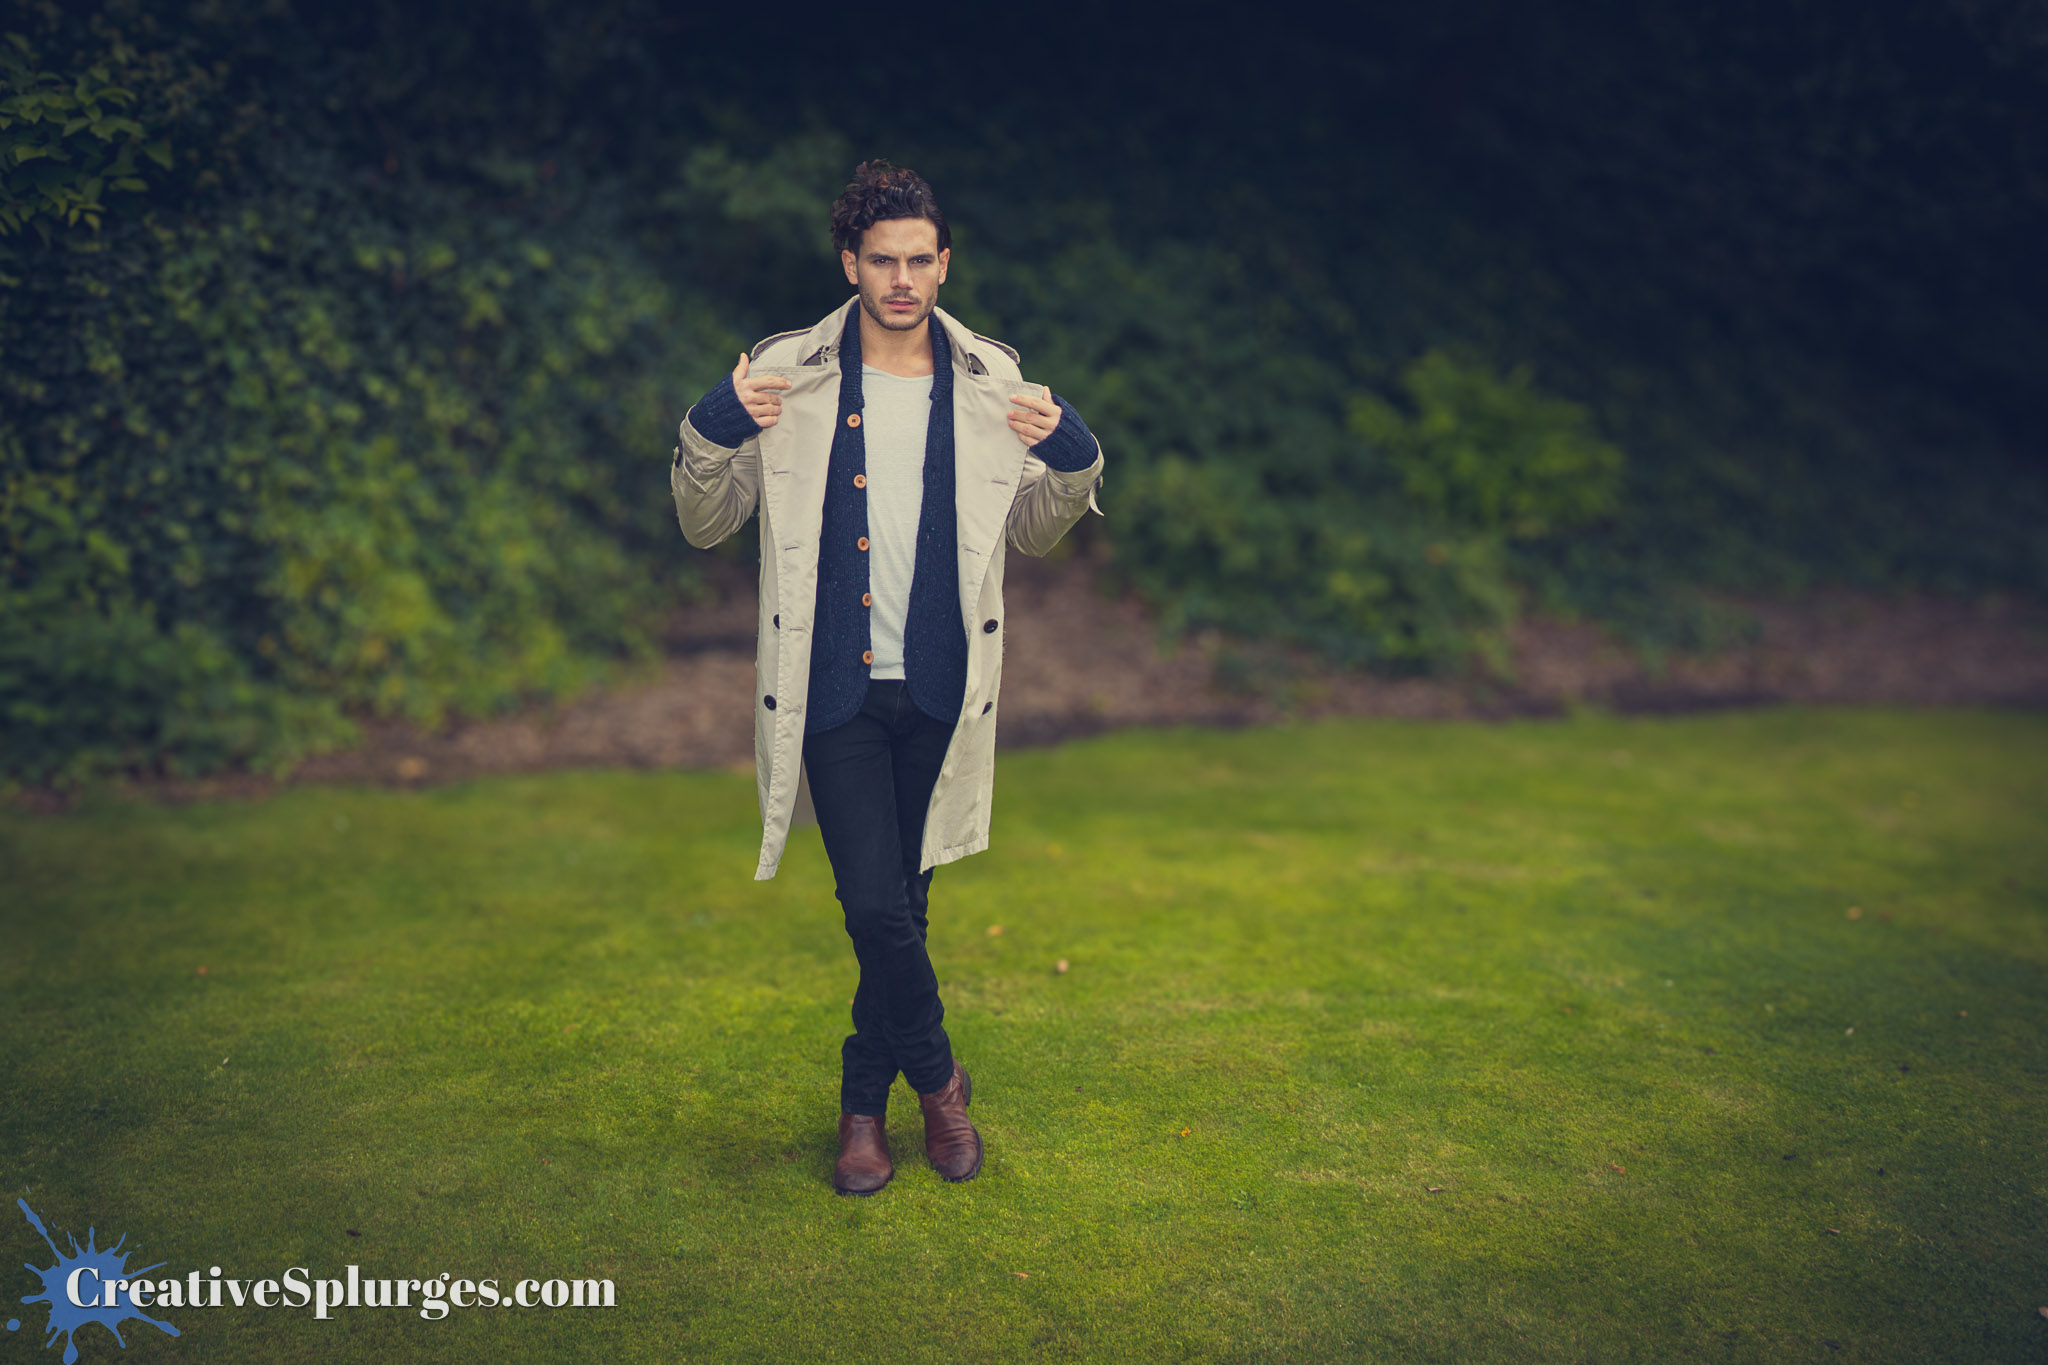
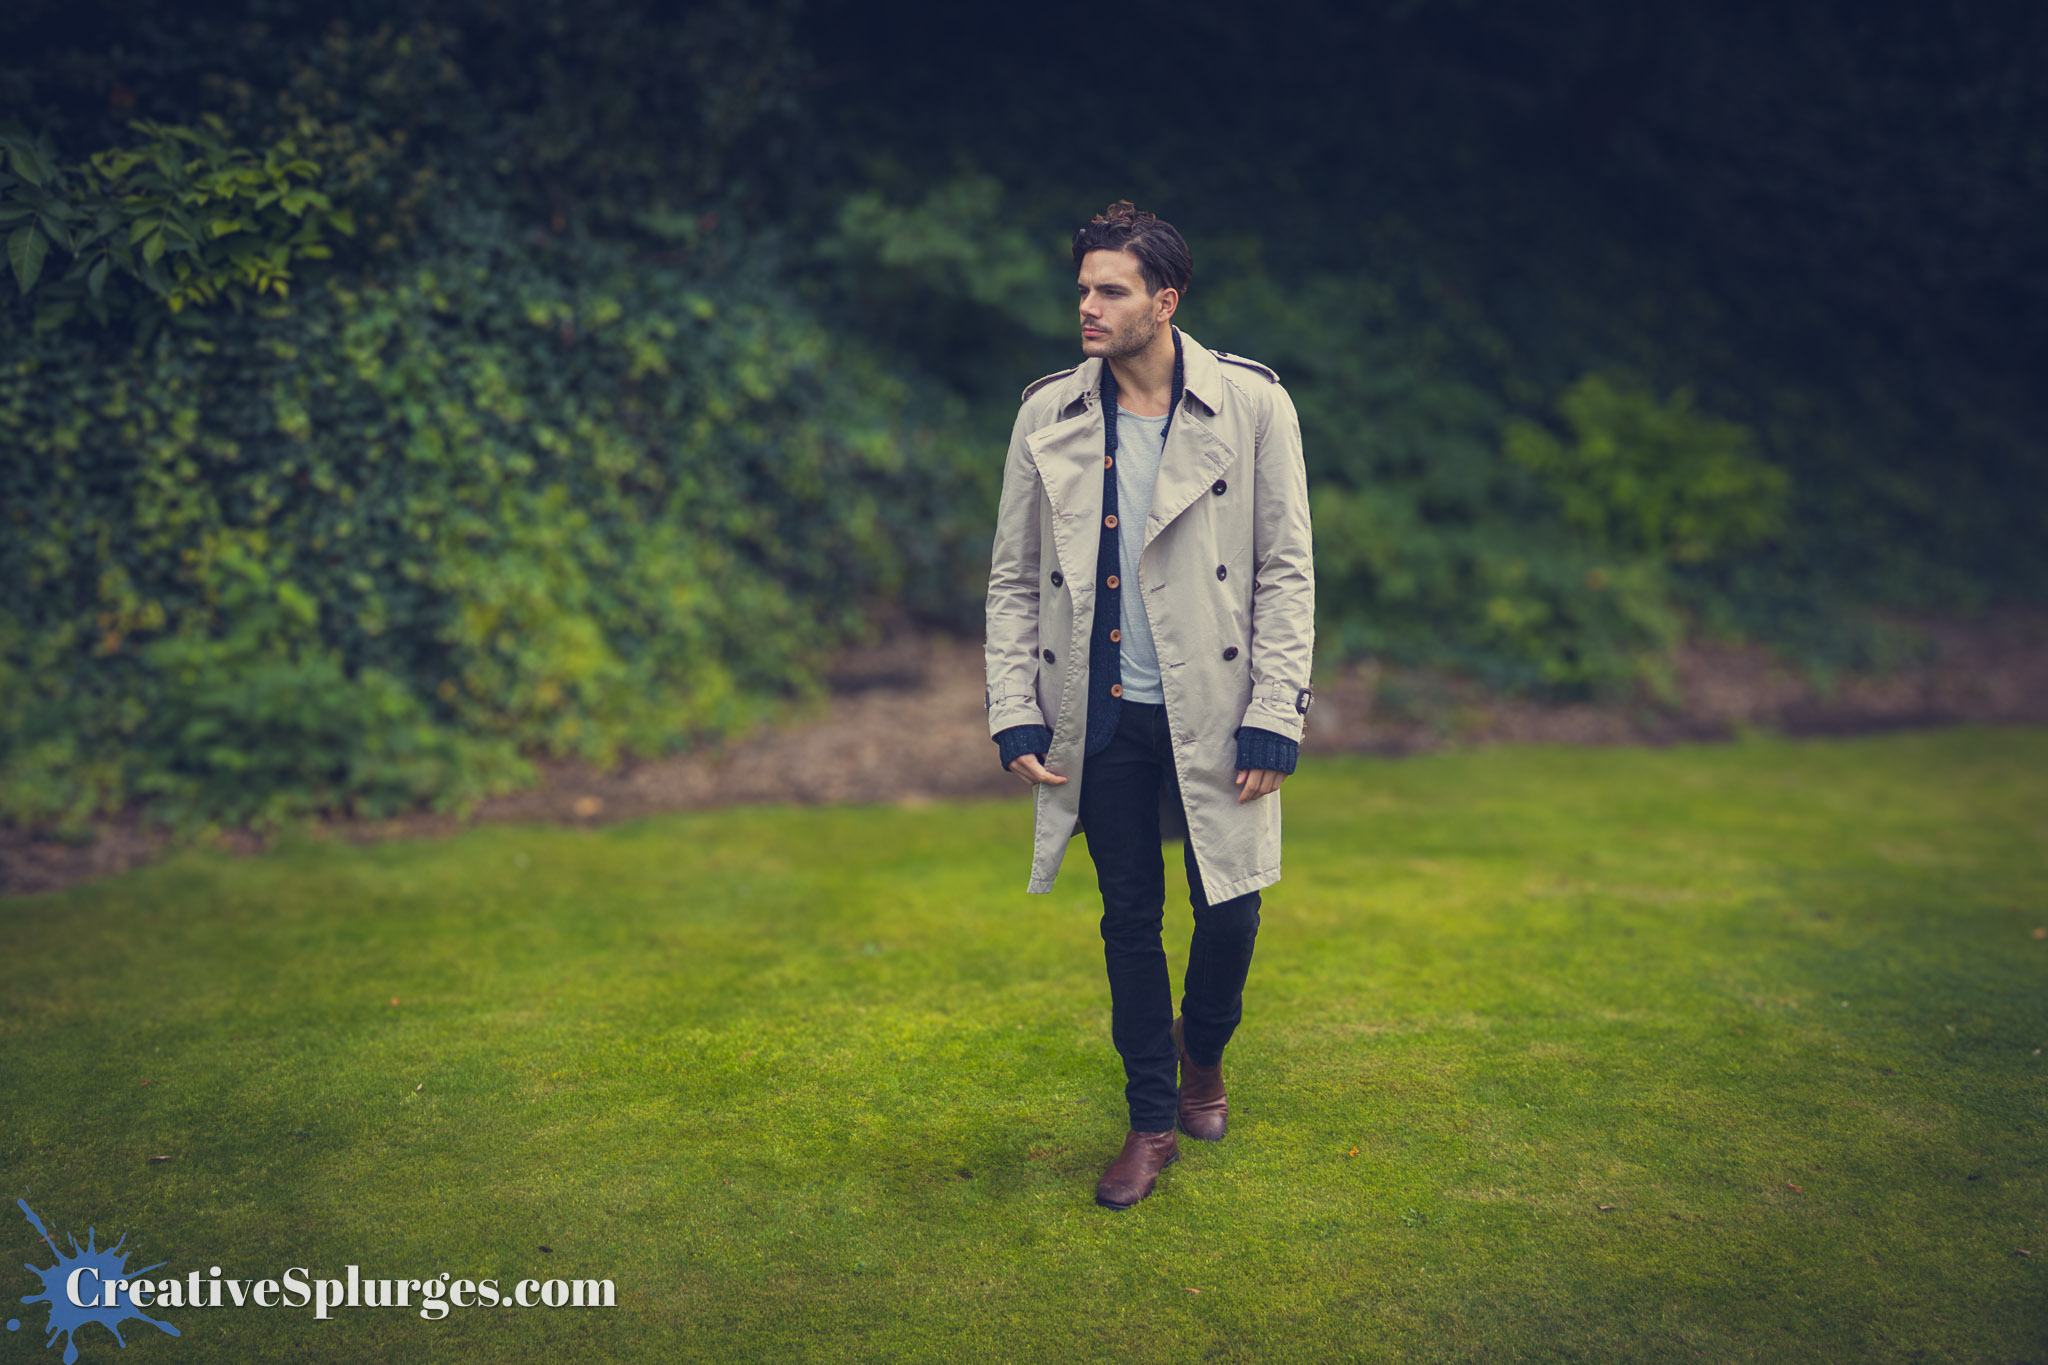
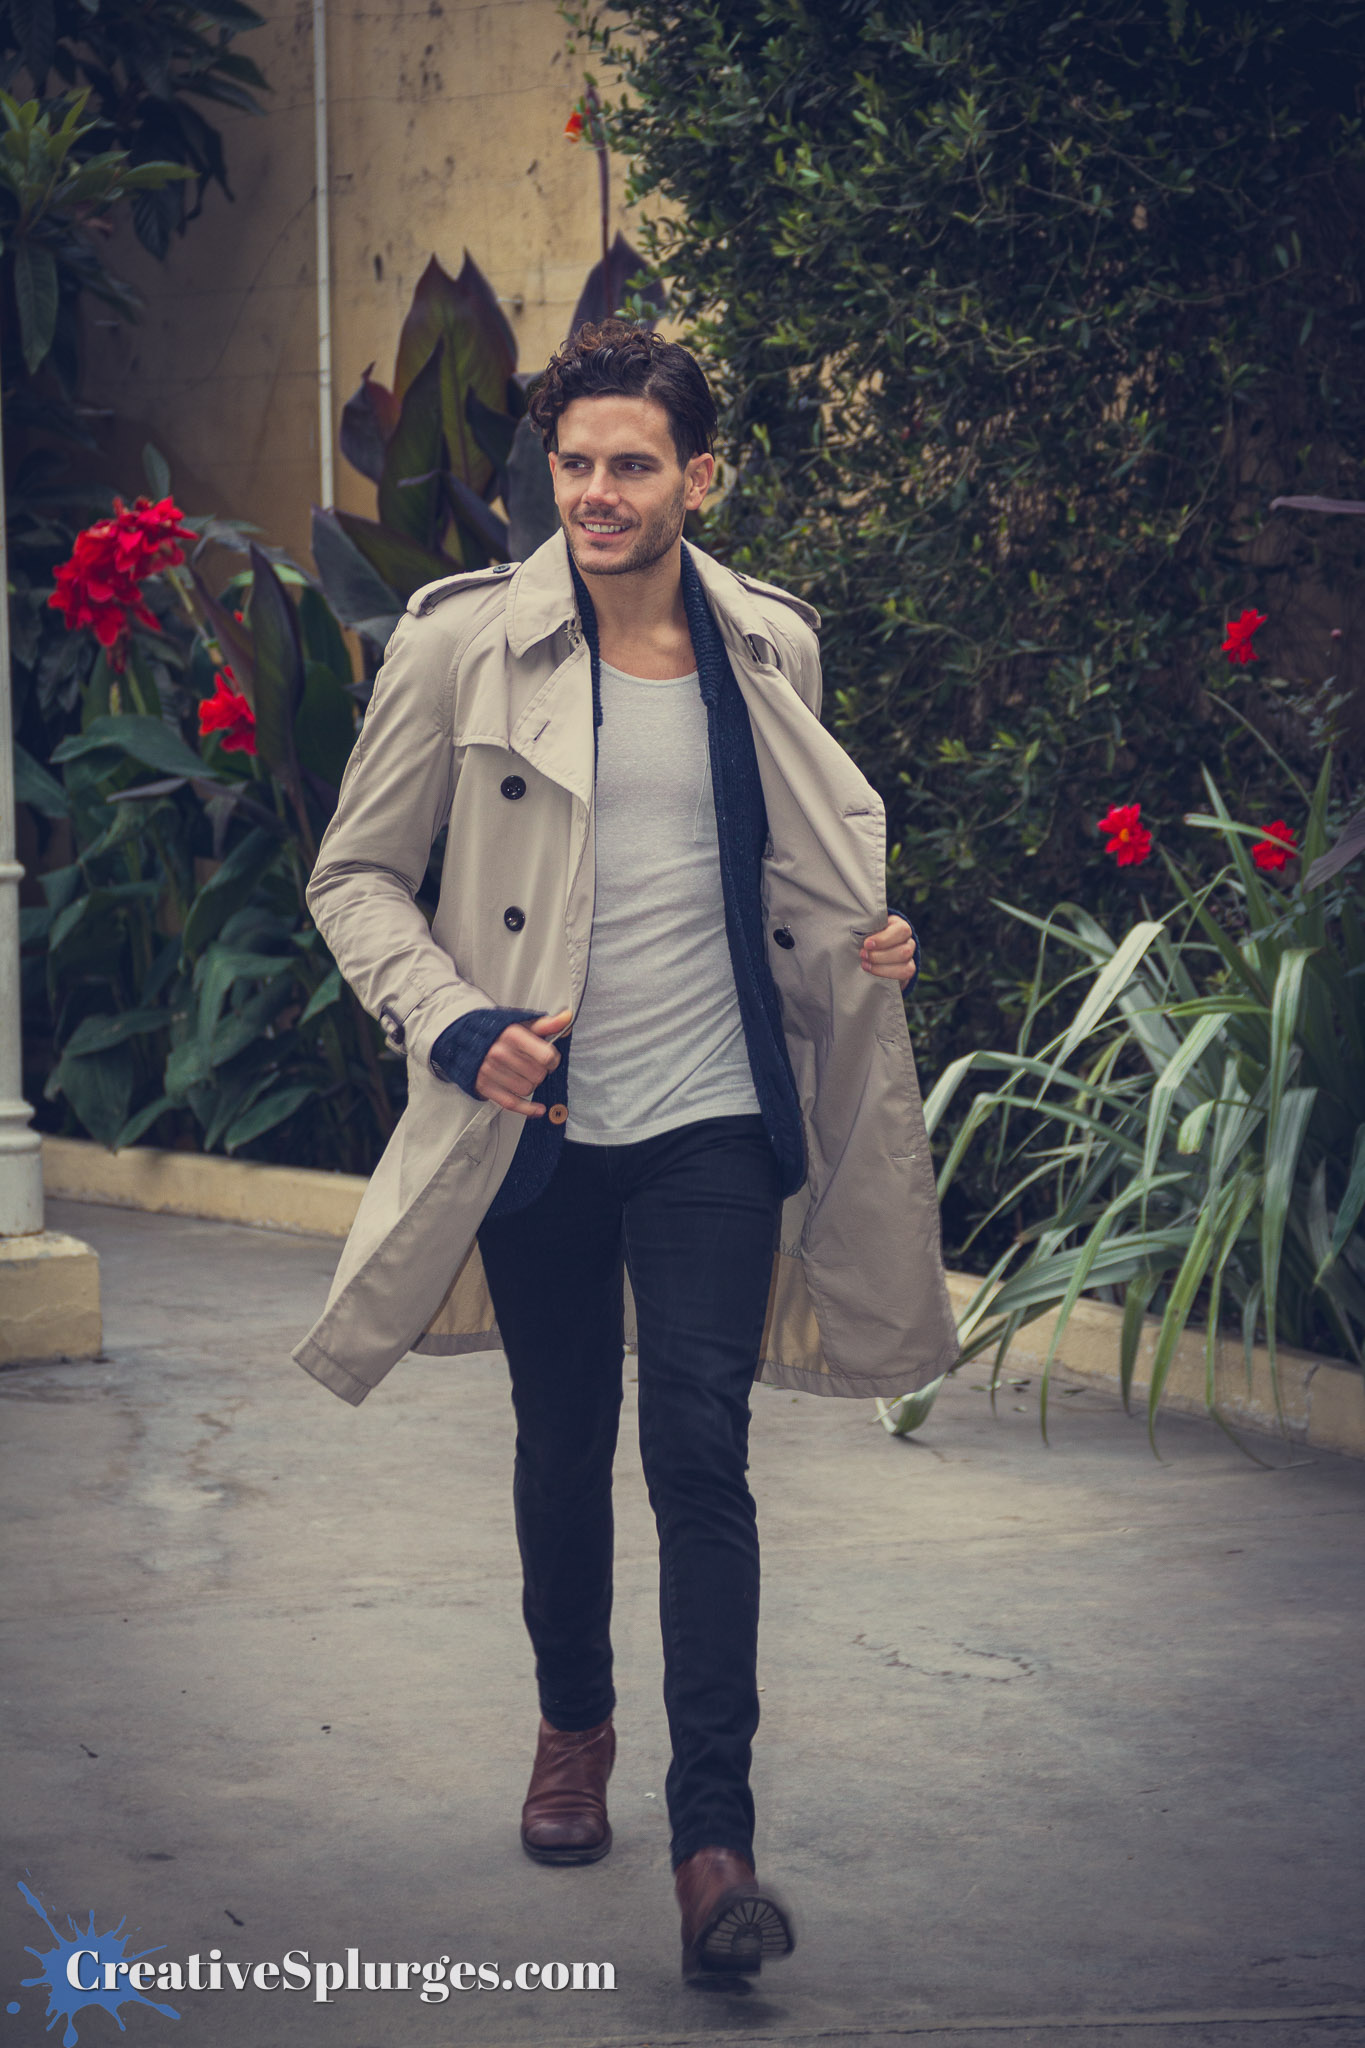
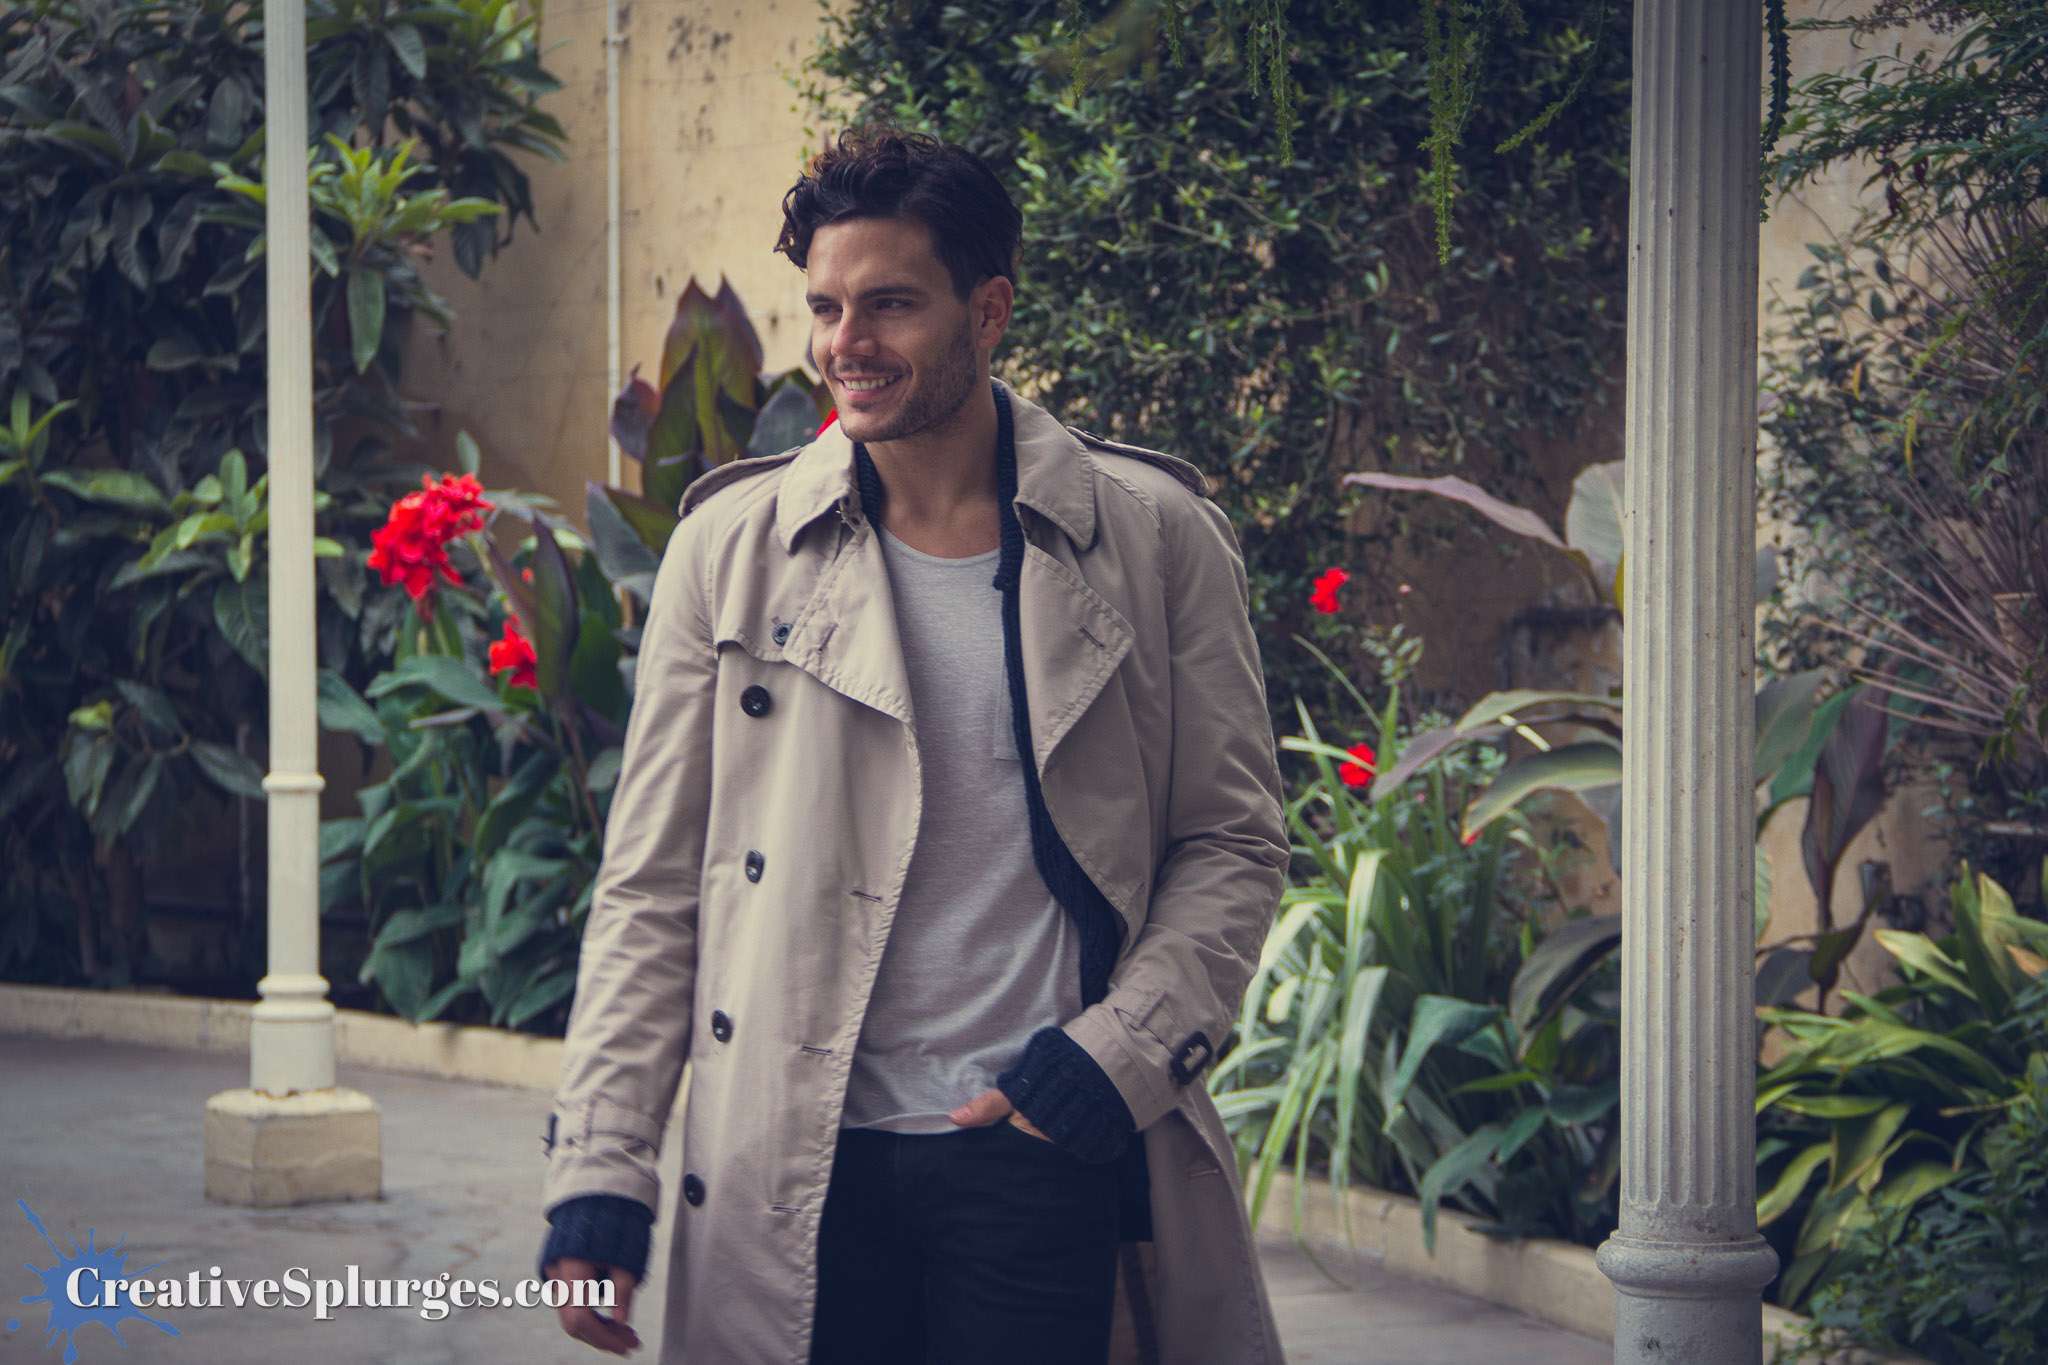
We soon moved out into the gardens for a different backdrop, but generally continued the same theory.

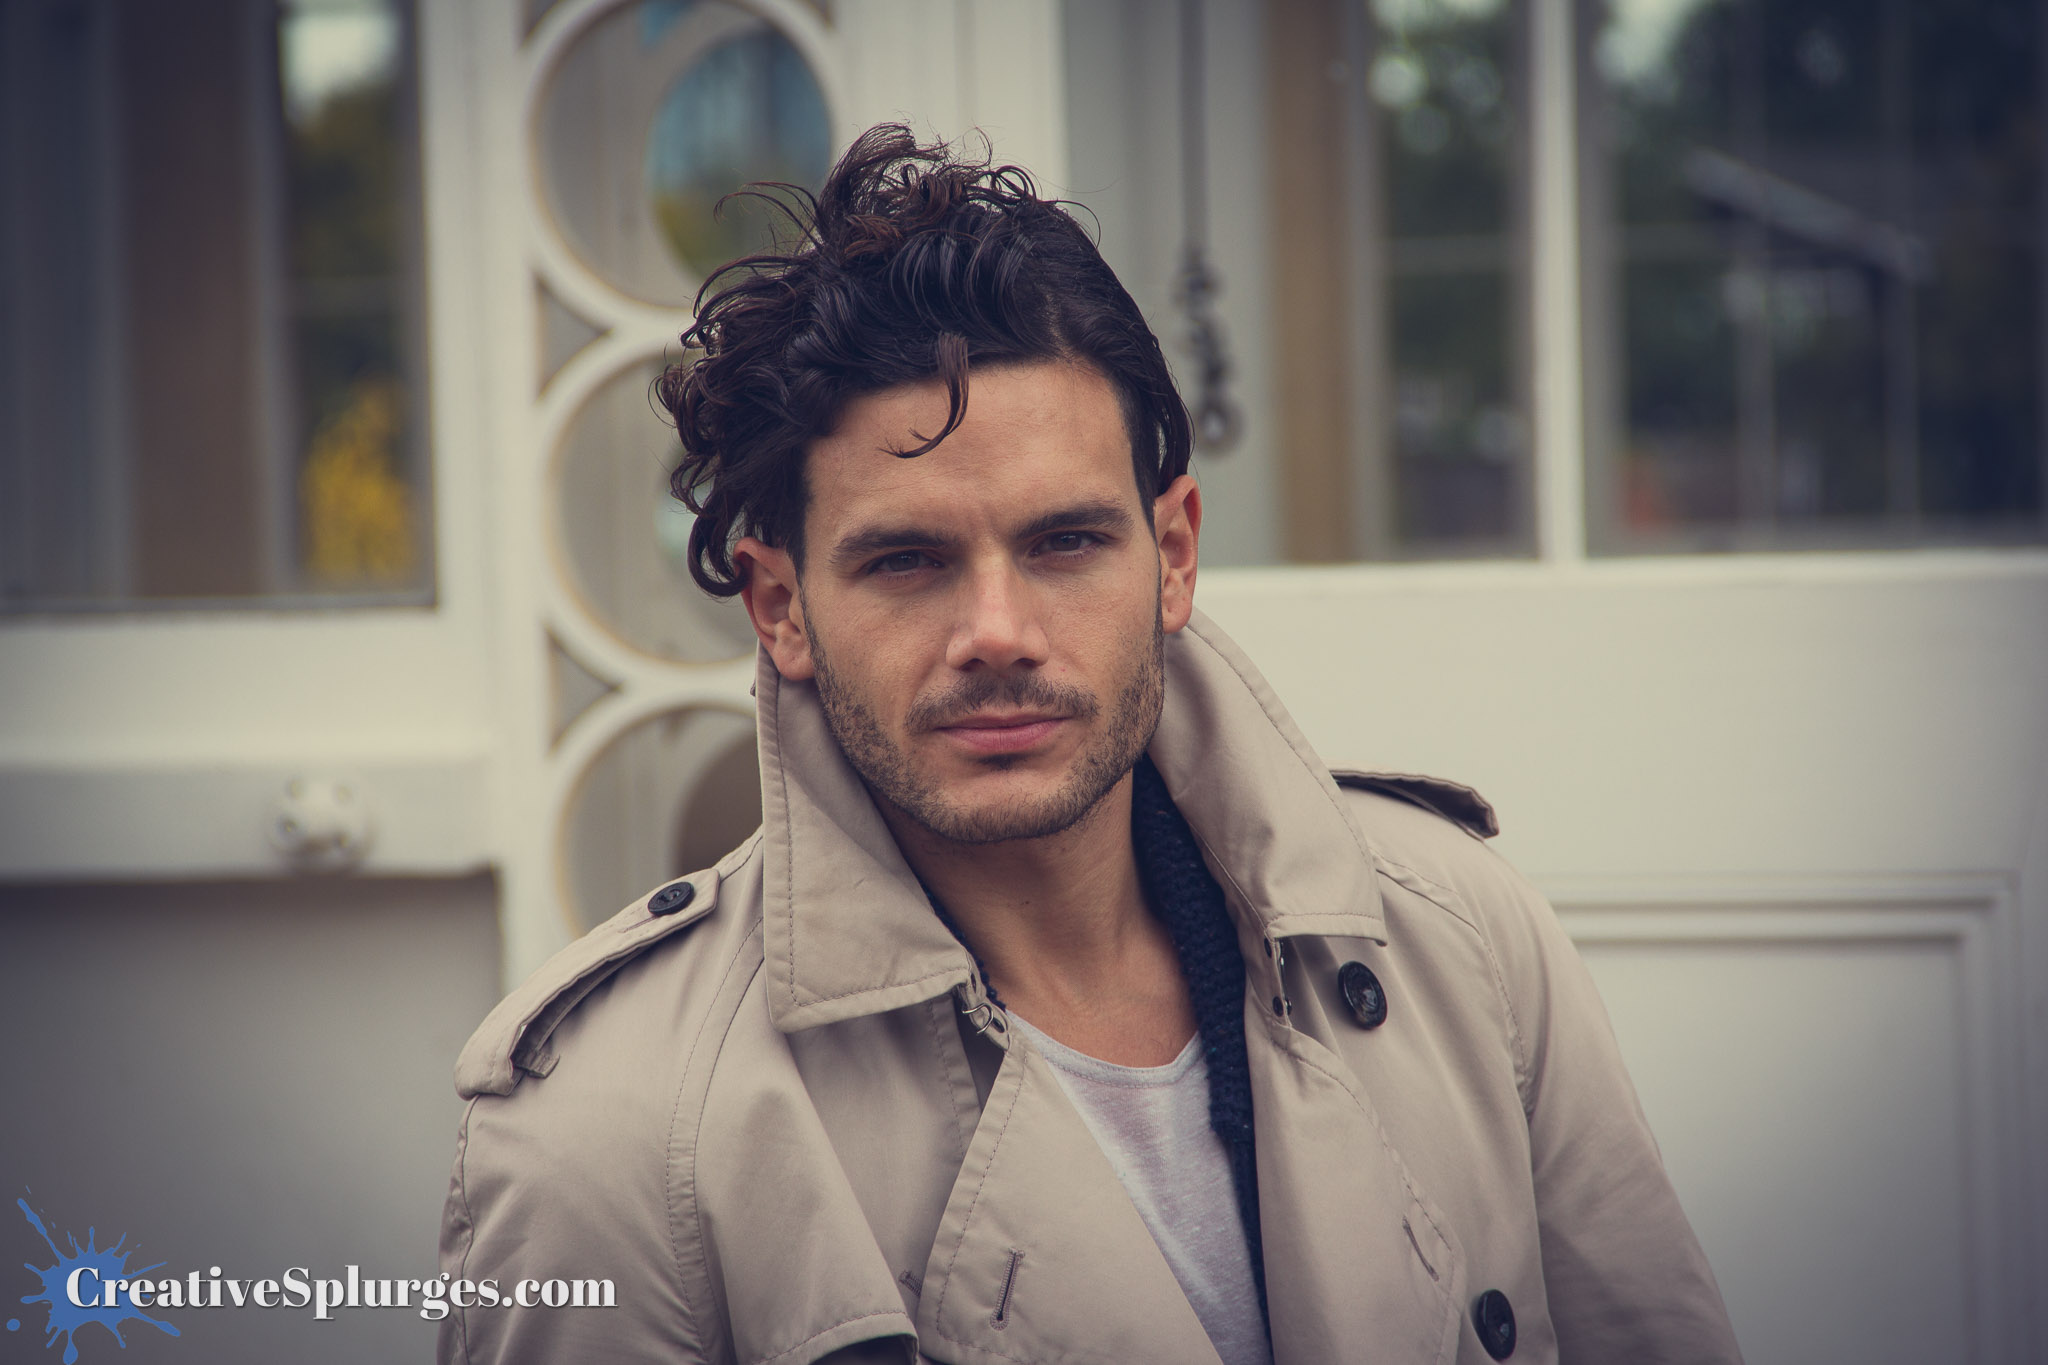
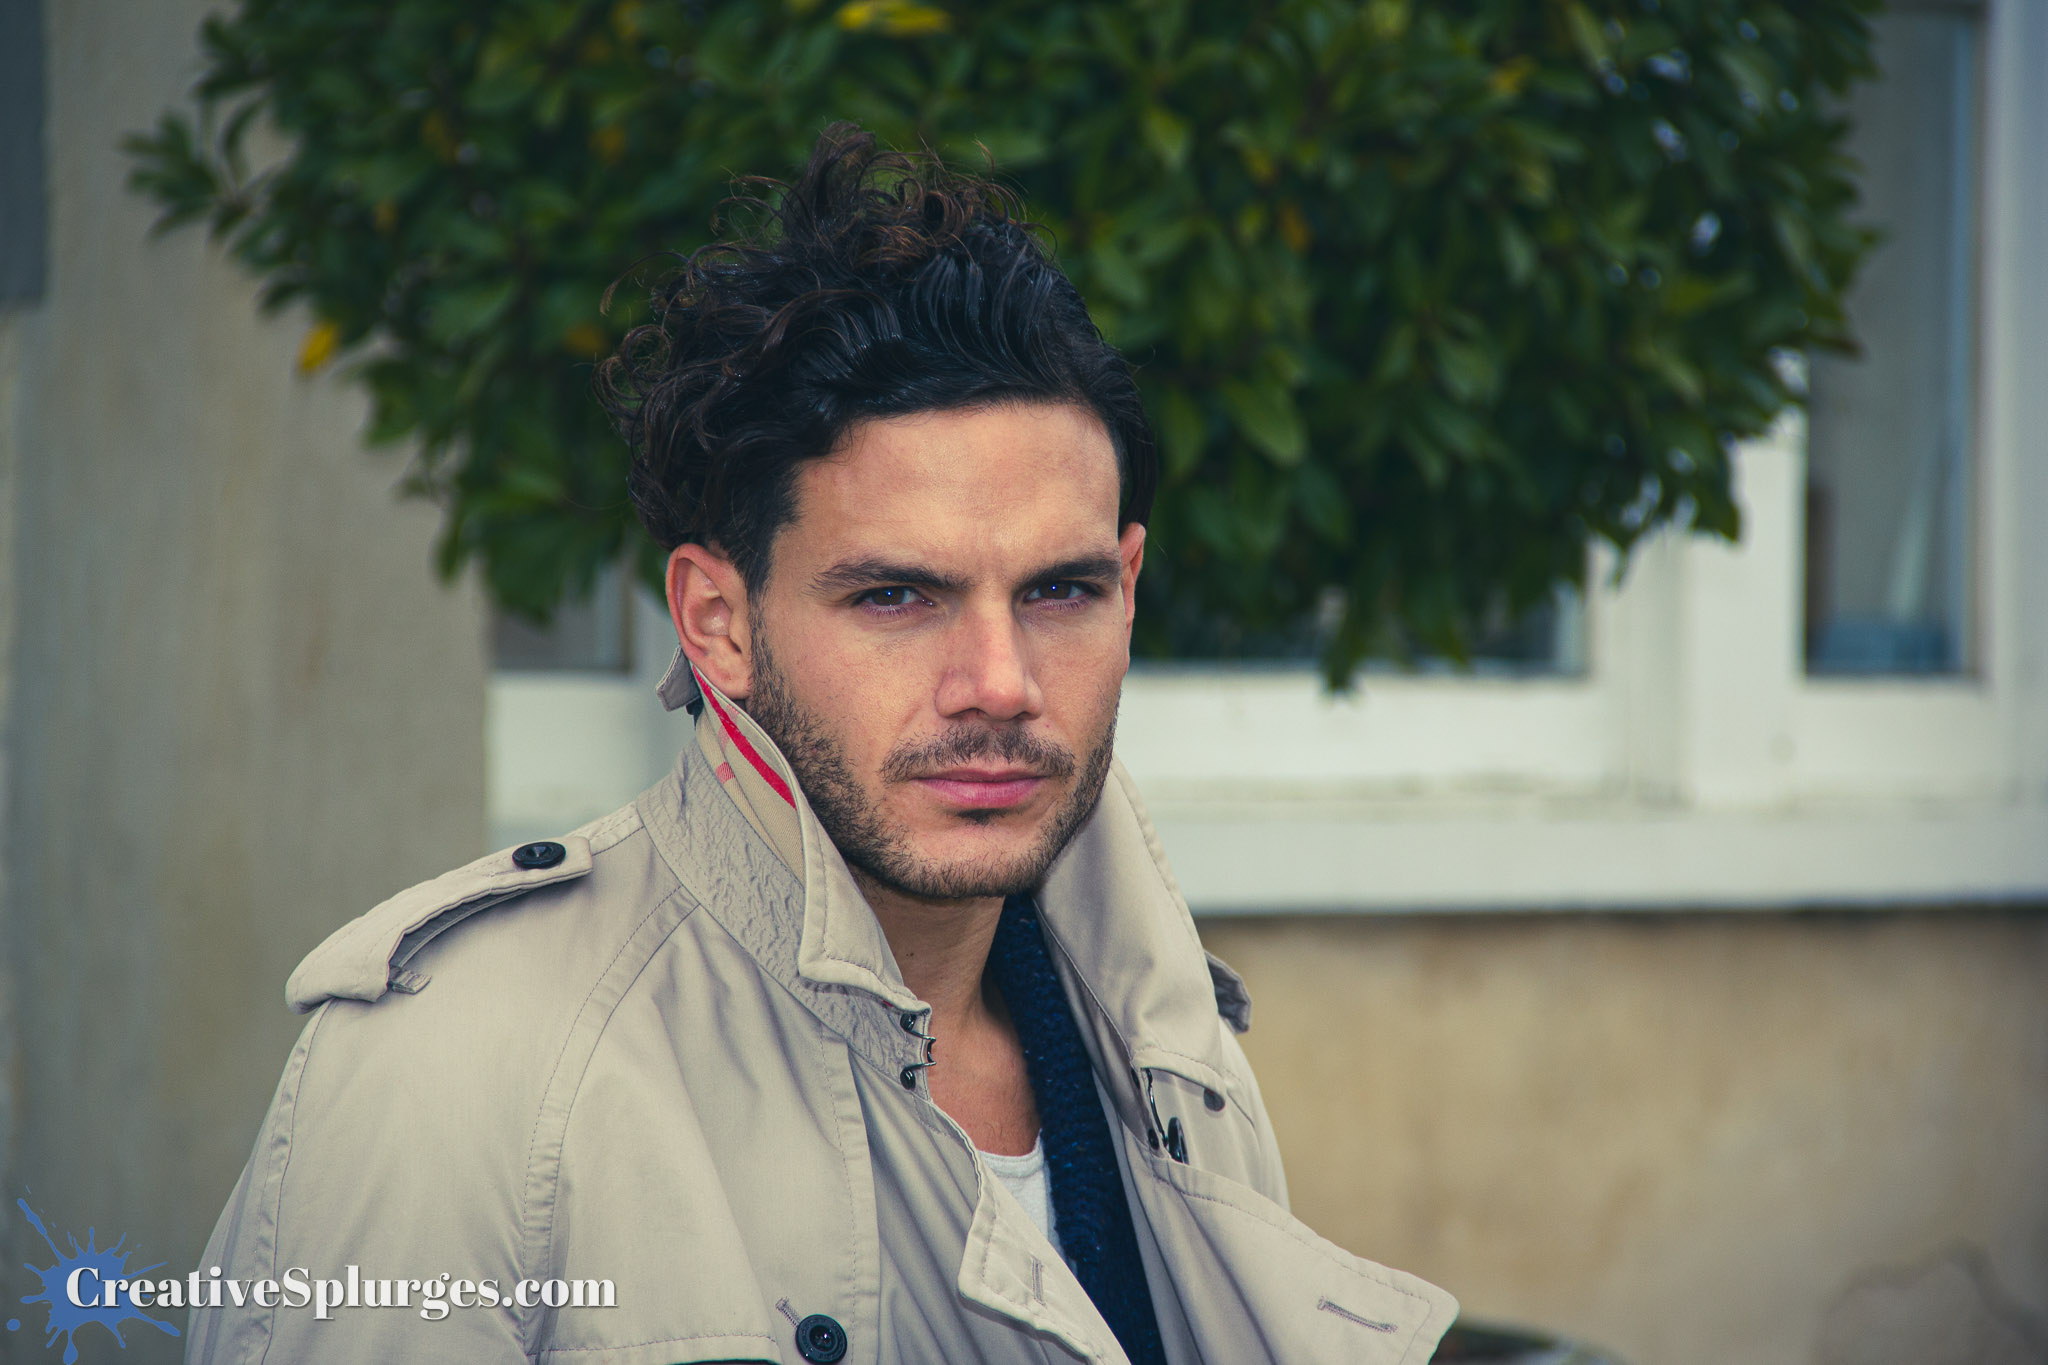
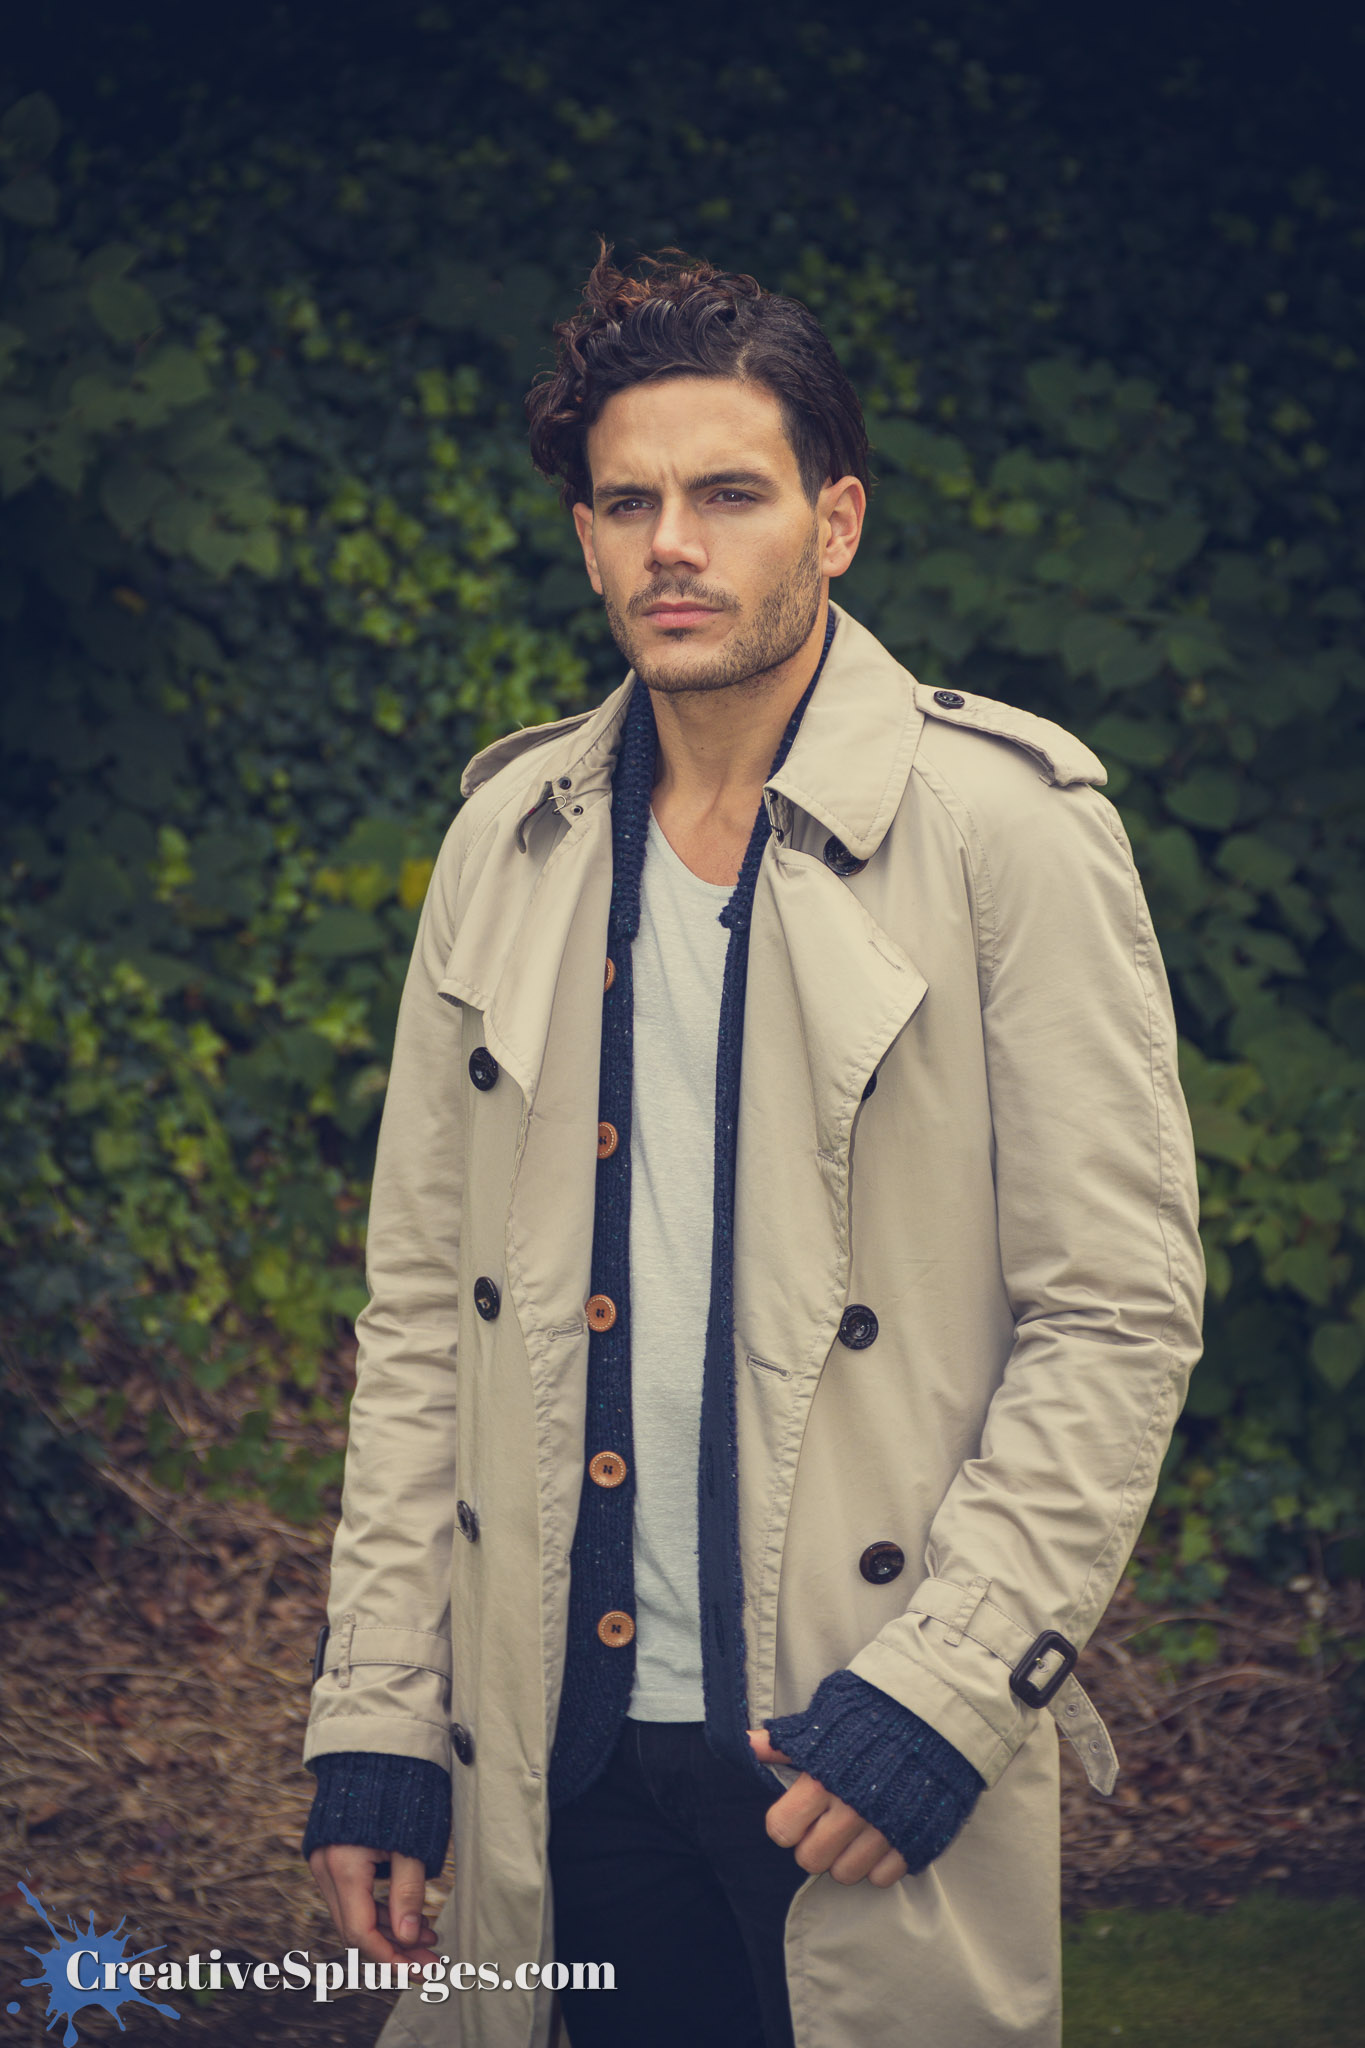
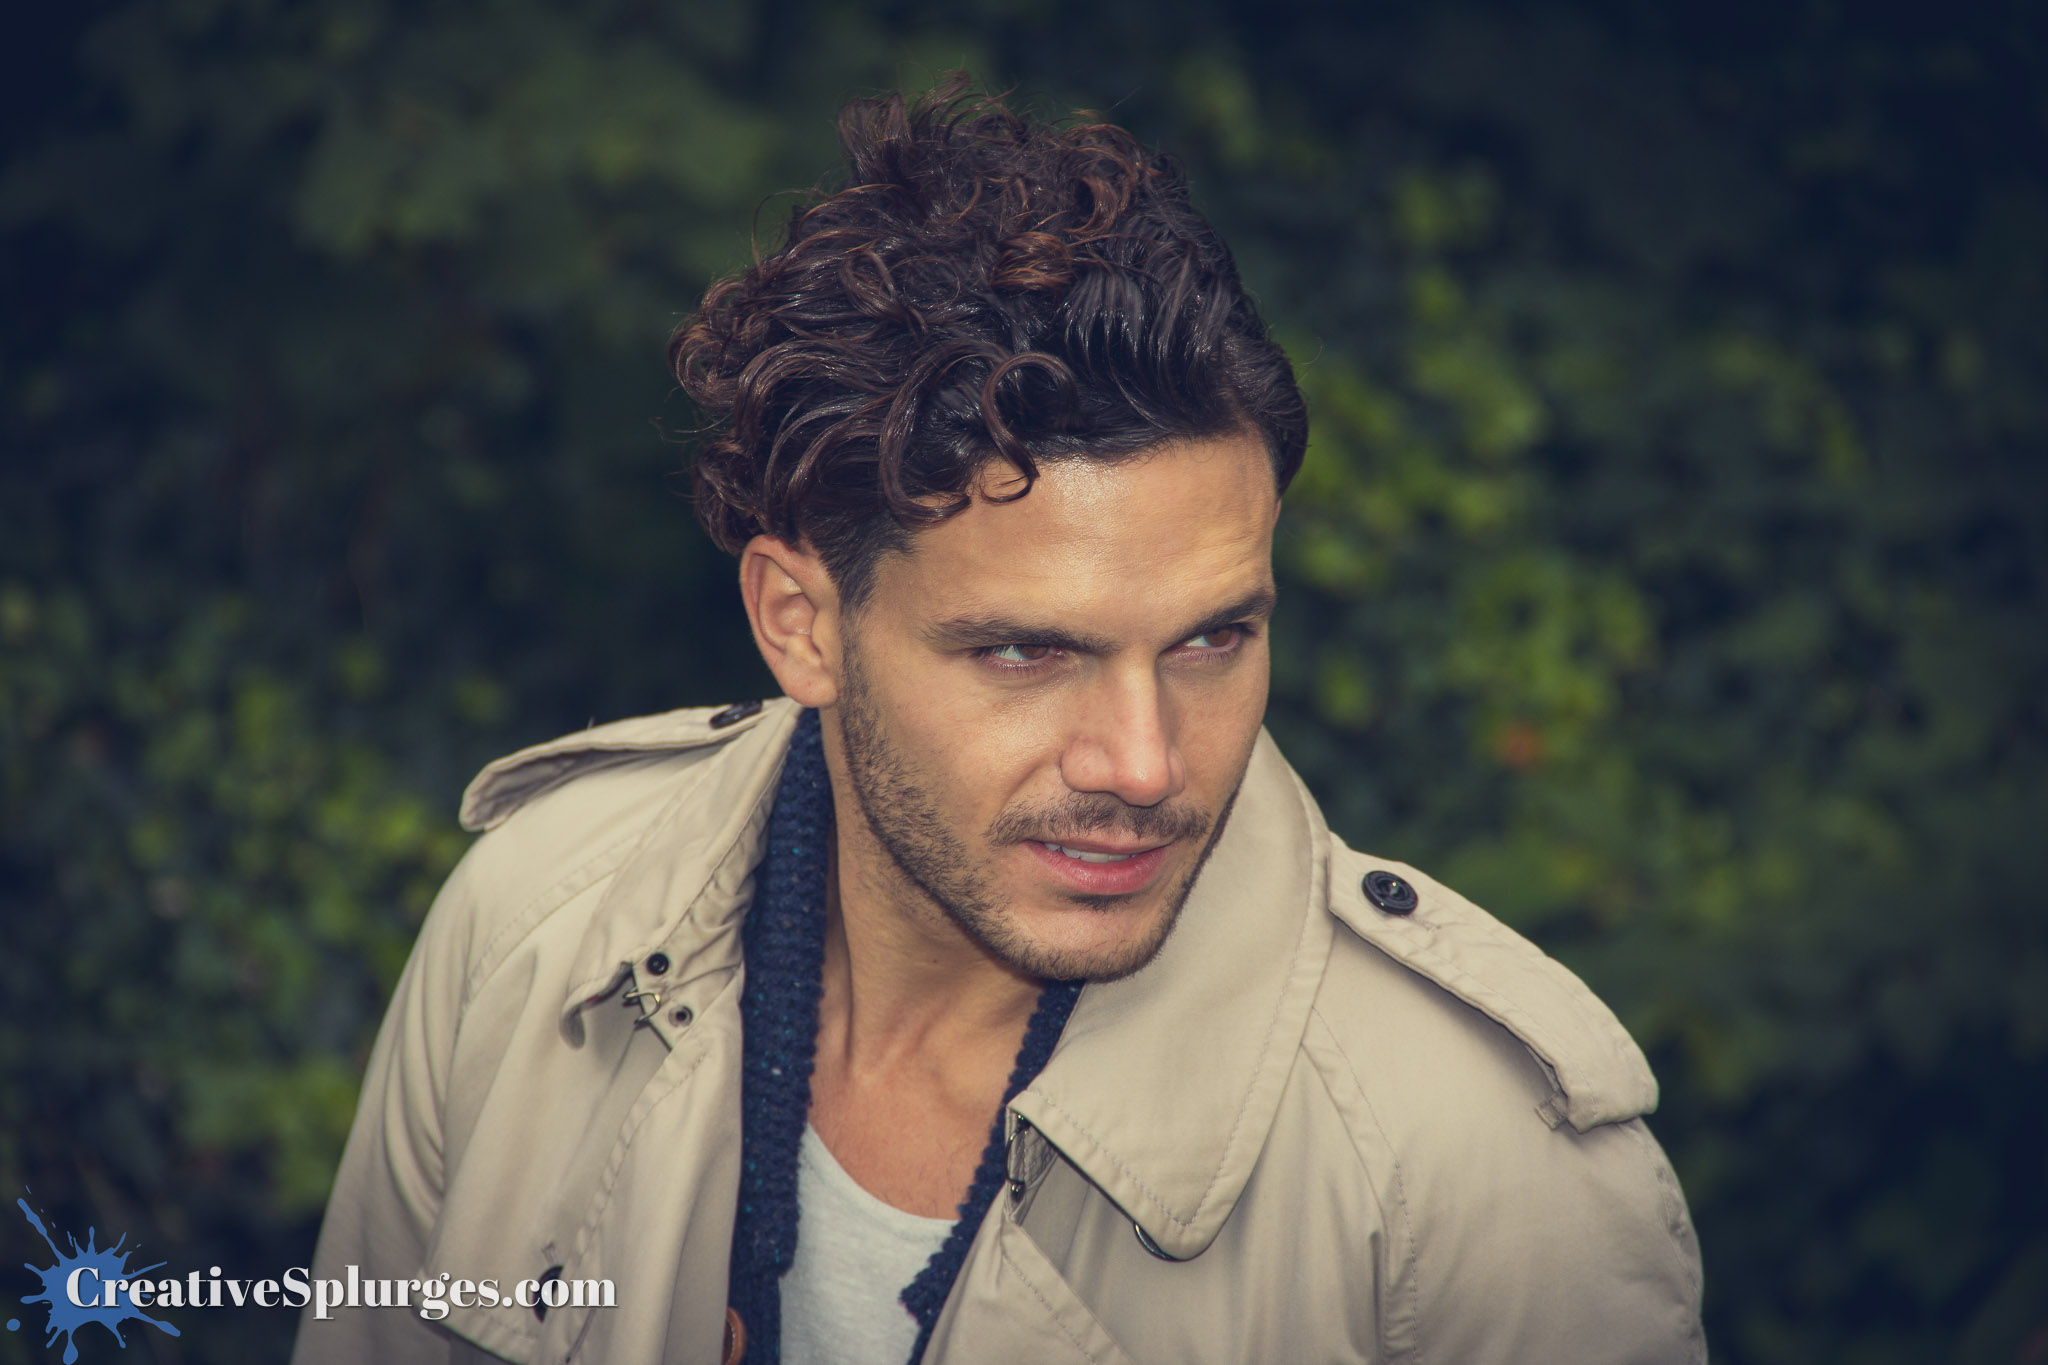
For the most part I used my standard kit lens for shooting. I did break out my 100mm f/2.8 macro at one point, as it was the best thing I had for portraits at the time, but I think I found it too restrictive because I didn’t use it for long – in fact this next shot is the only one that made the cut that I shot using that lens.
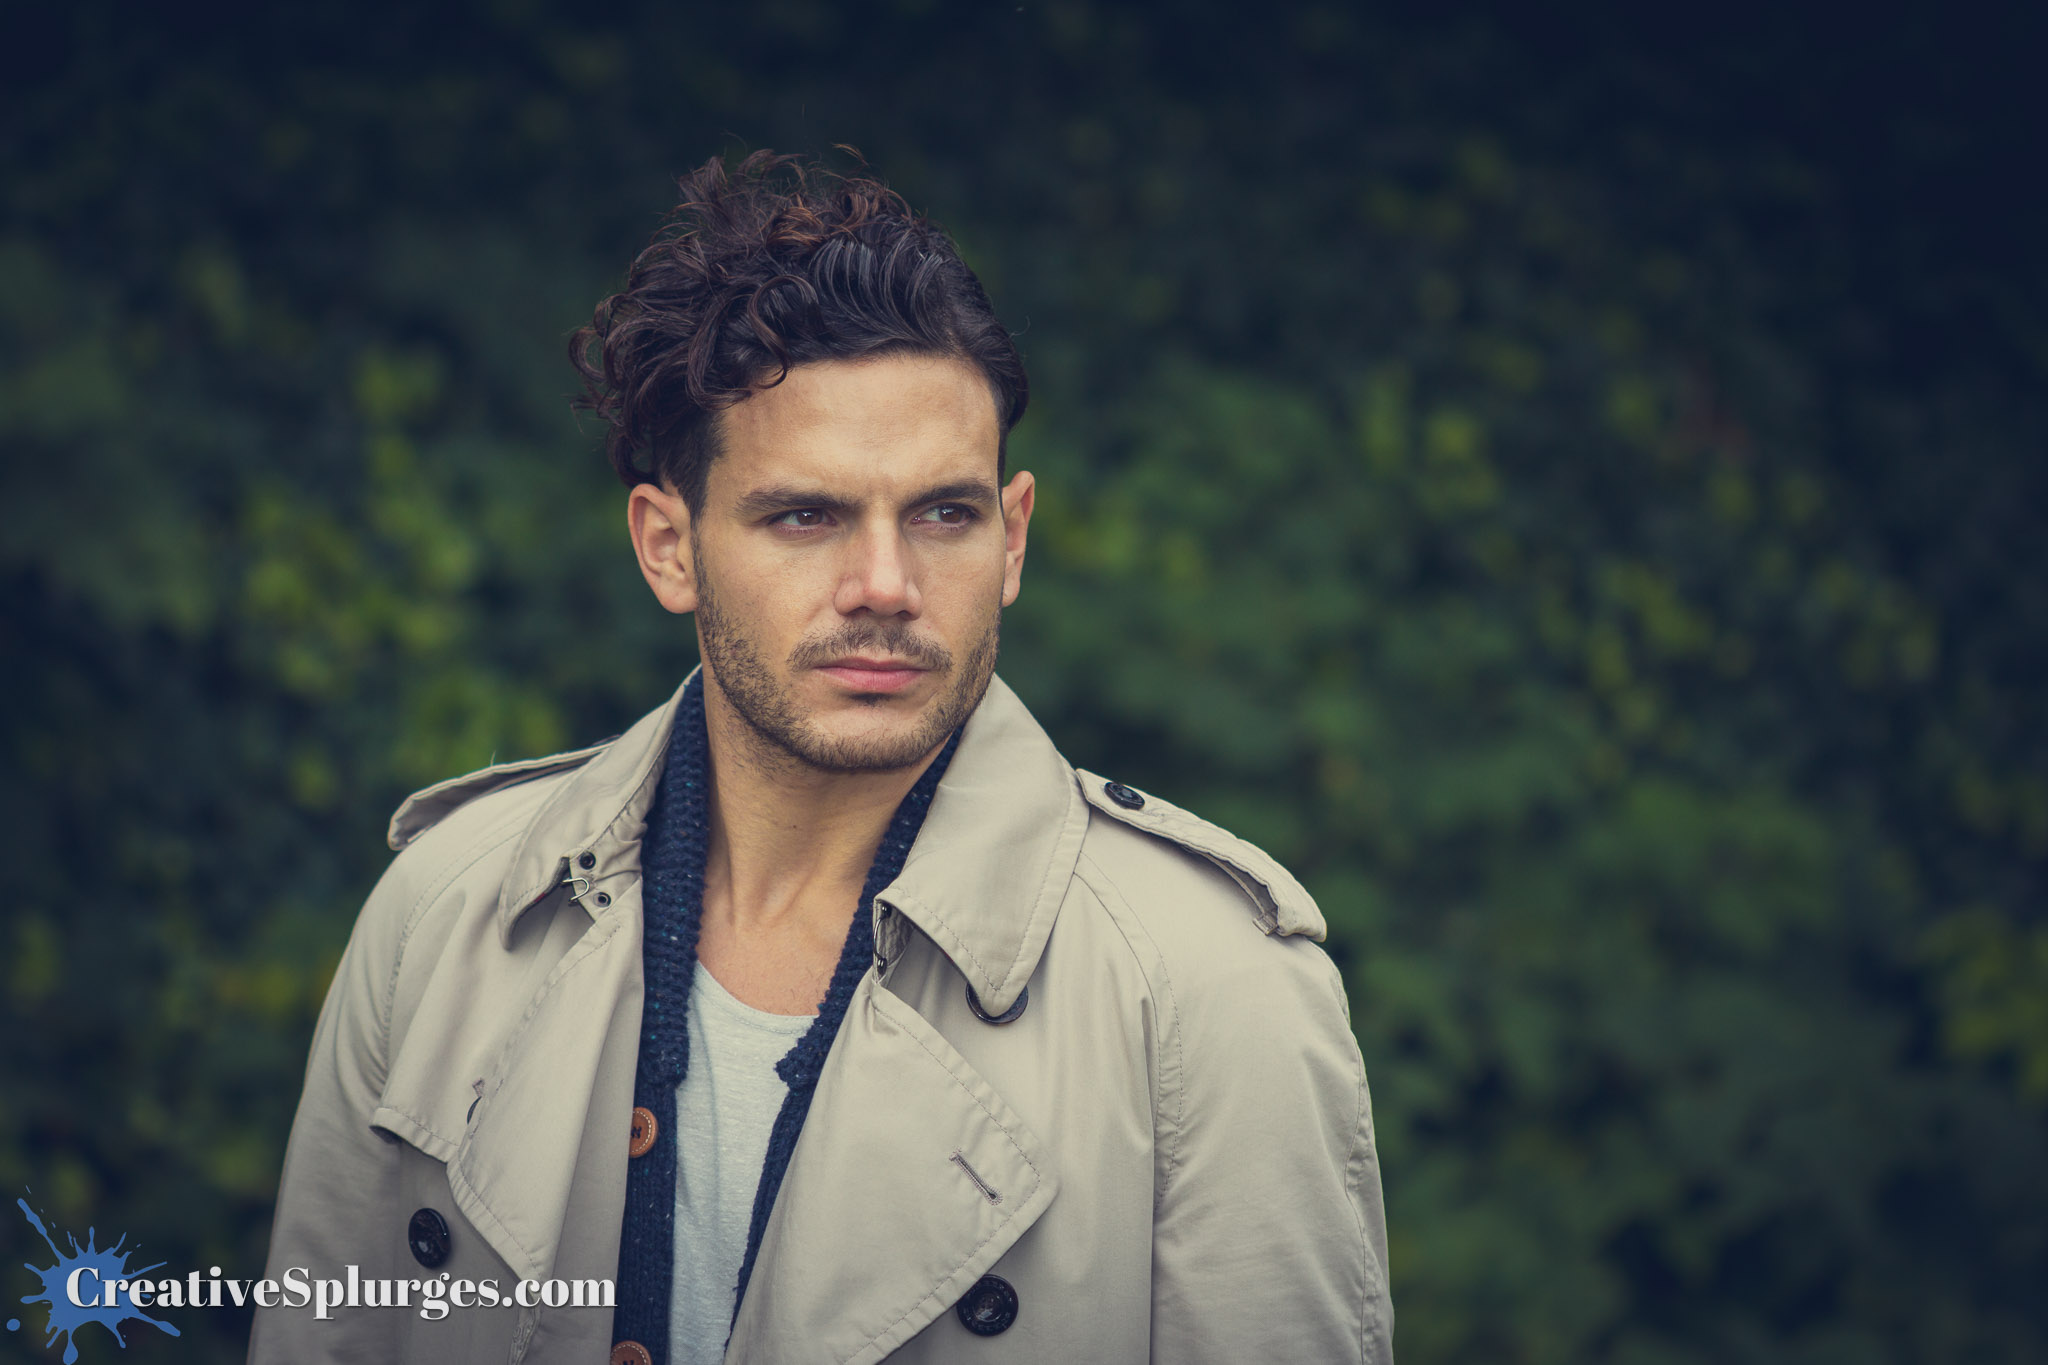
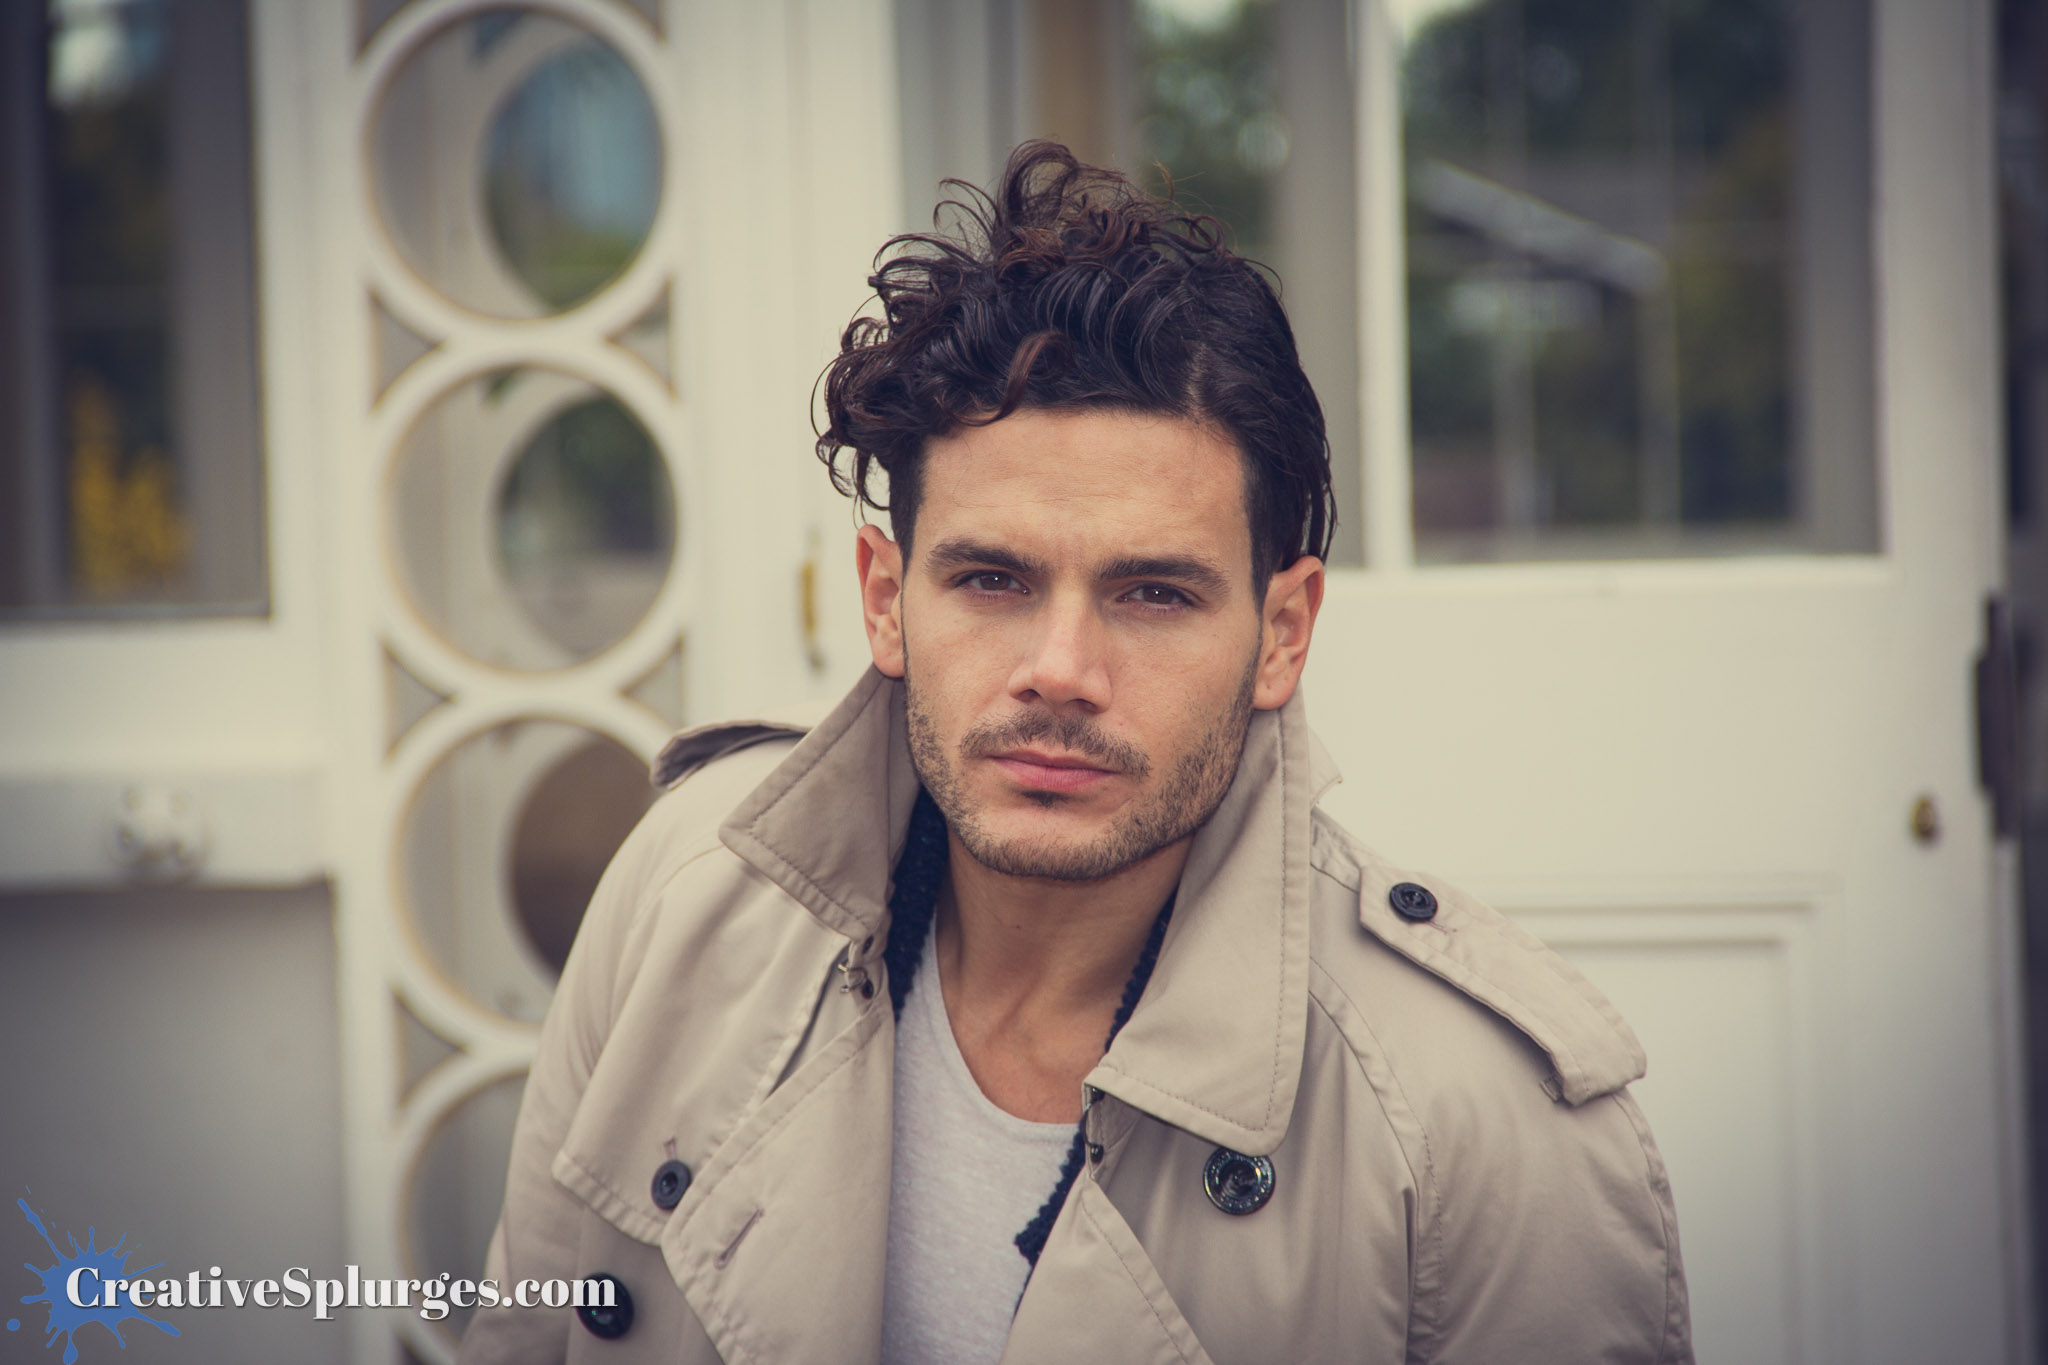
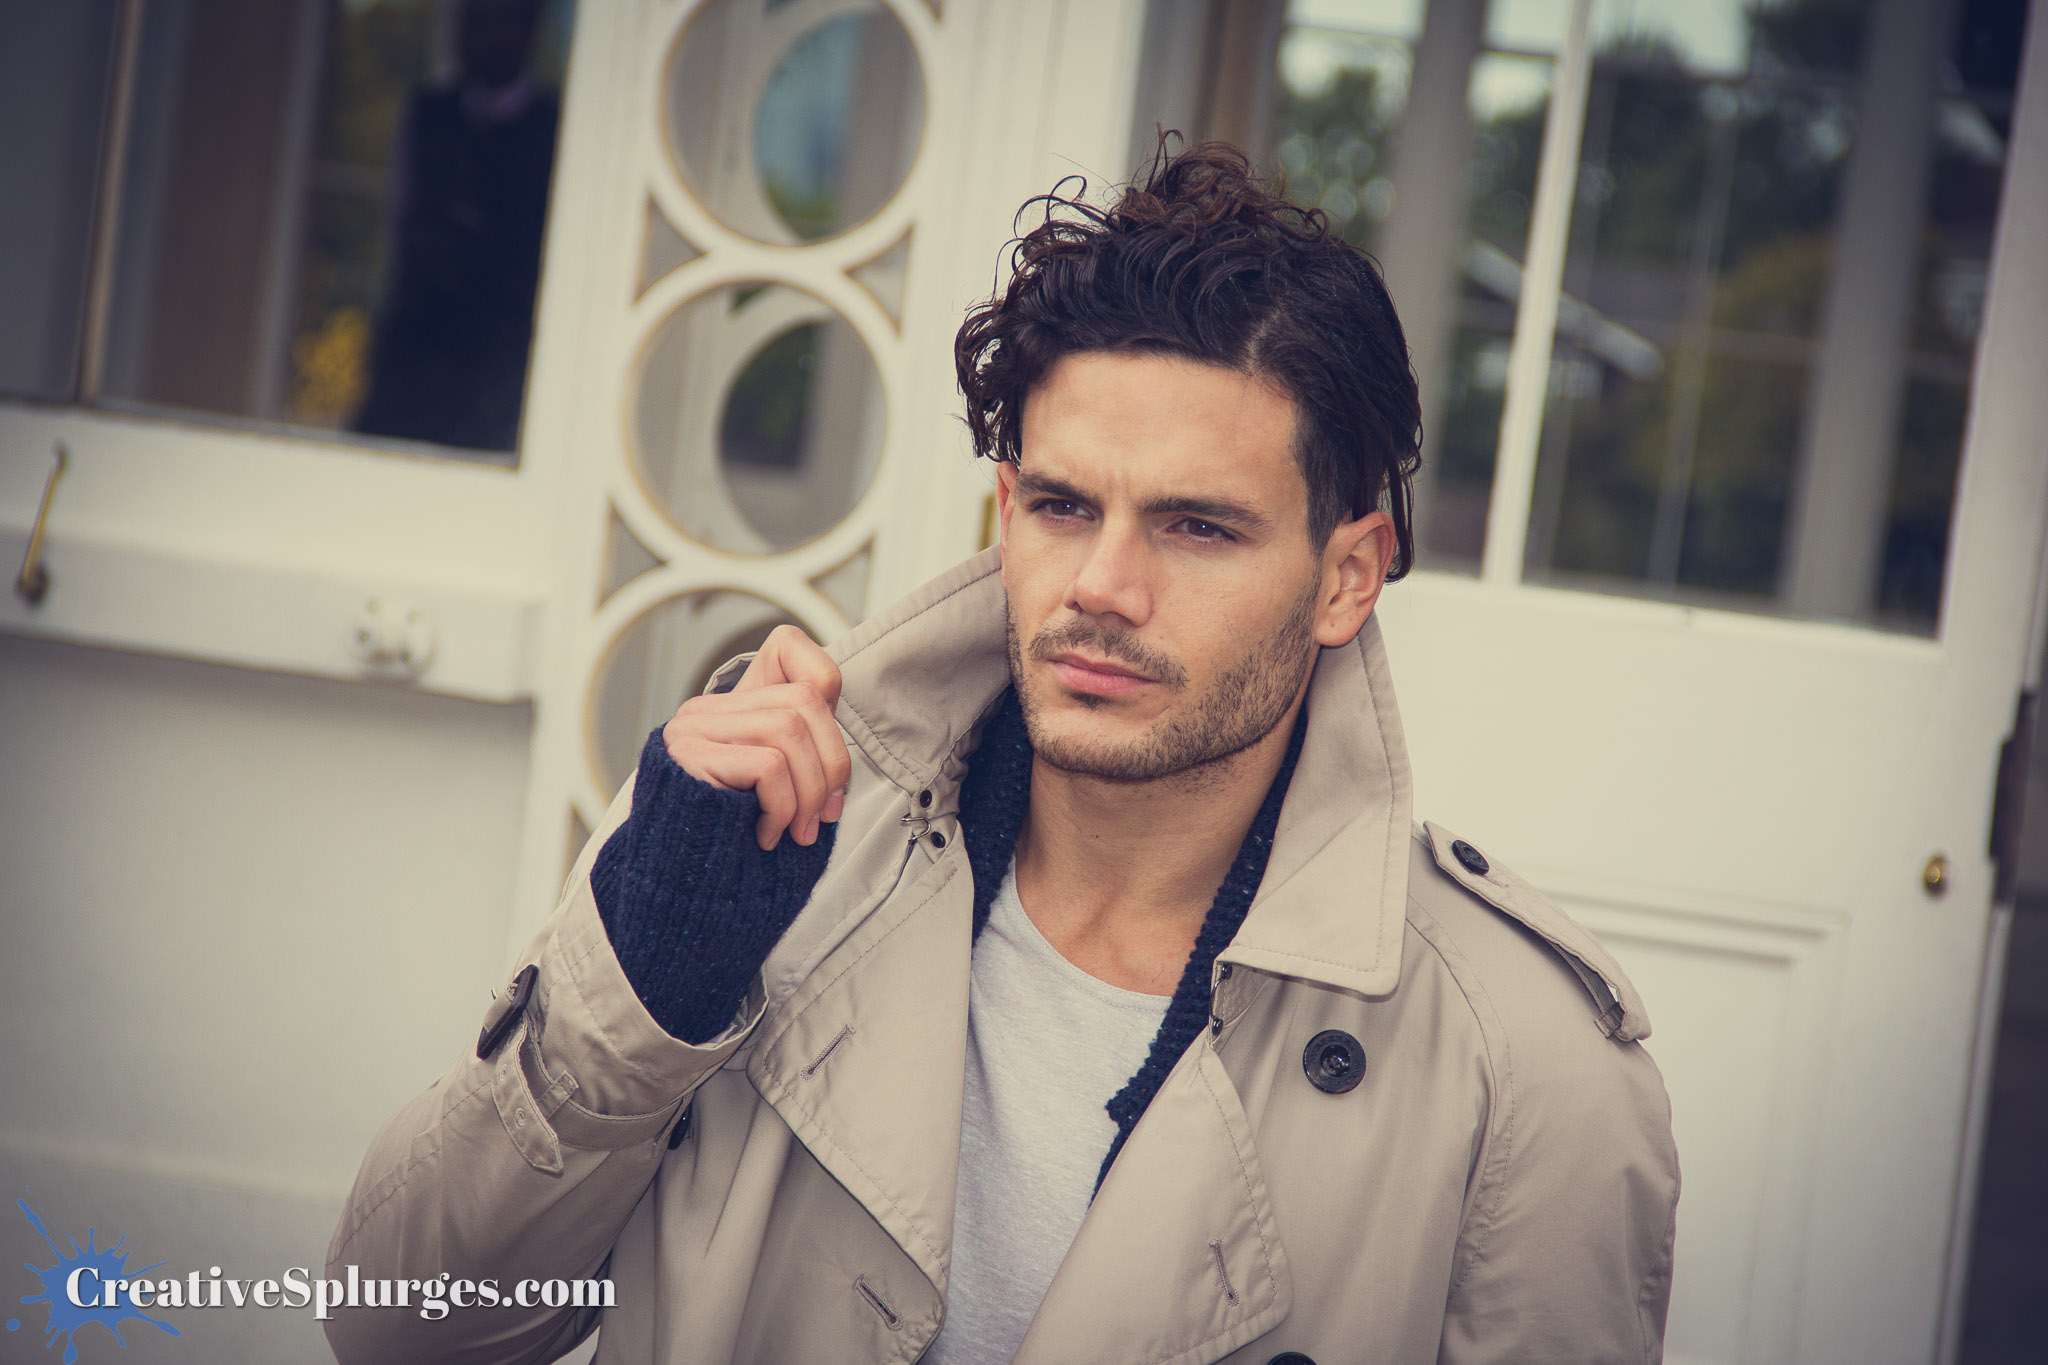
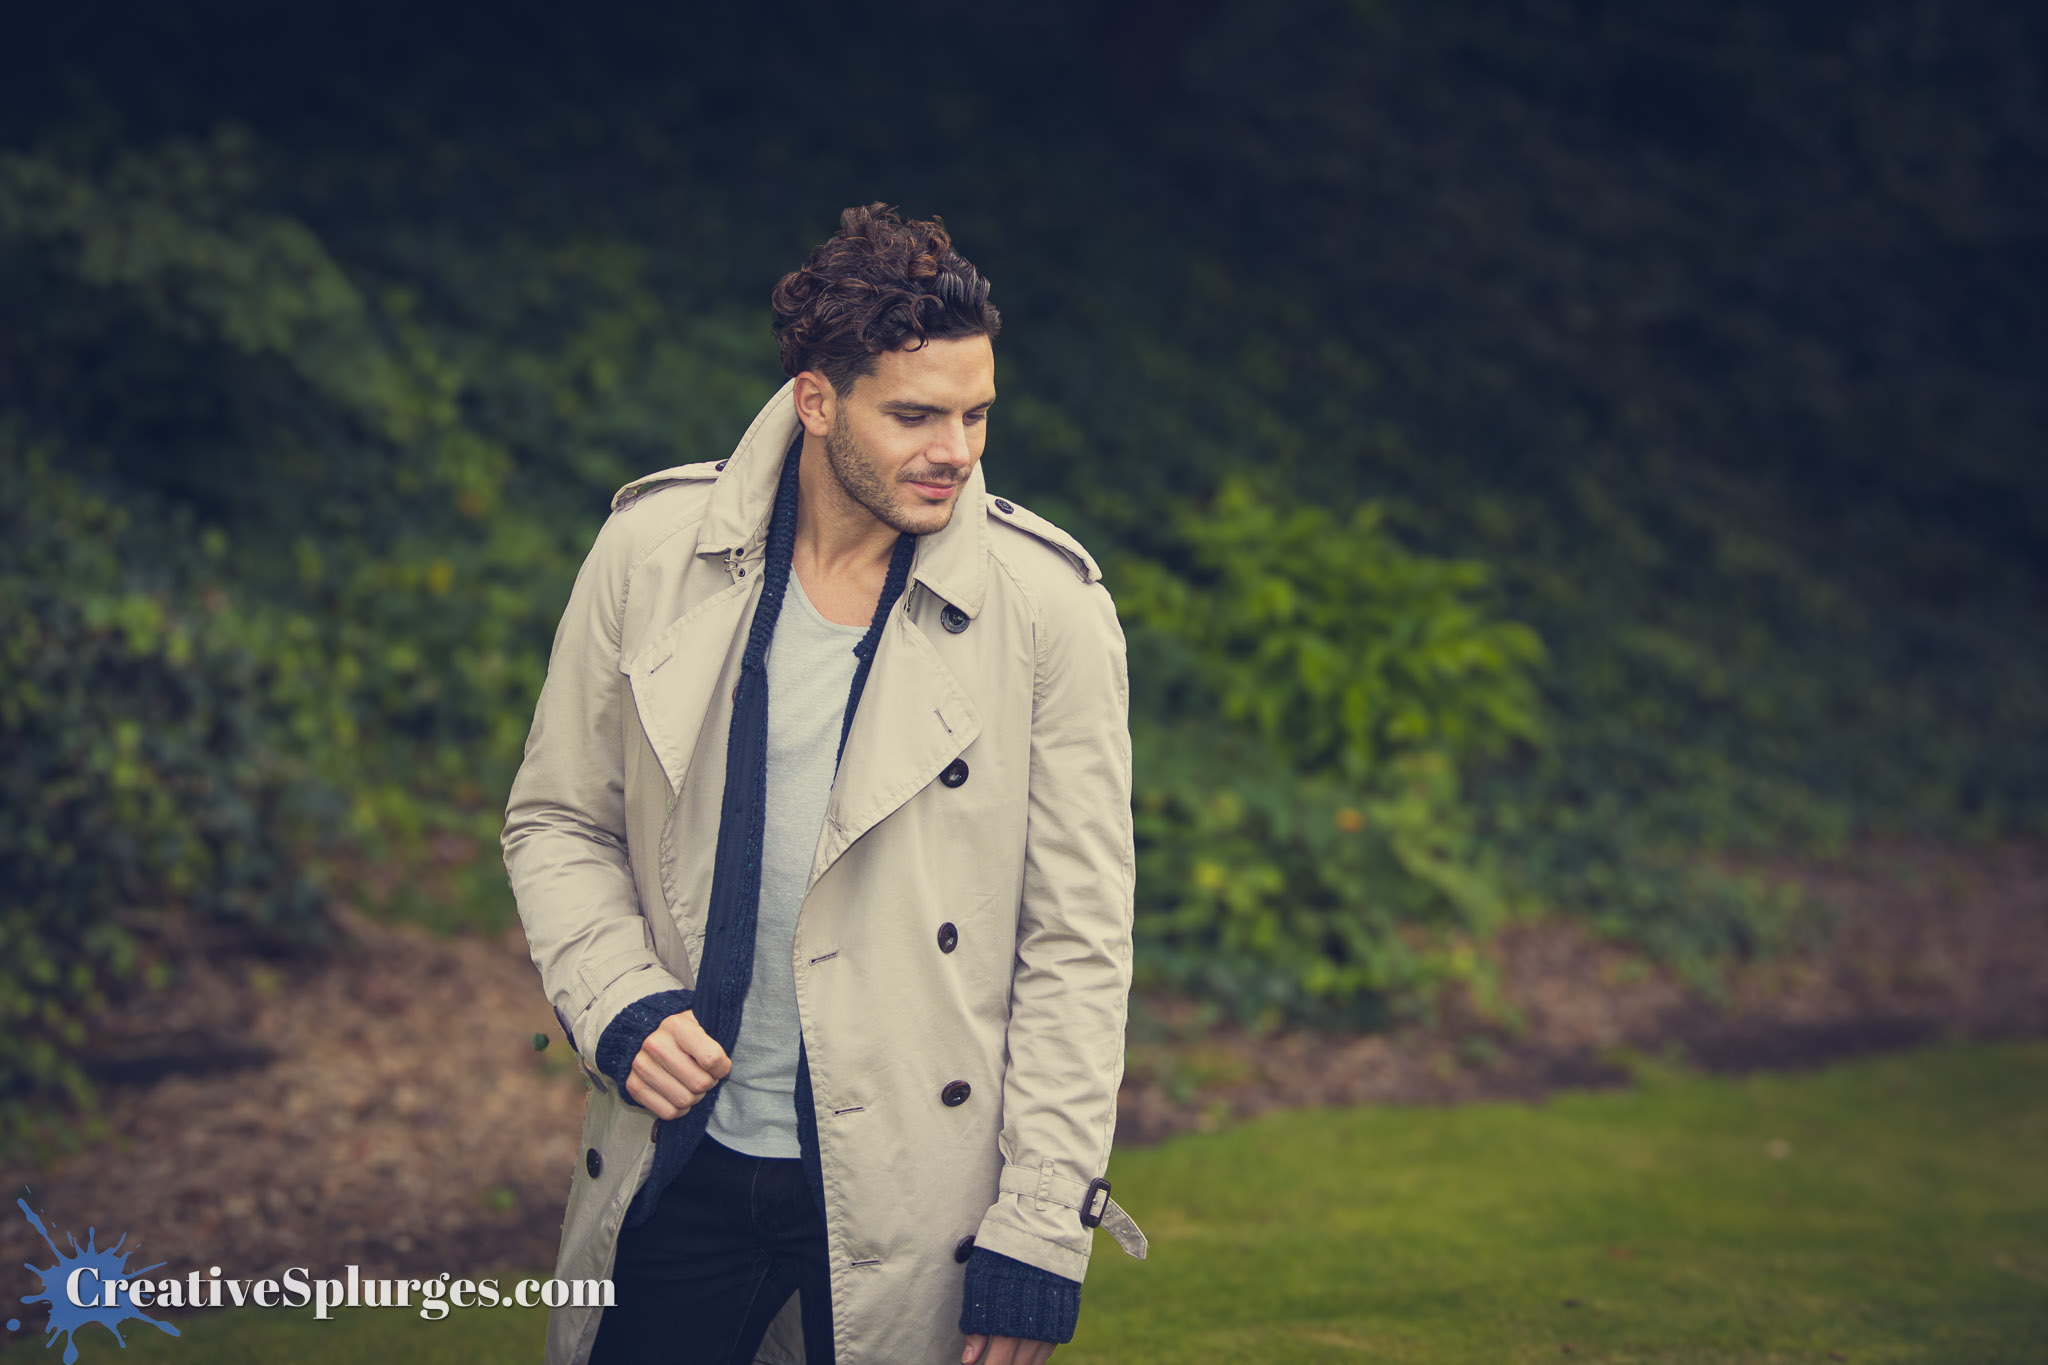
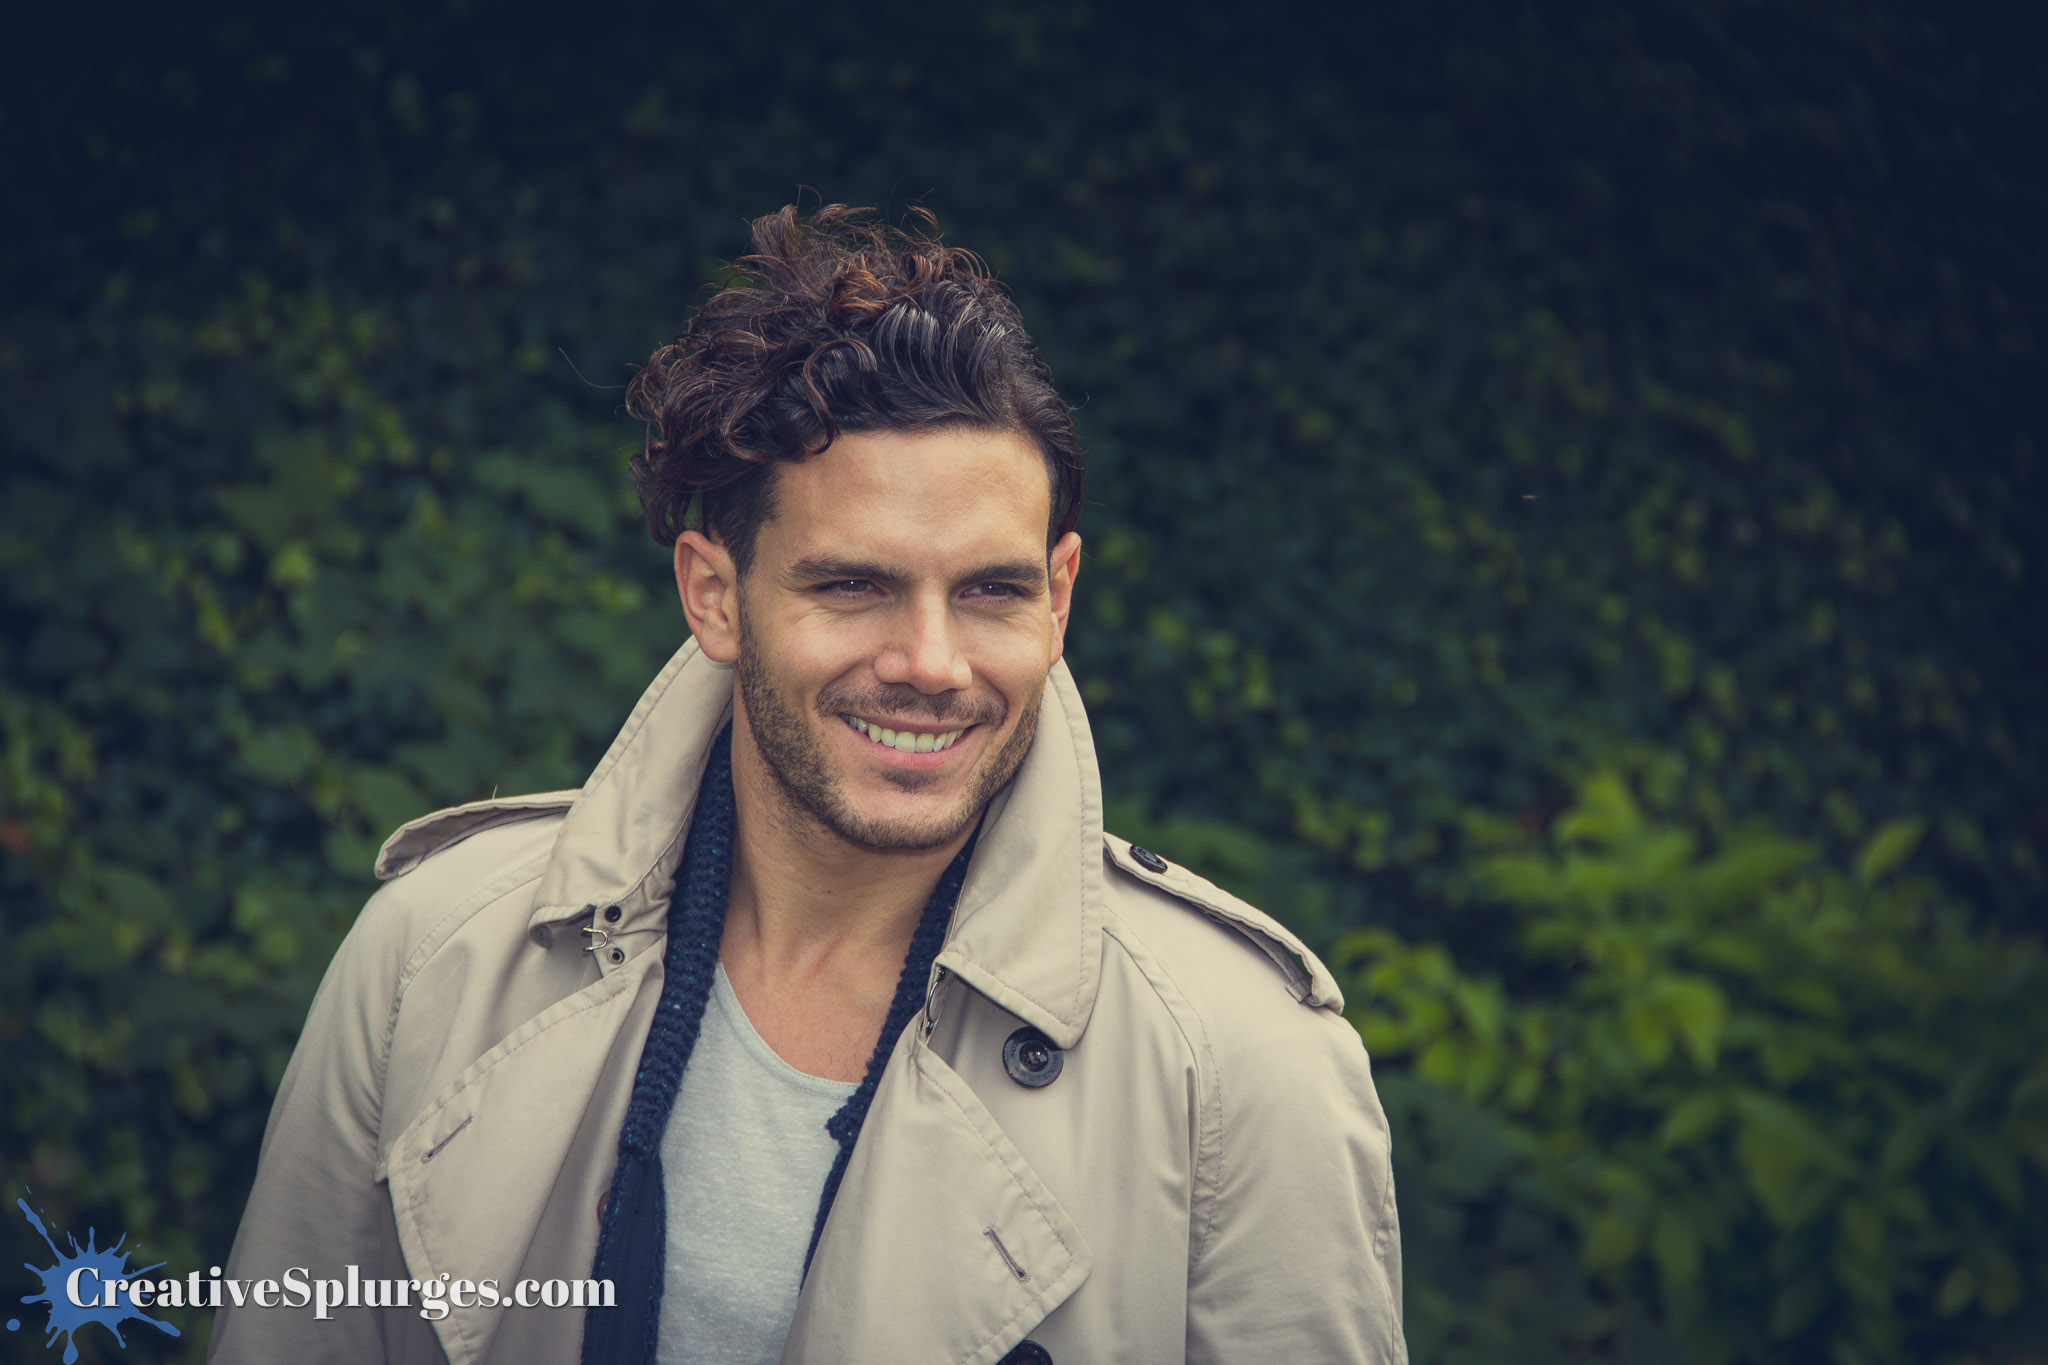
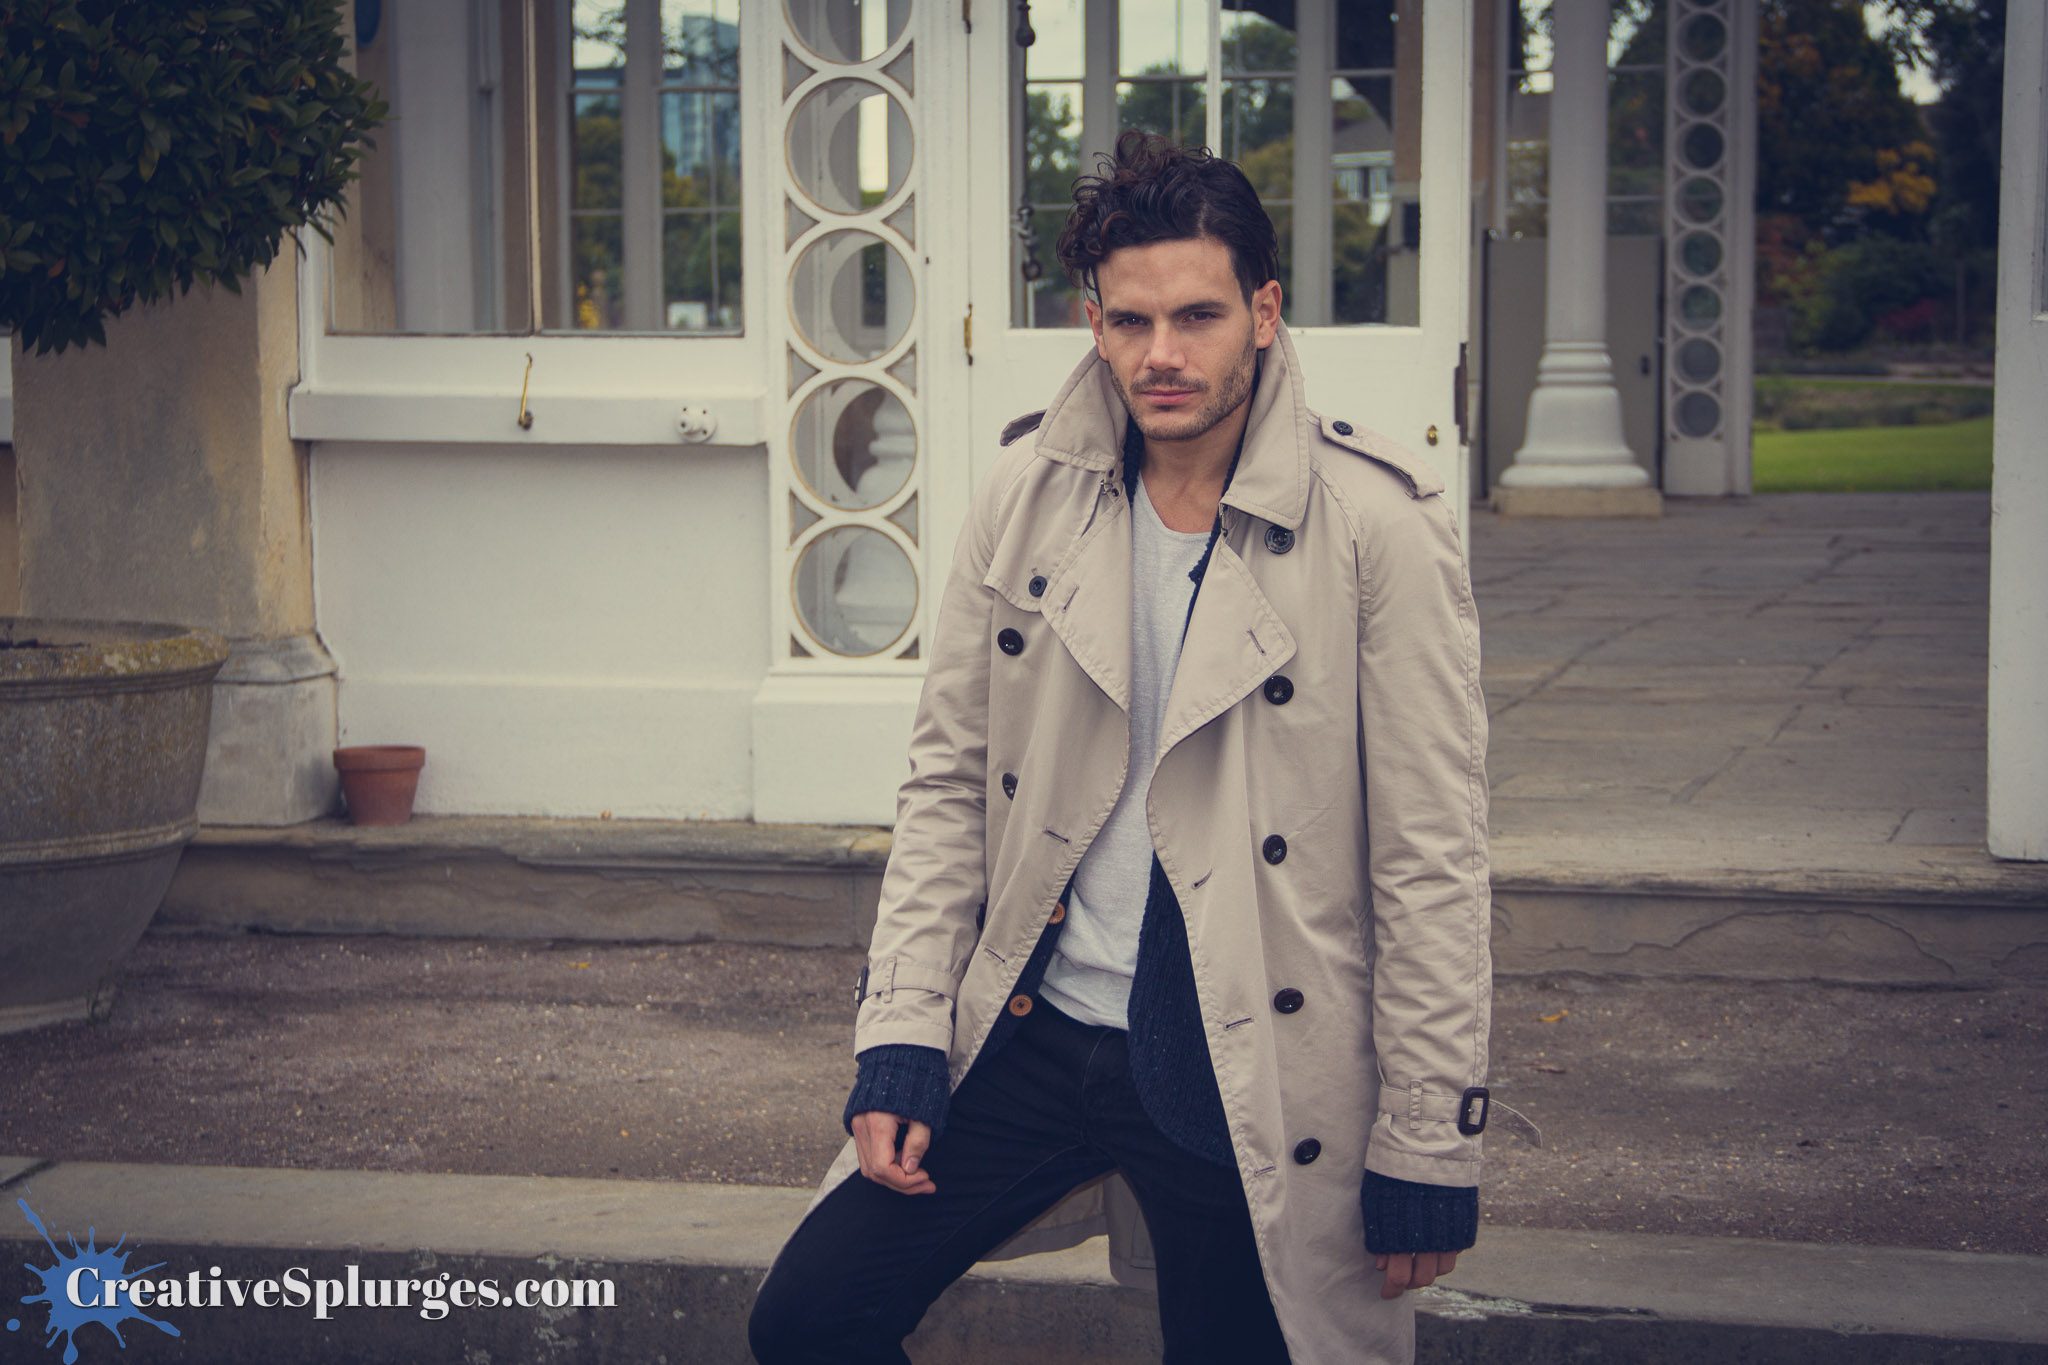
To be honest with a lot of these shots I quite like both the closeups and the wider shots. I think it helps that it’s a model used to standing in front of photographers, so there’s no need to frame out someone’s awkward hand positioning.
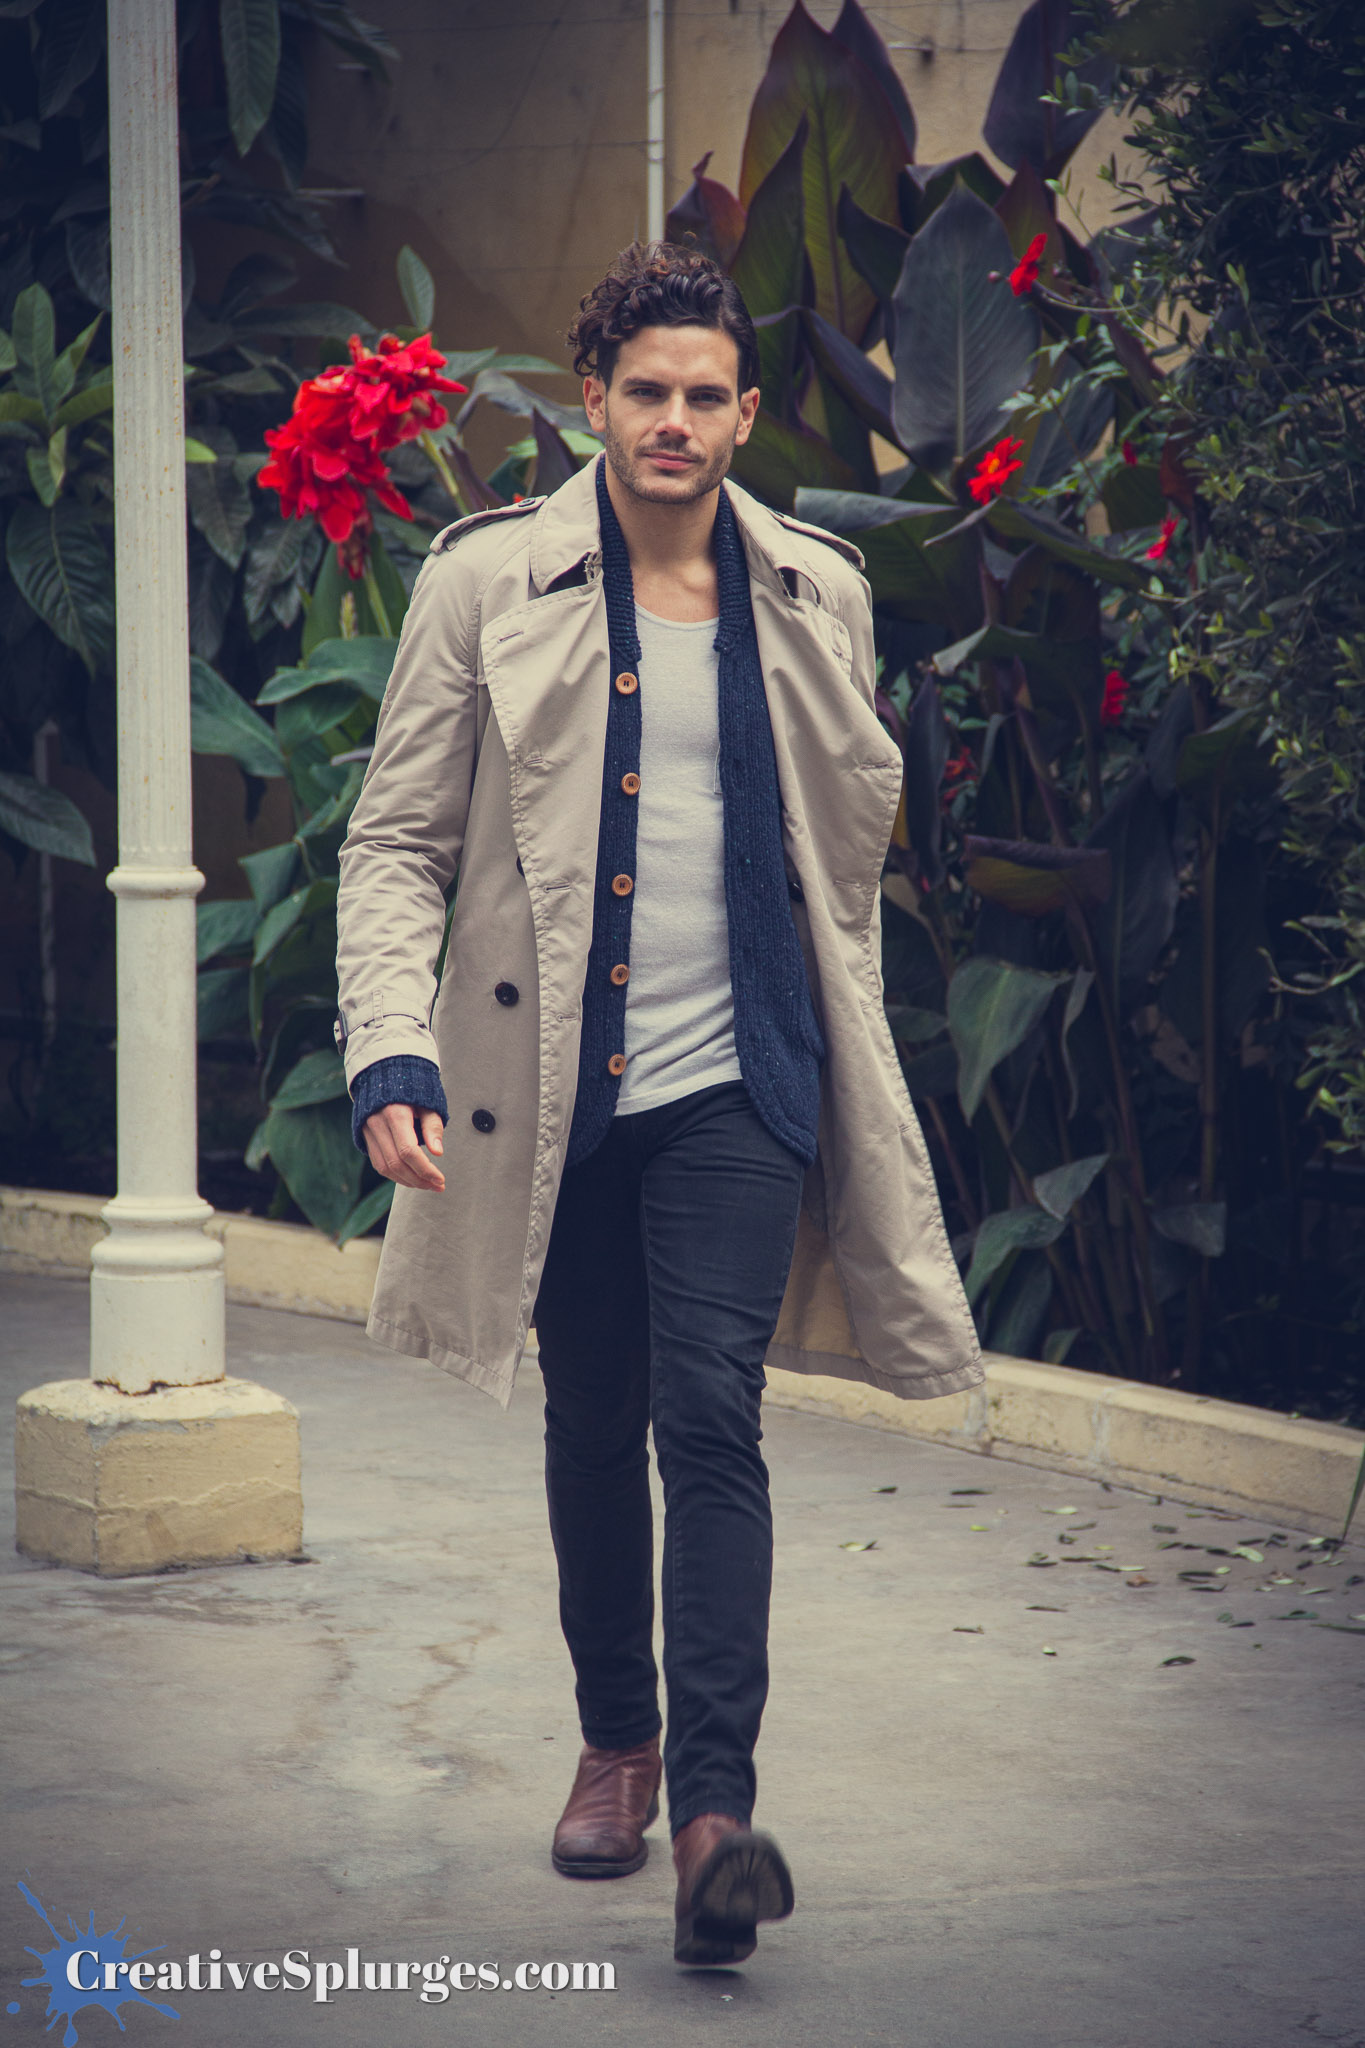
As you might also be able to tell, I have been using some filters to bring out these images. I’m not always that scientific when it comes to filters. I just find one that has a look I like and go with it.
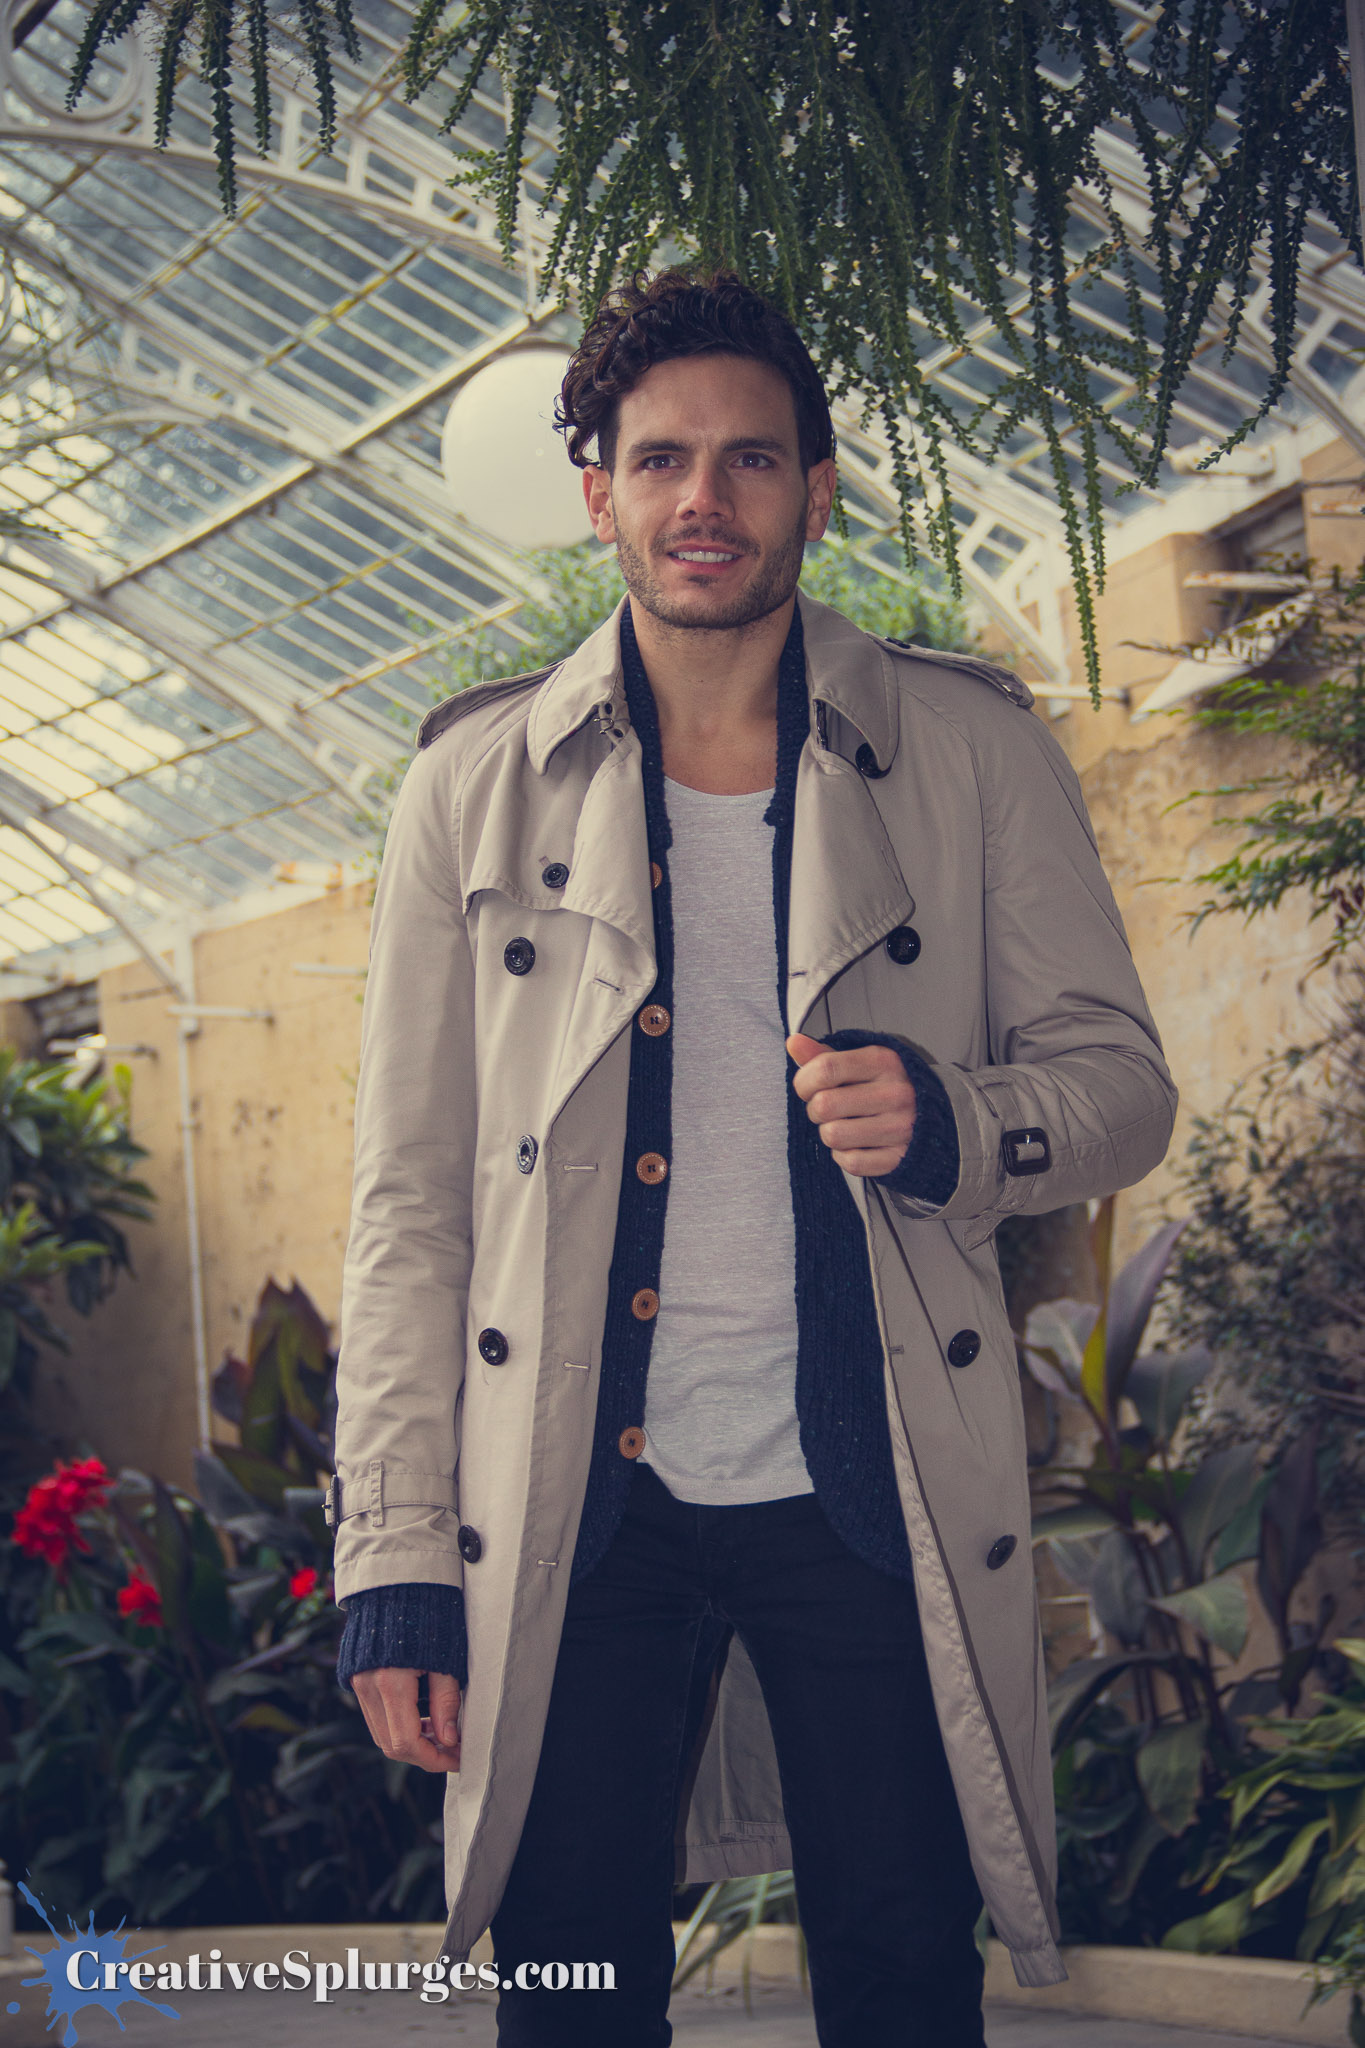
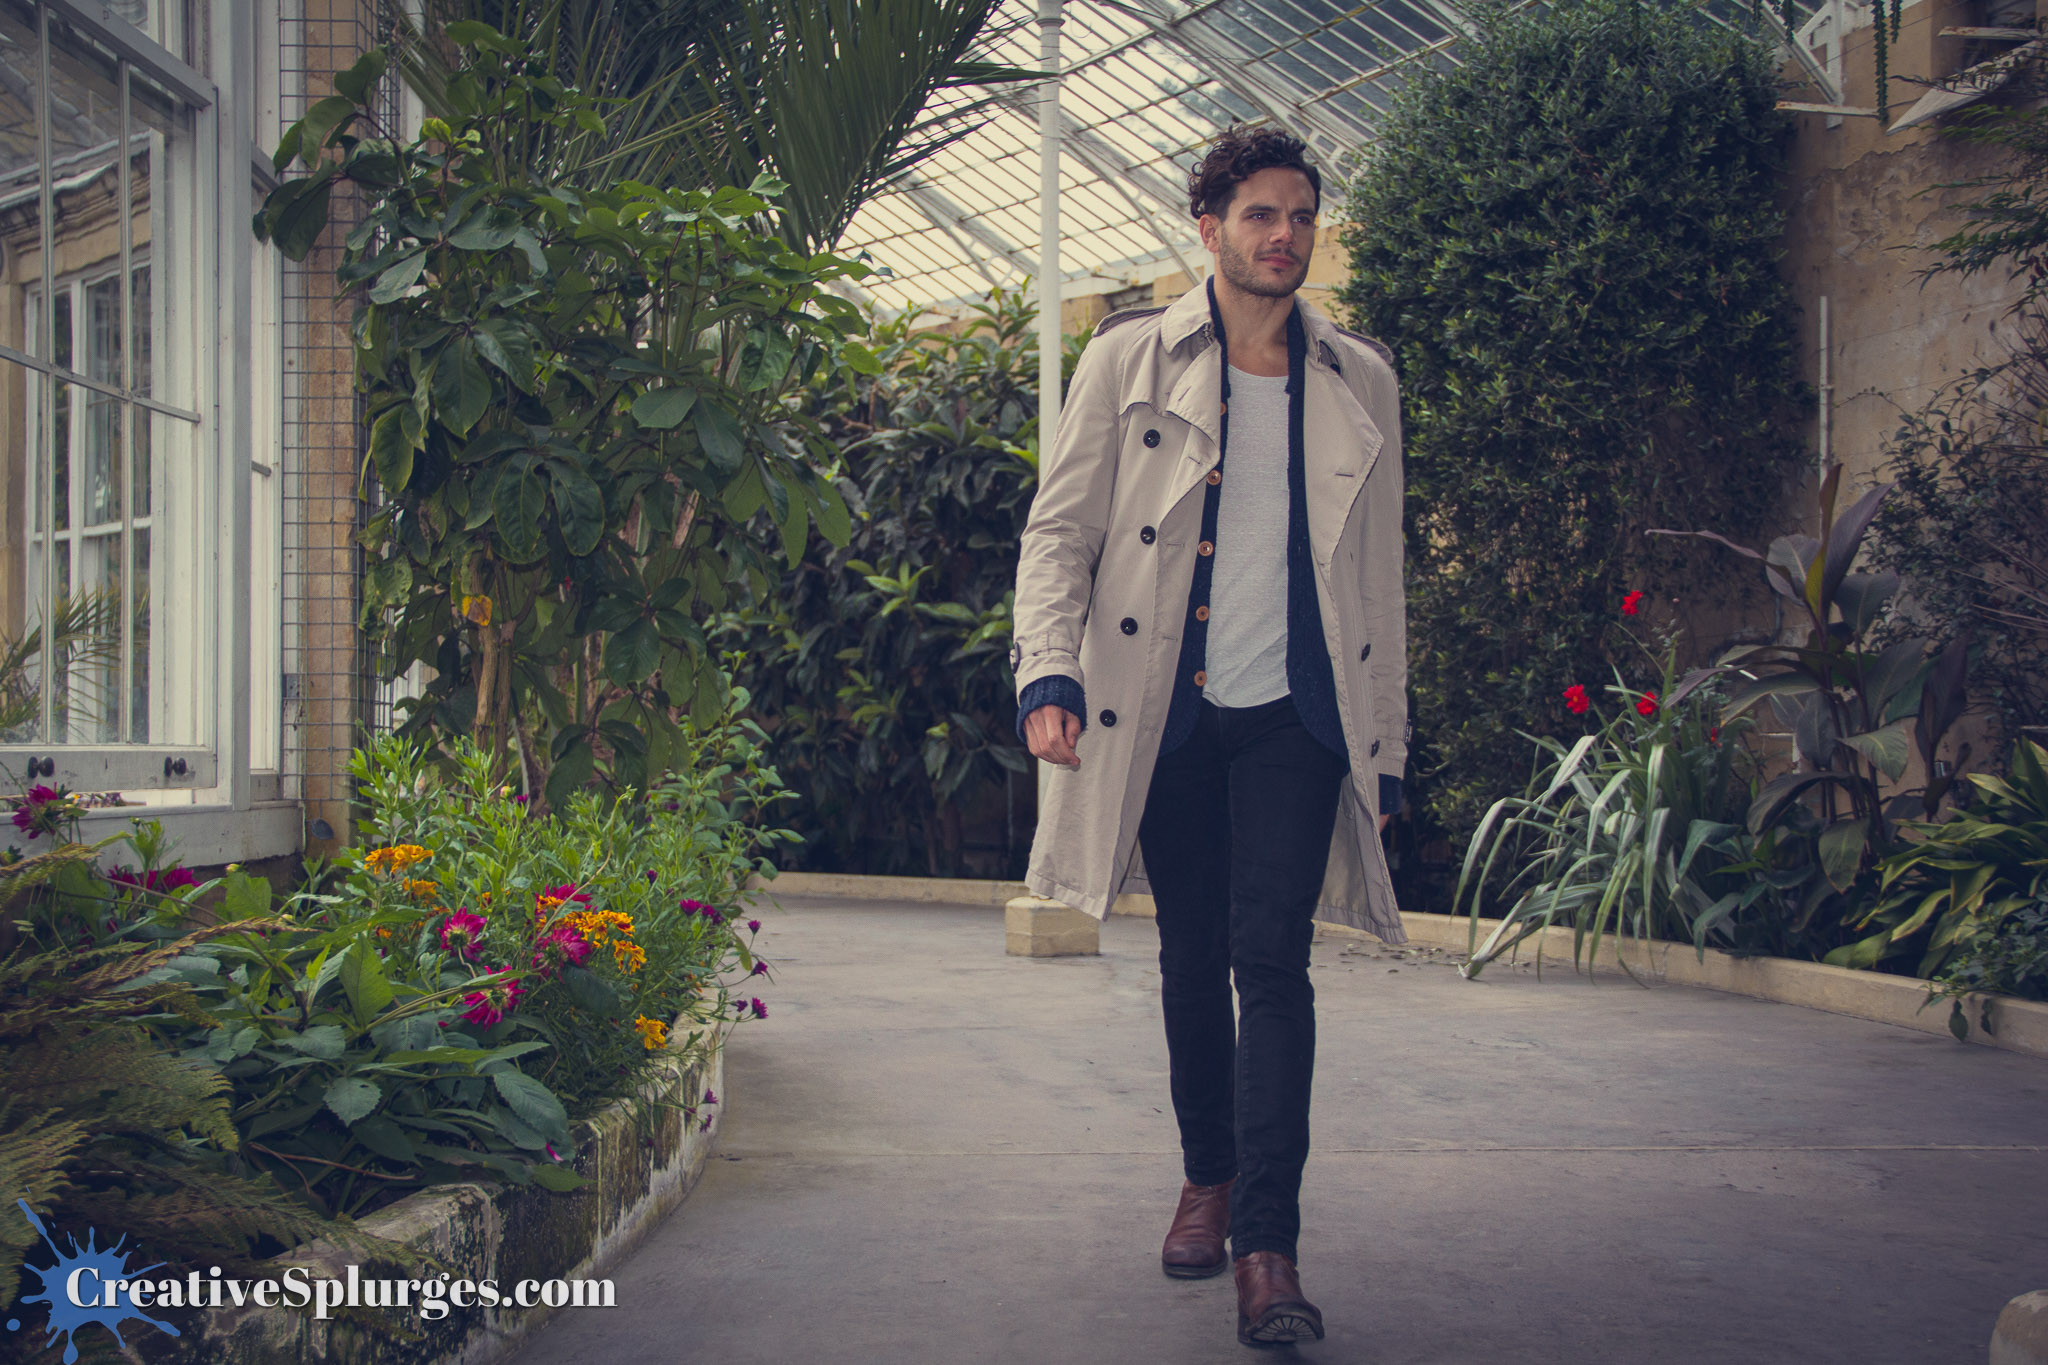
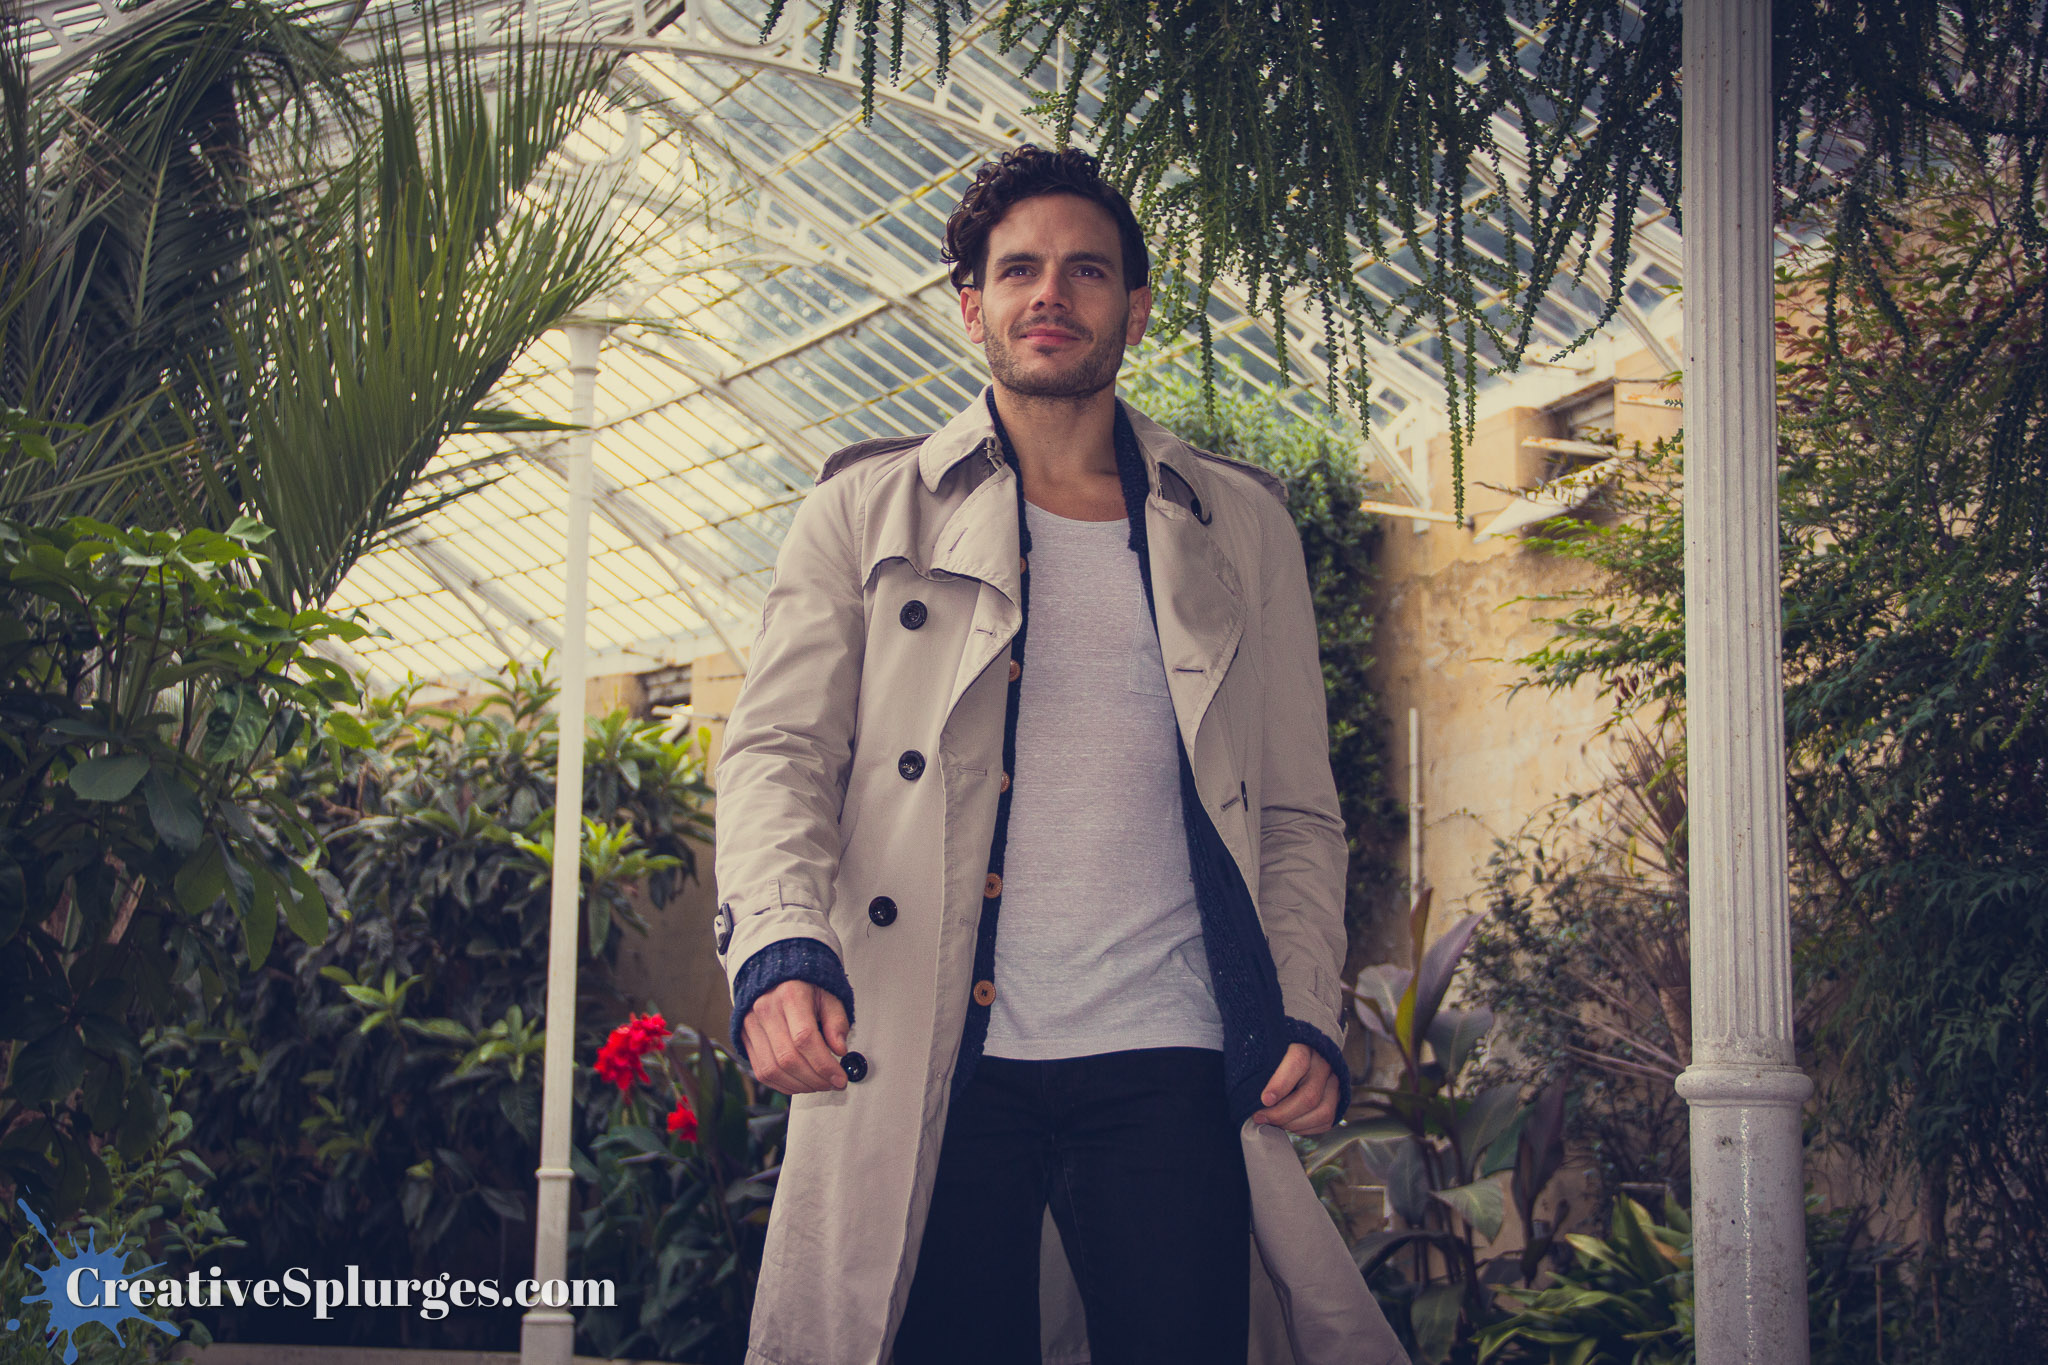
We moved into a conservatory-like area to do some indoor shooting.
According to the EXIF data, my flash didn’t even fire for this shot. If memory serves I was occasionally shooting a bit too rapidly for the flash to recharge.
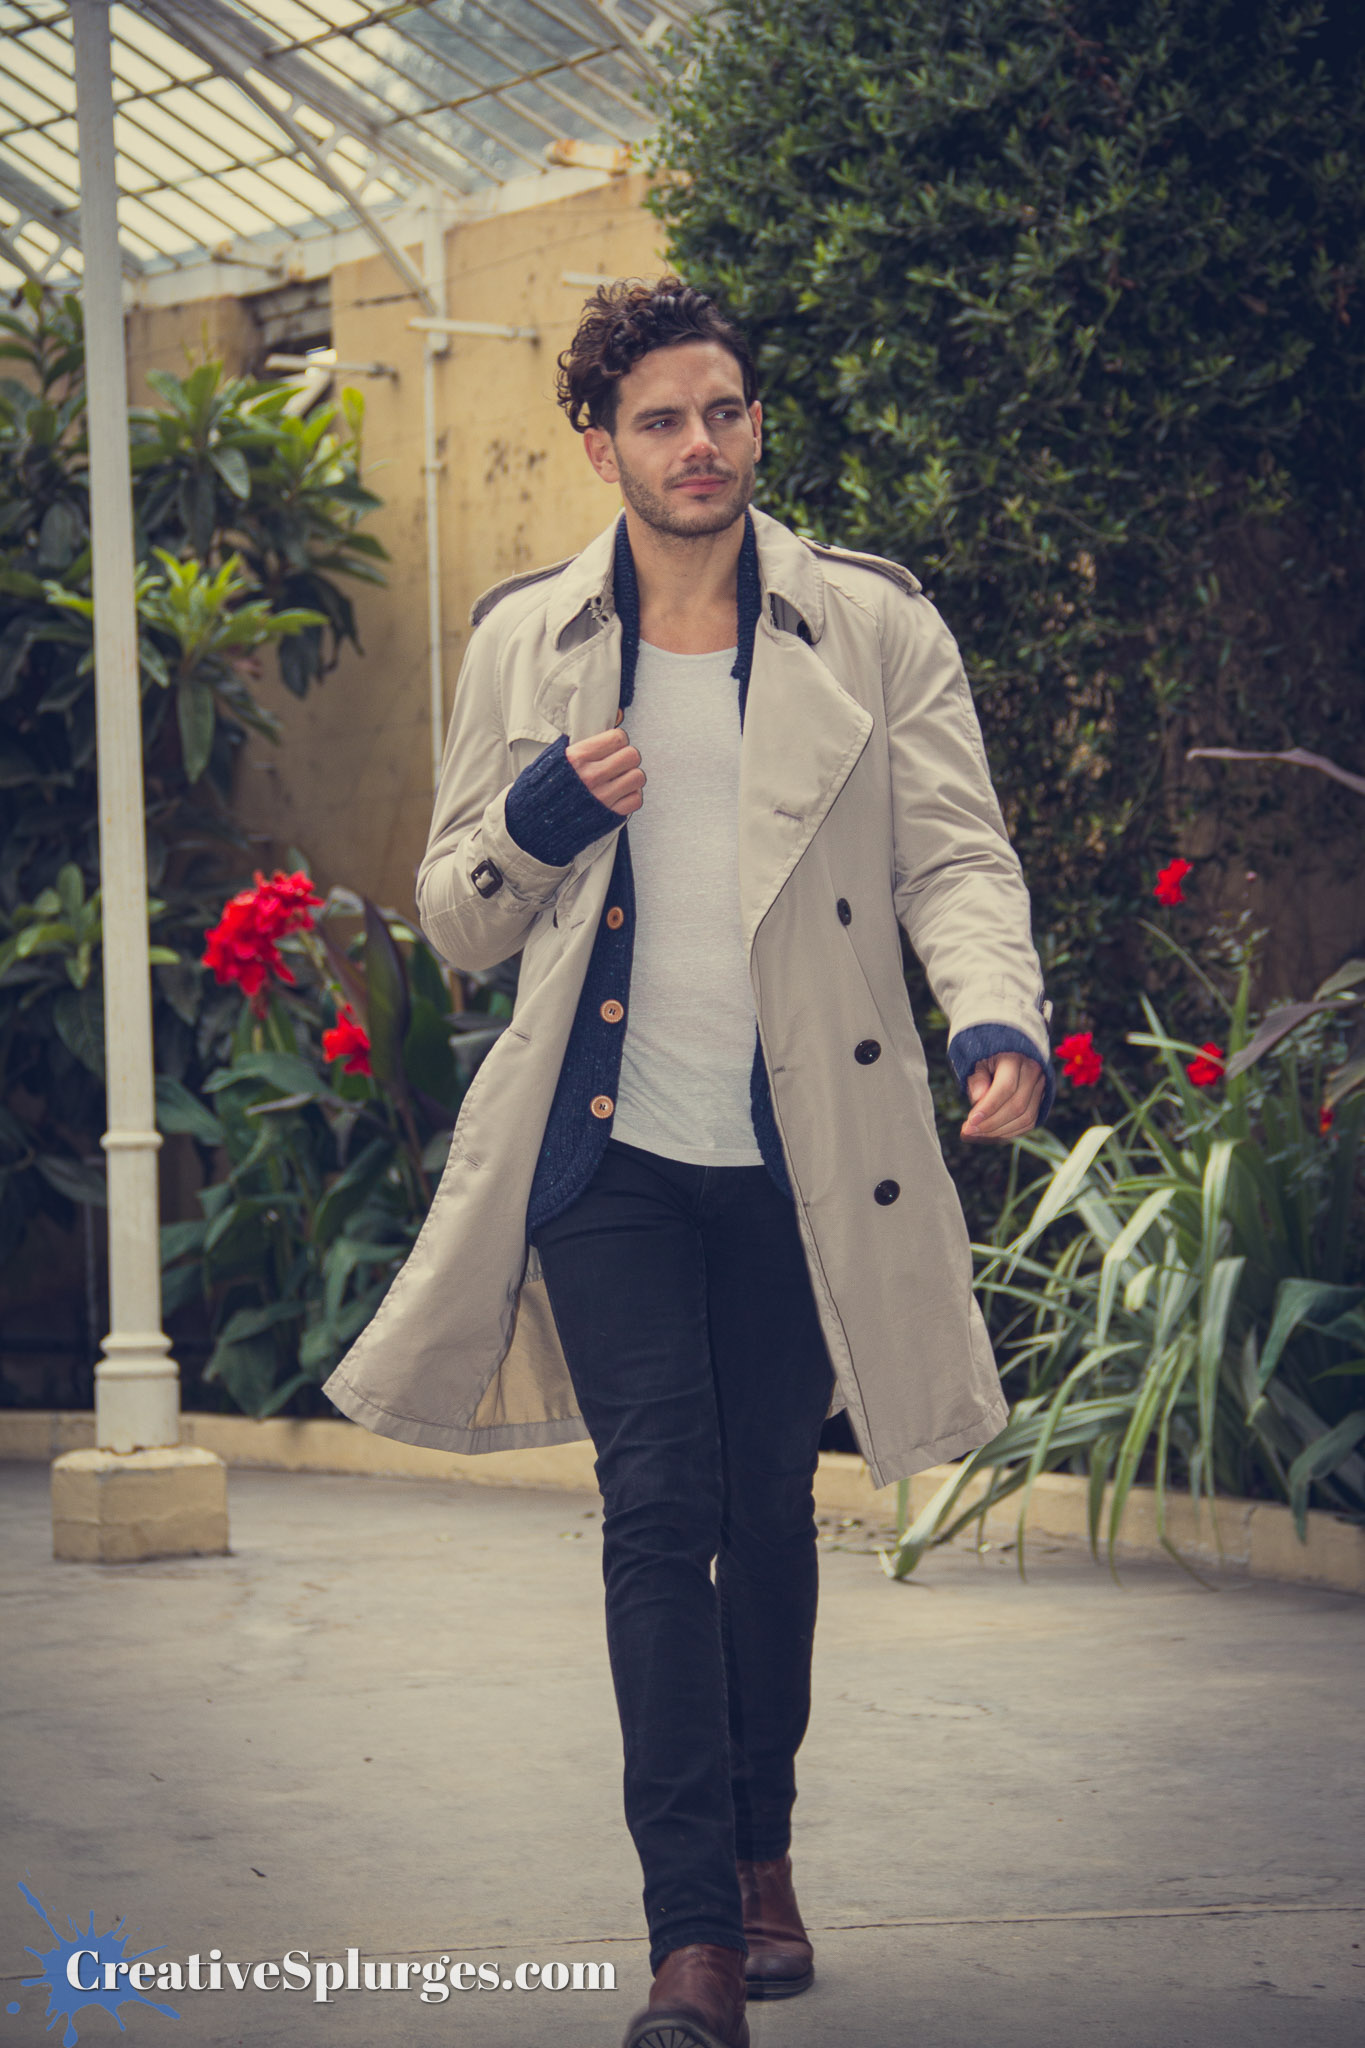
We changed position again, and very briefly shot in front of a grotty wall.

We then moved inside proper, where things started to get a little more interesting. For this next shot, the edit was intended to mimic the slightly washed out look of a Wes Anderson film – at least in my mind.
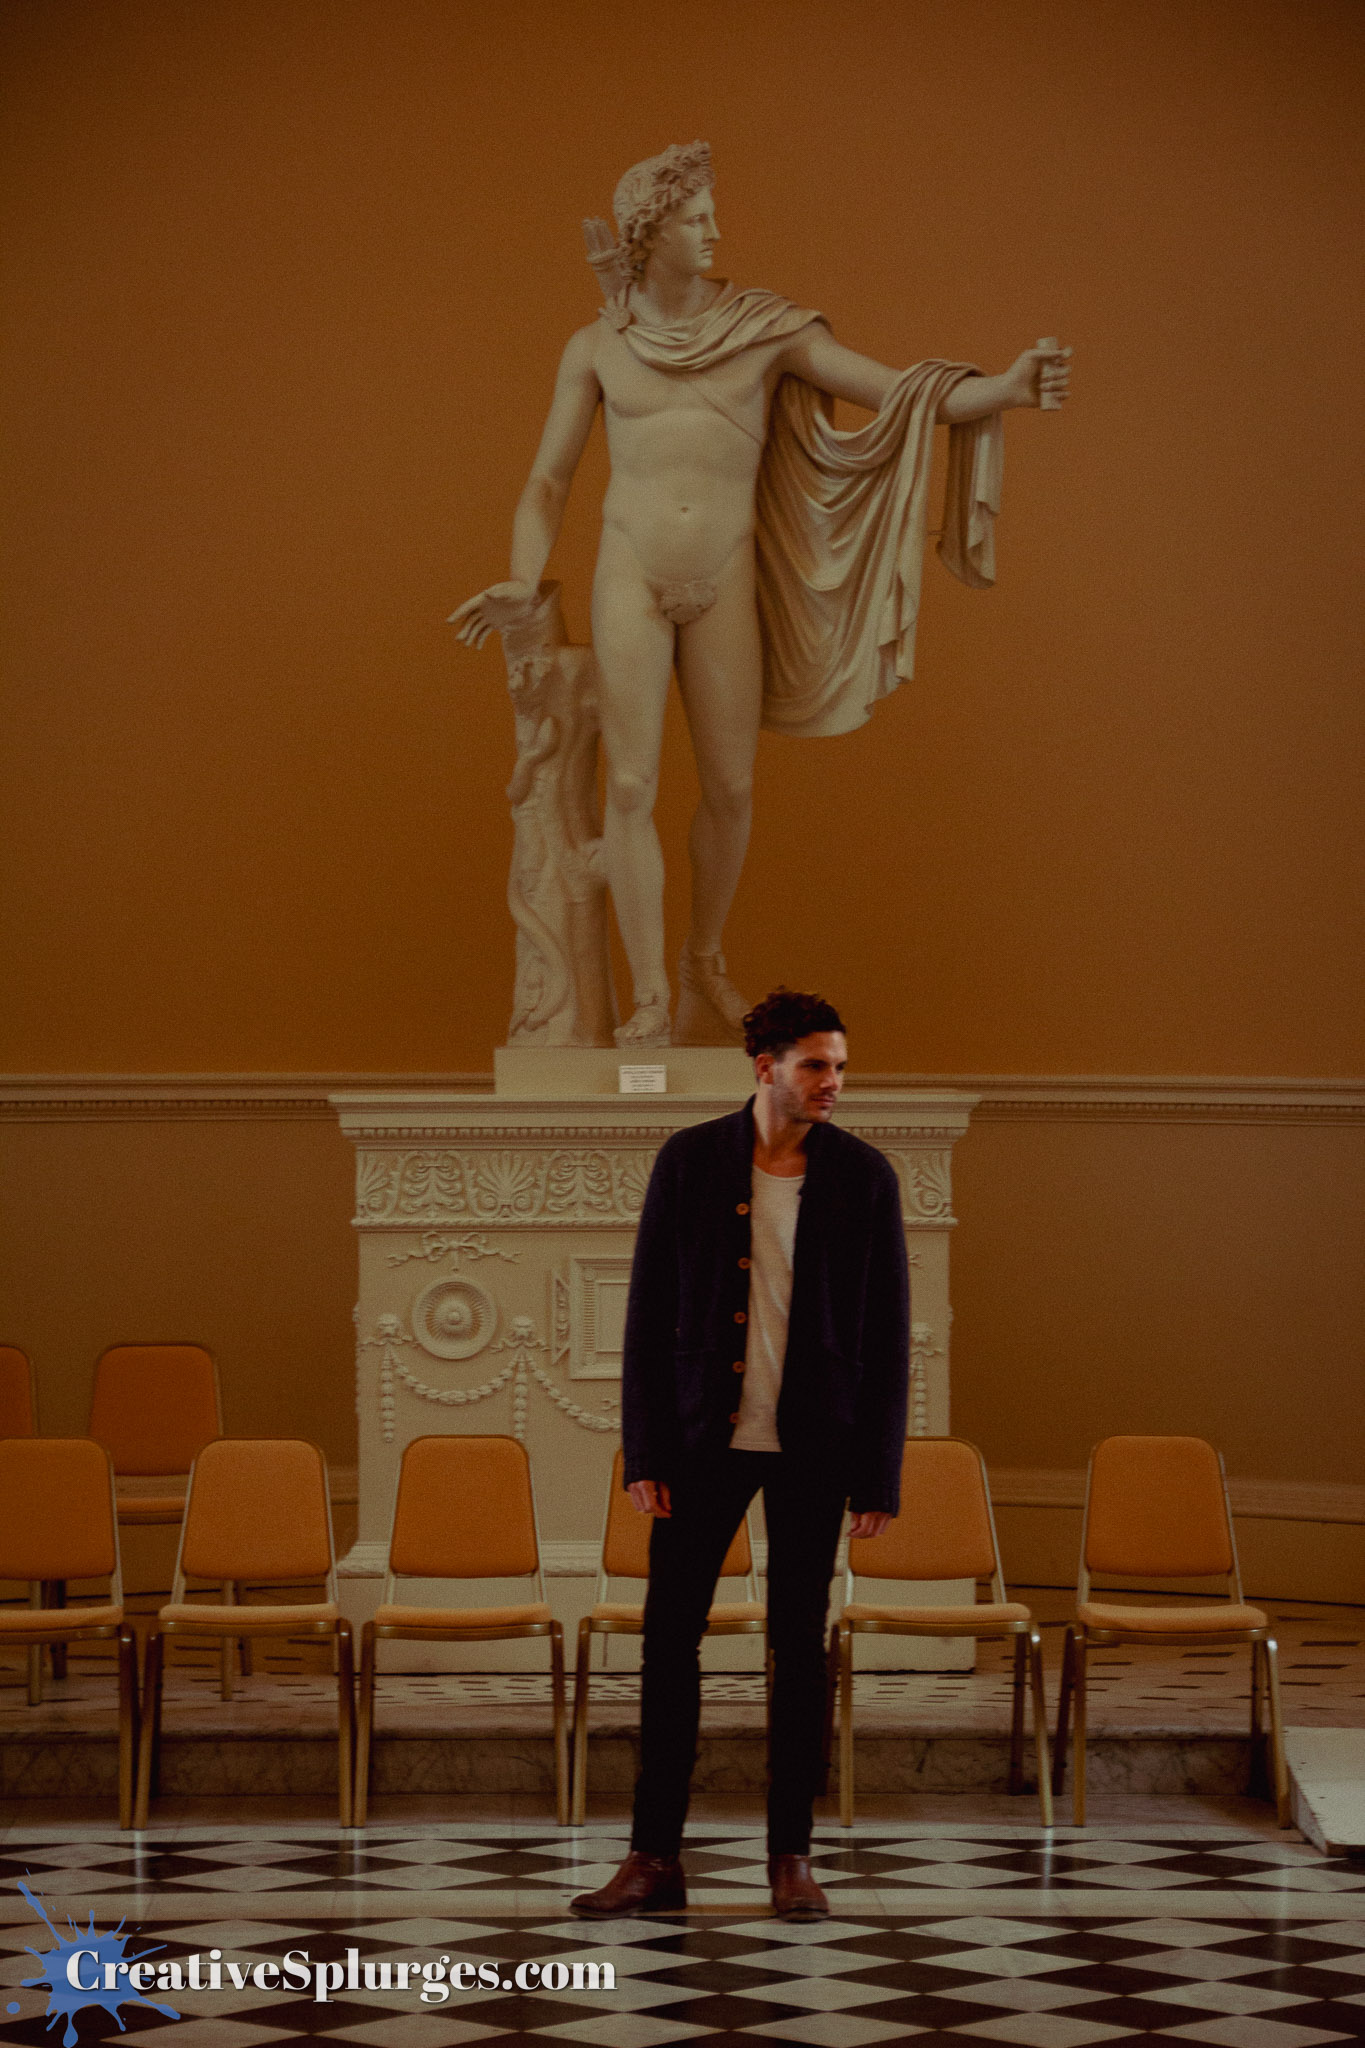
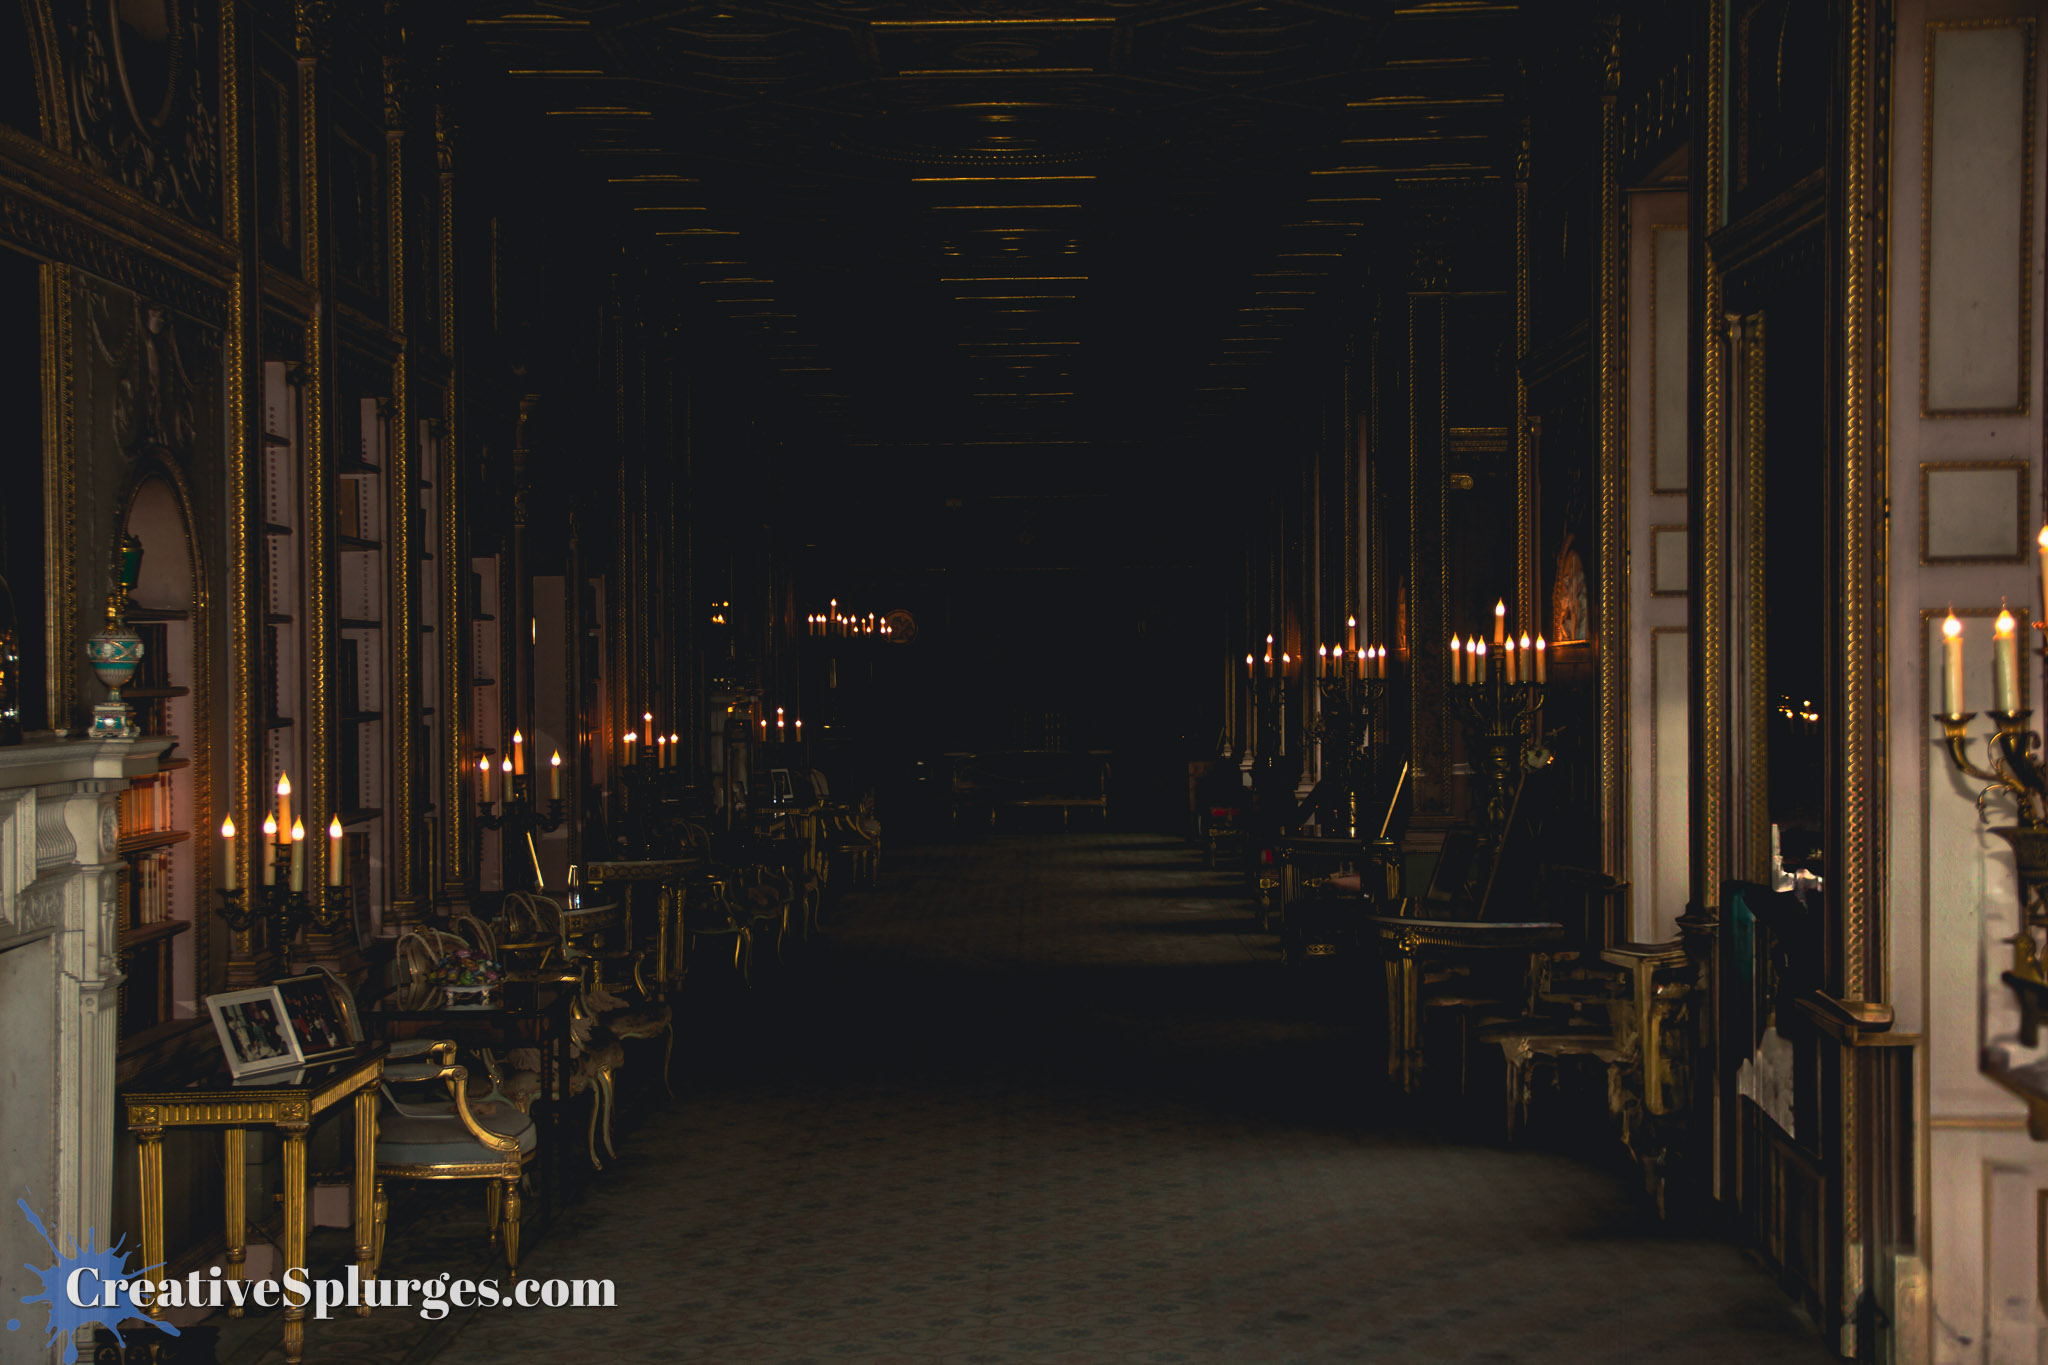
After briefly shooting the model in front of a window to demonstrate how a flash can be used to bring the exposures of the inside and outside to a similar level (so that you don’t have either the outside overexposed and blown out, or the foreground in complete shadow), we moved on to one of the more grandiose rooms.
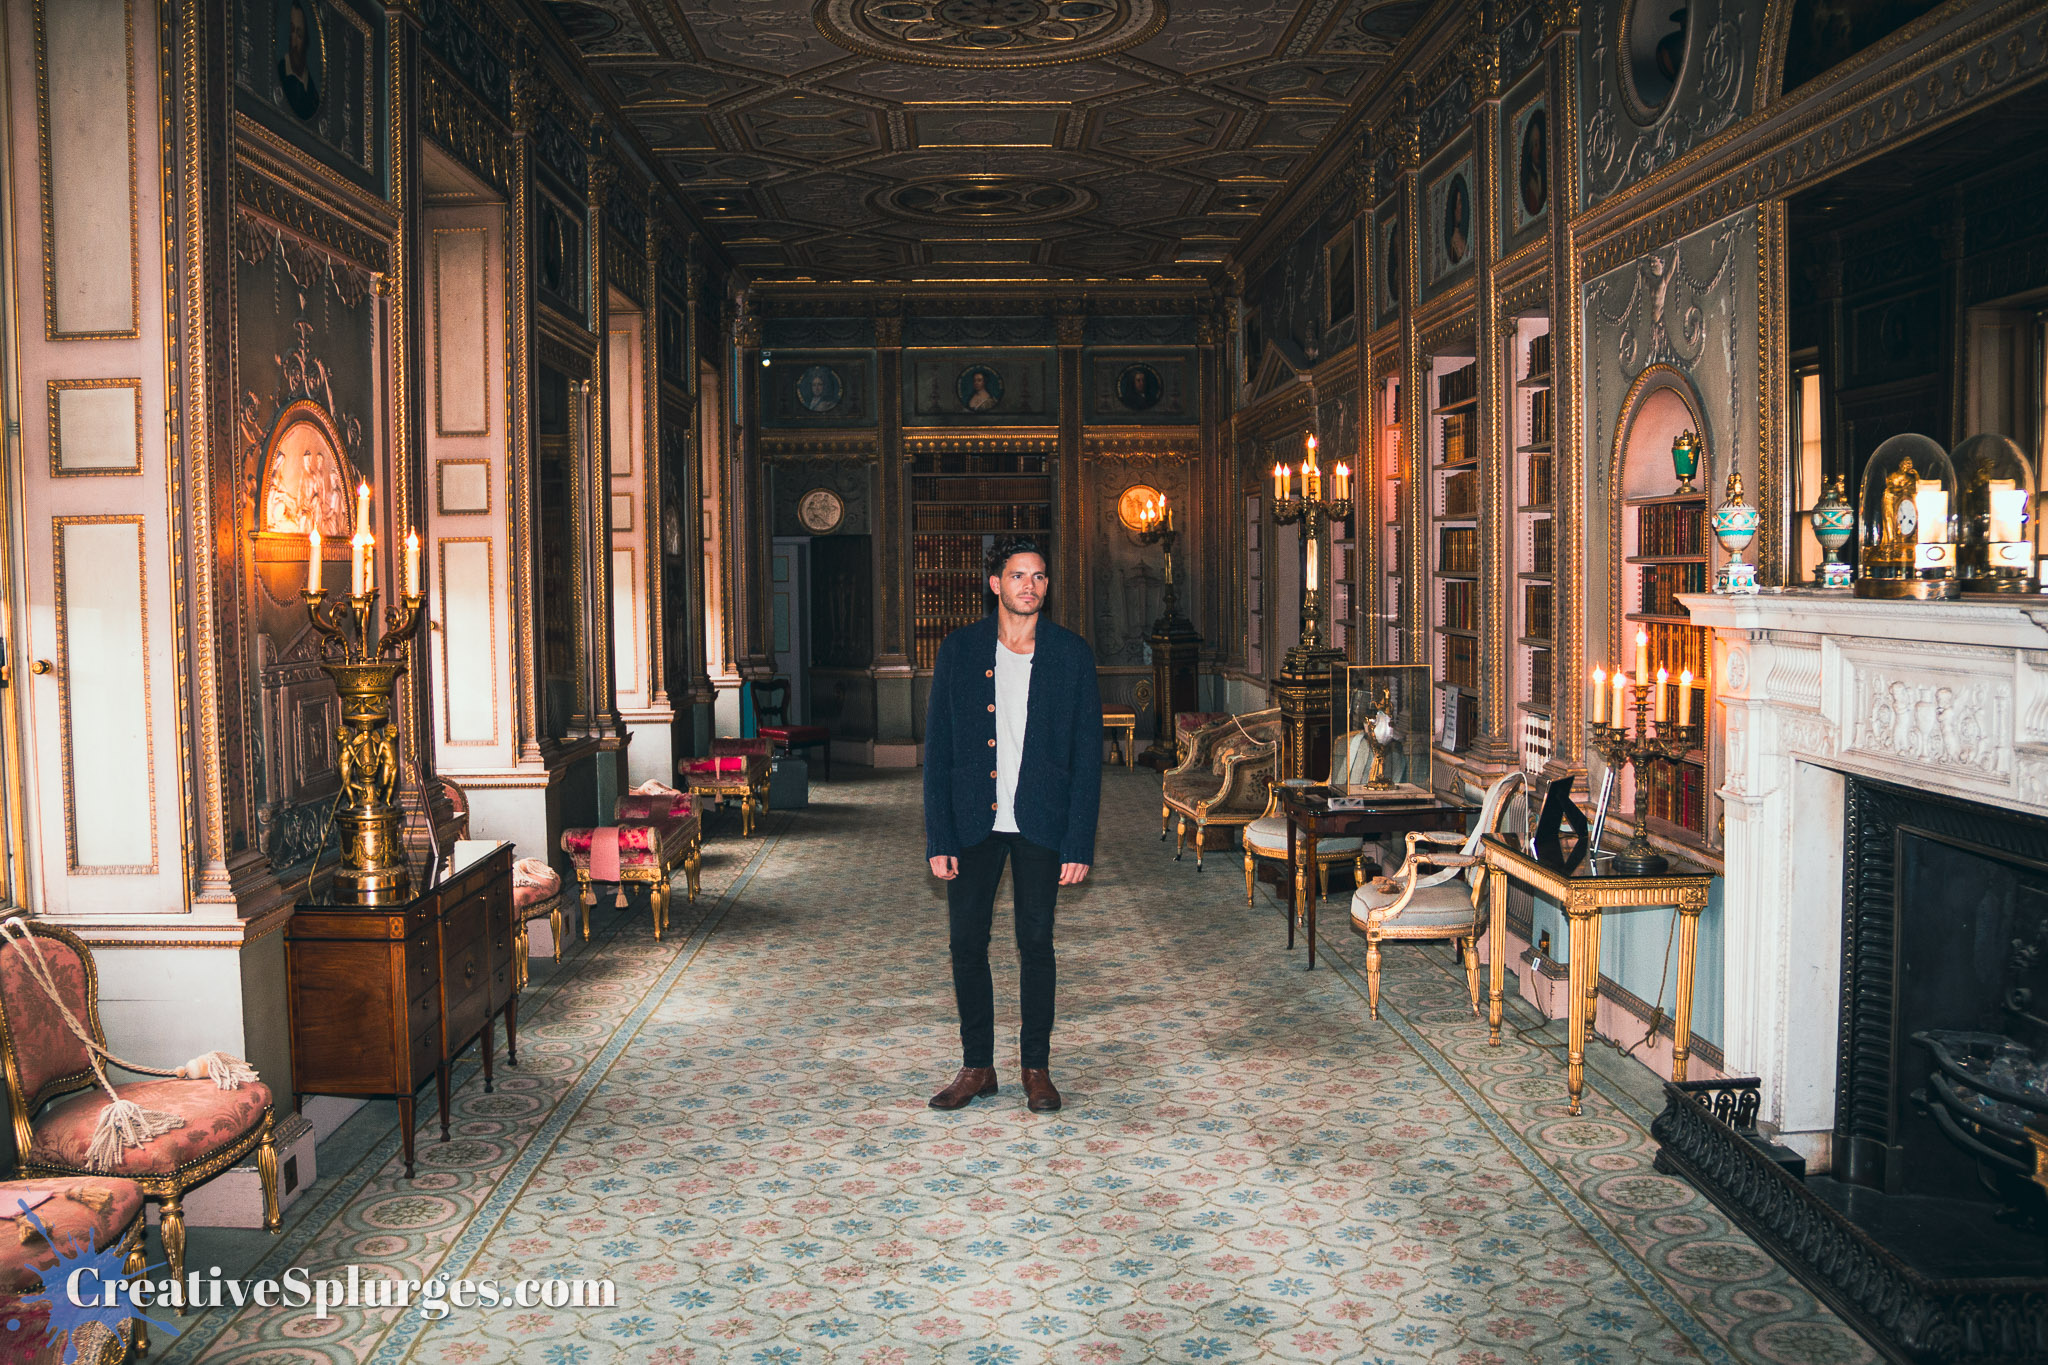
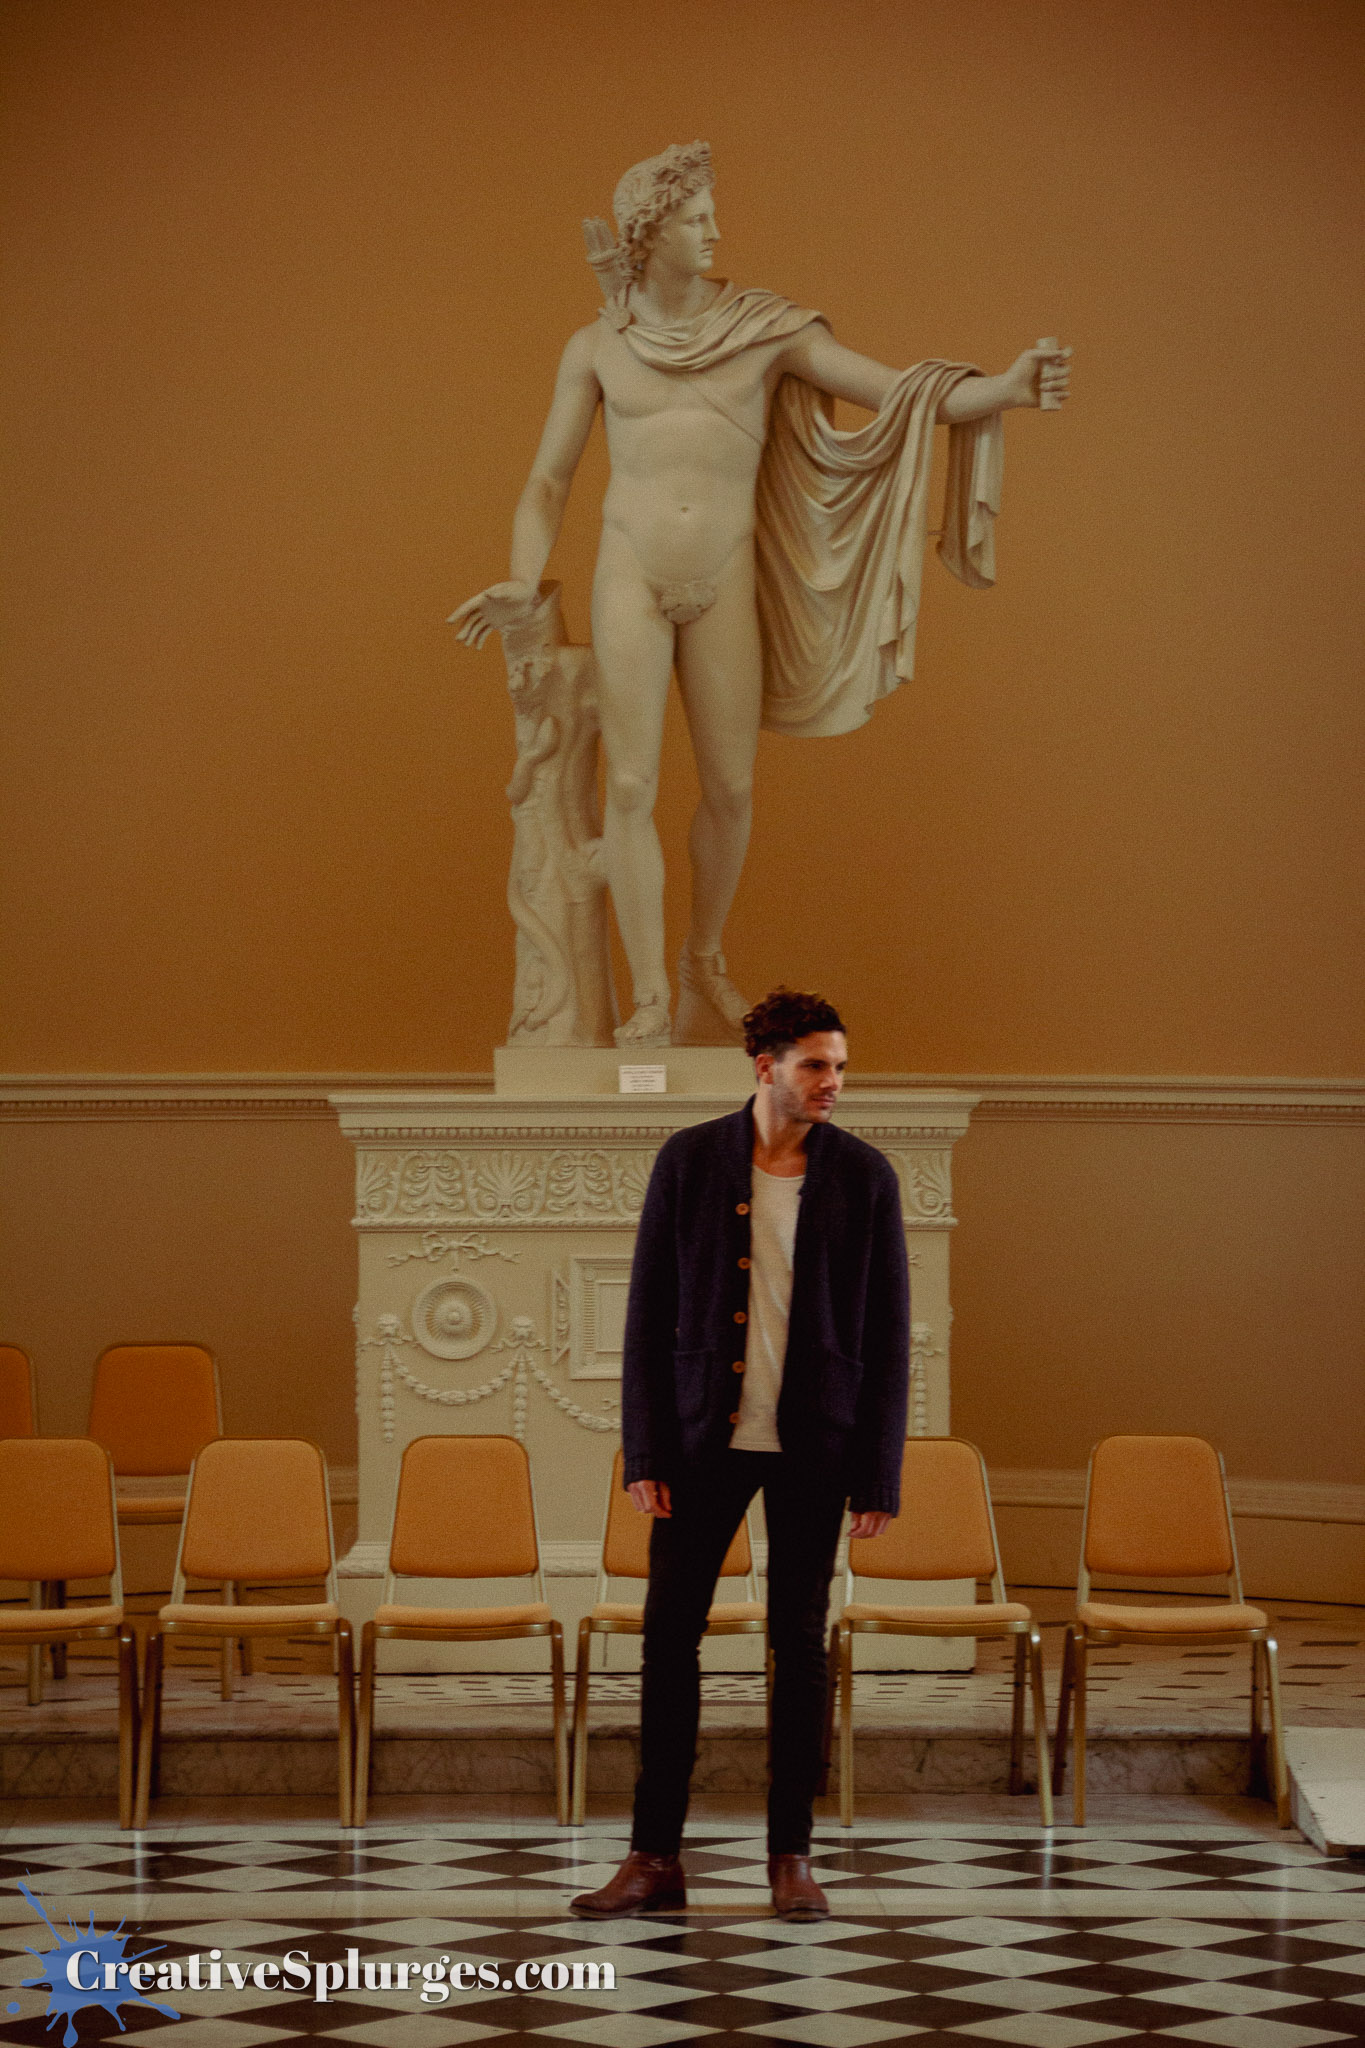
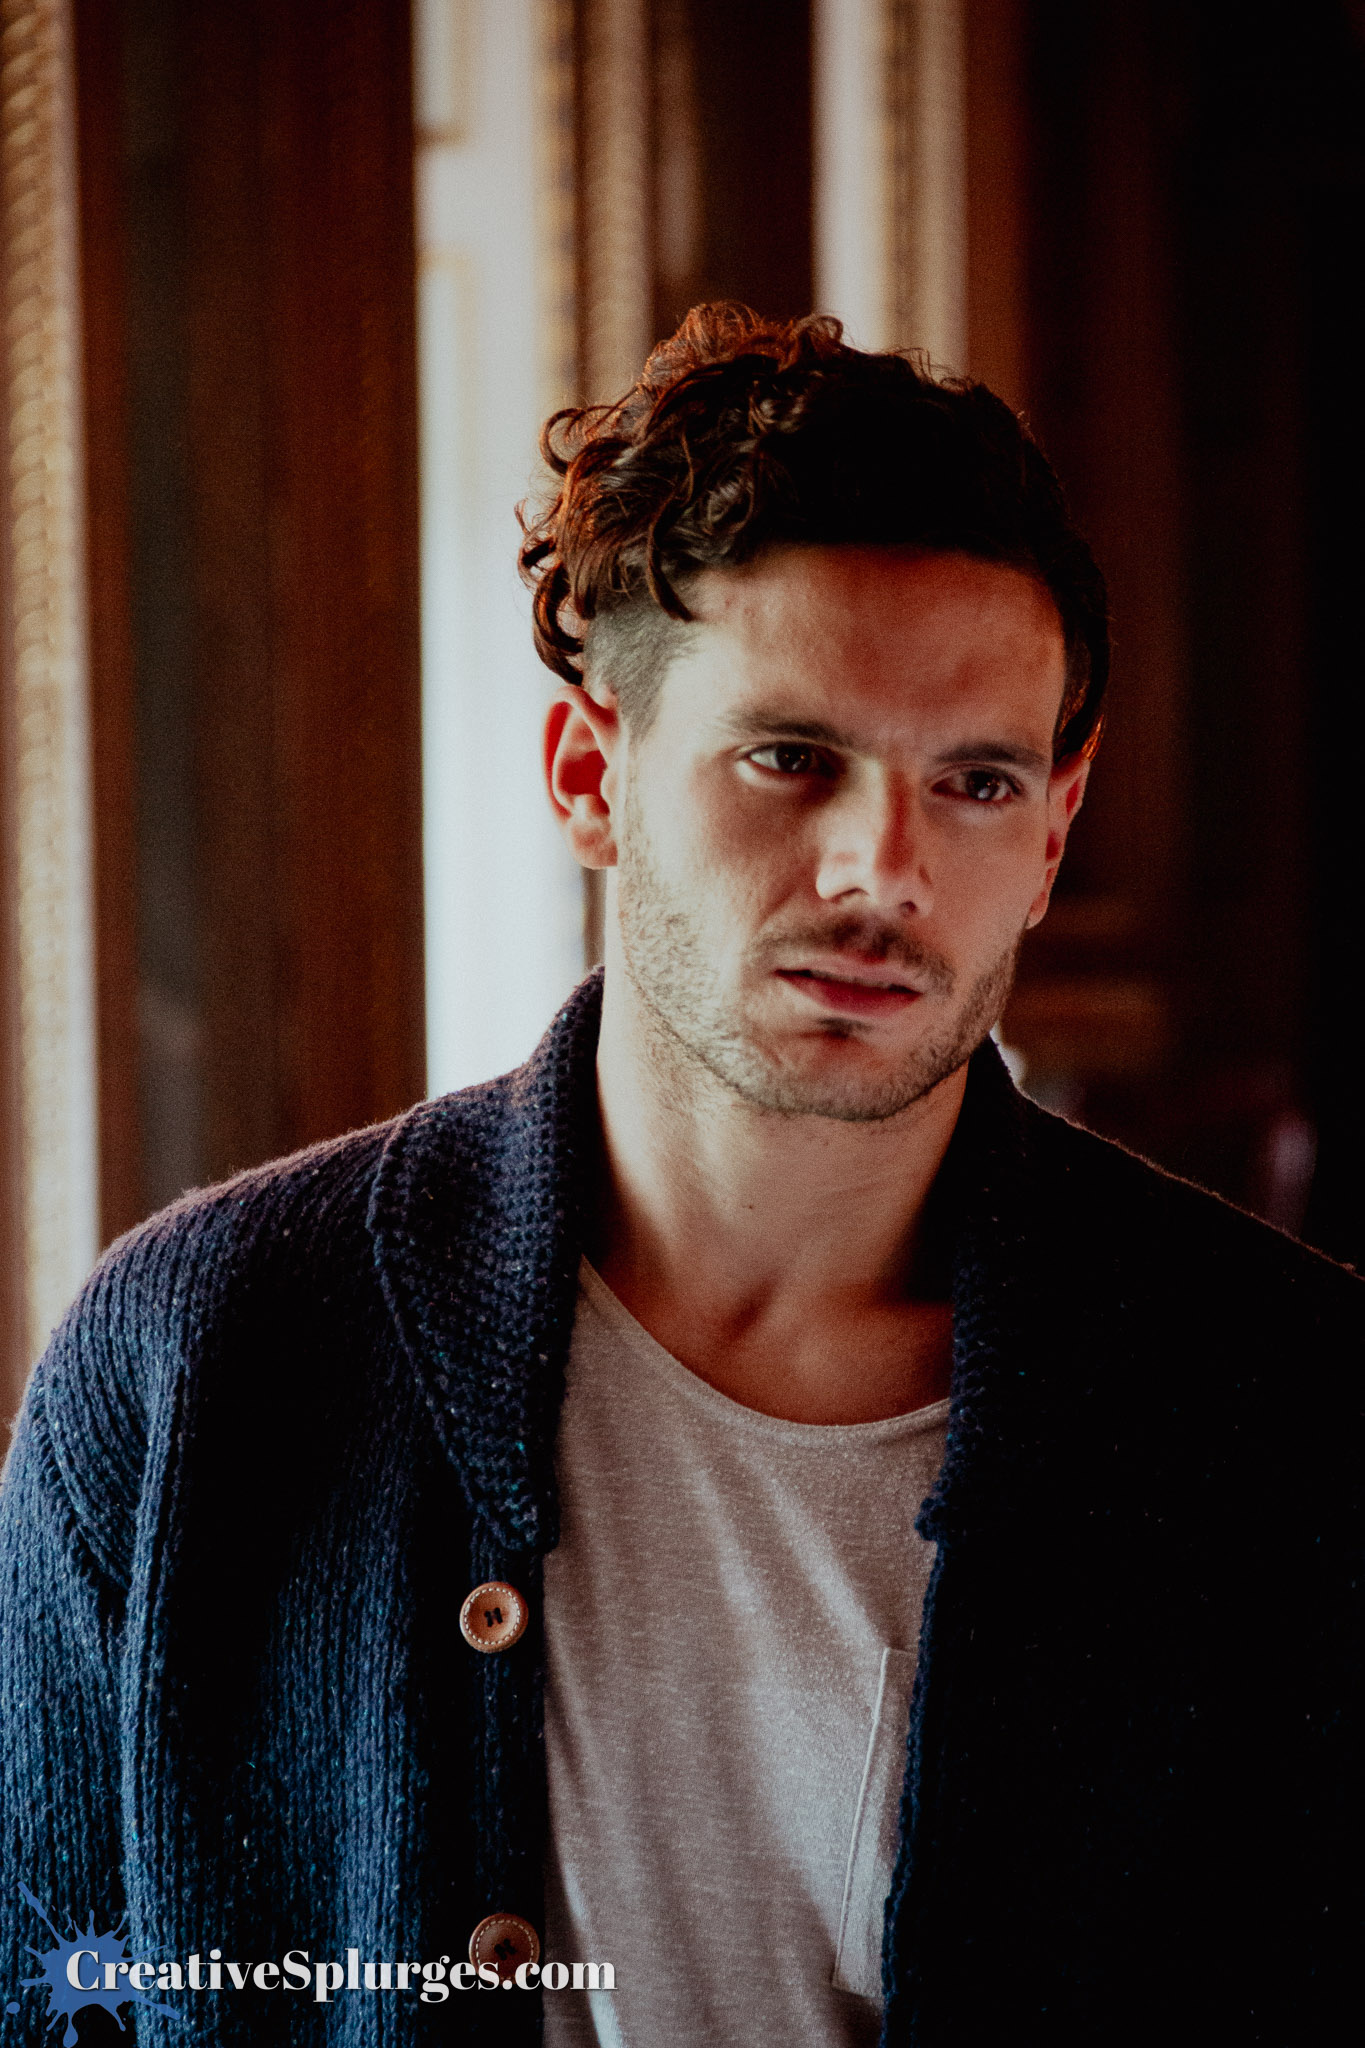
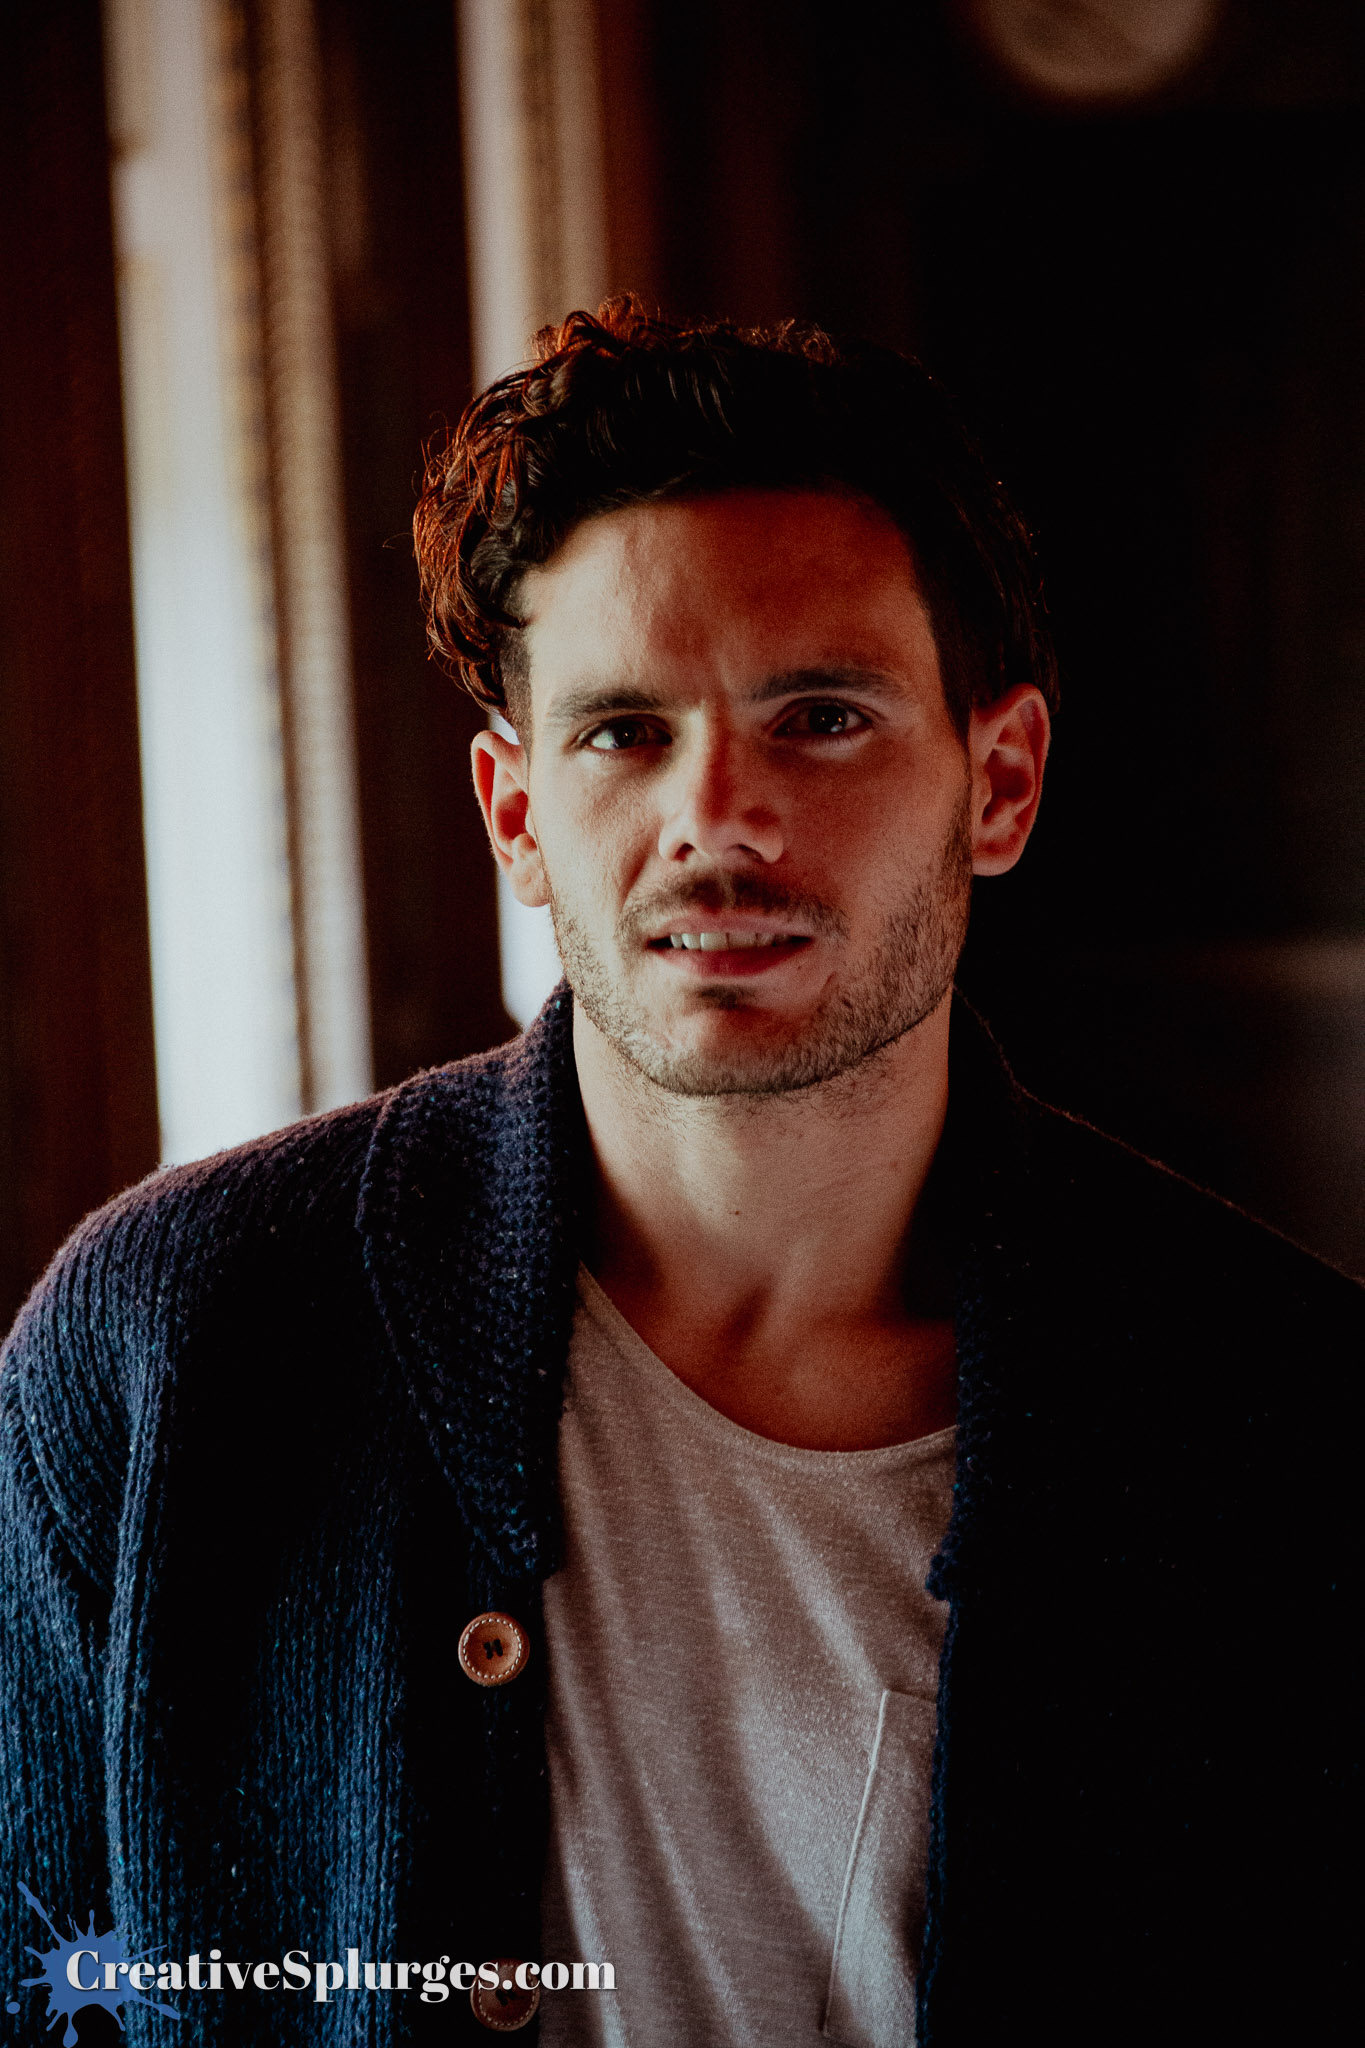
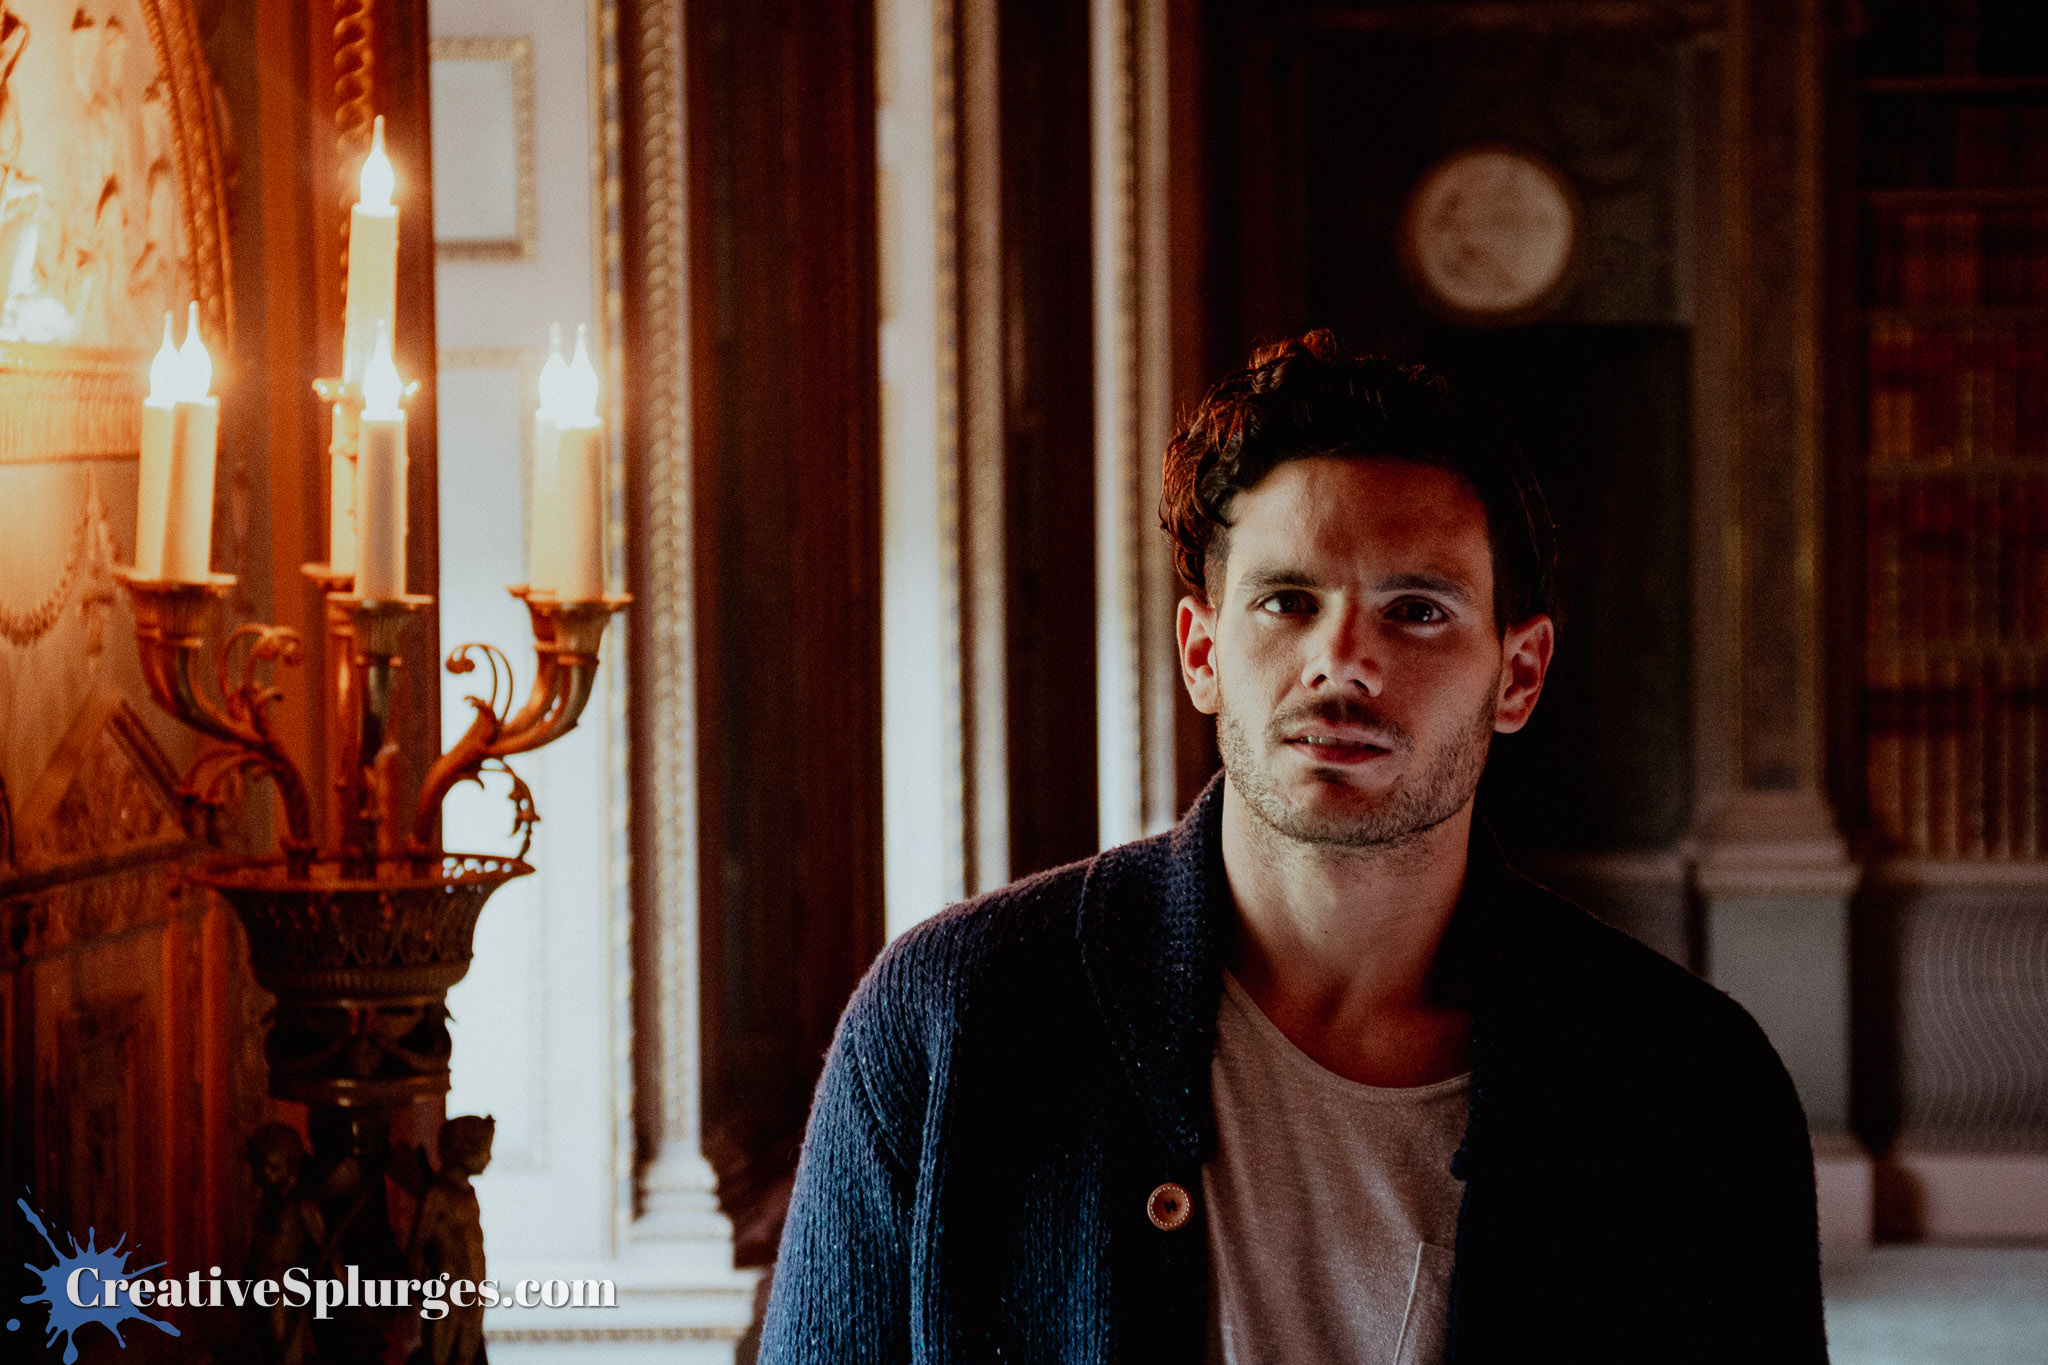
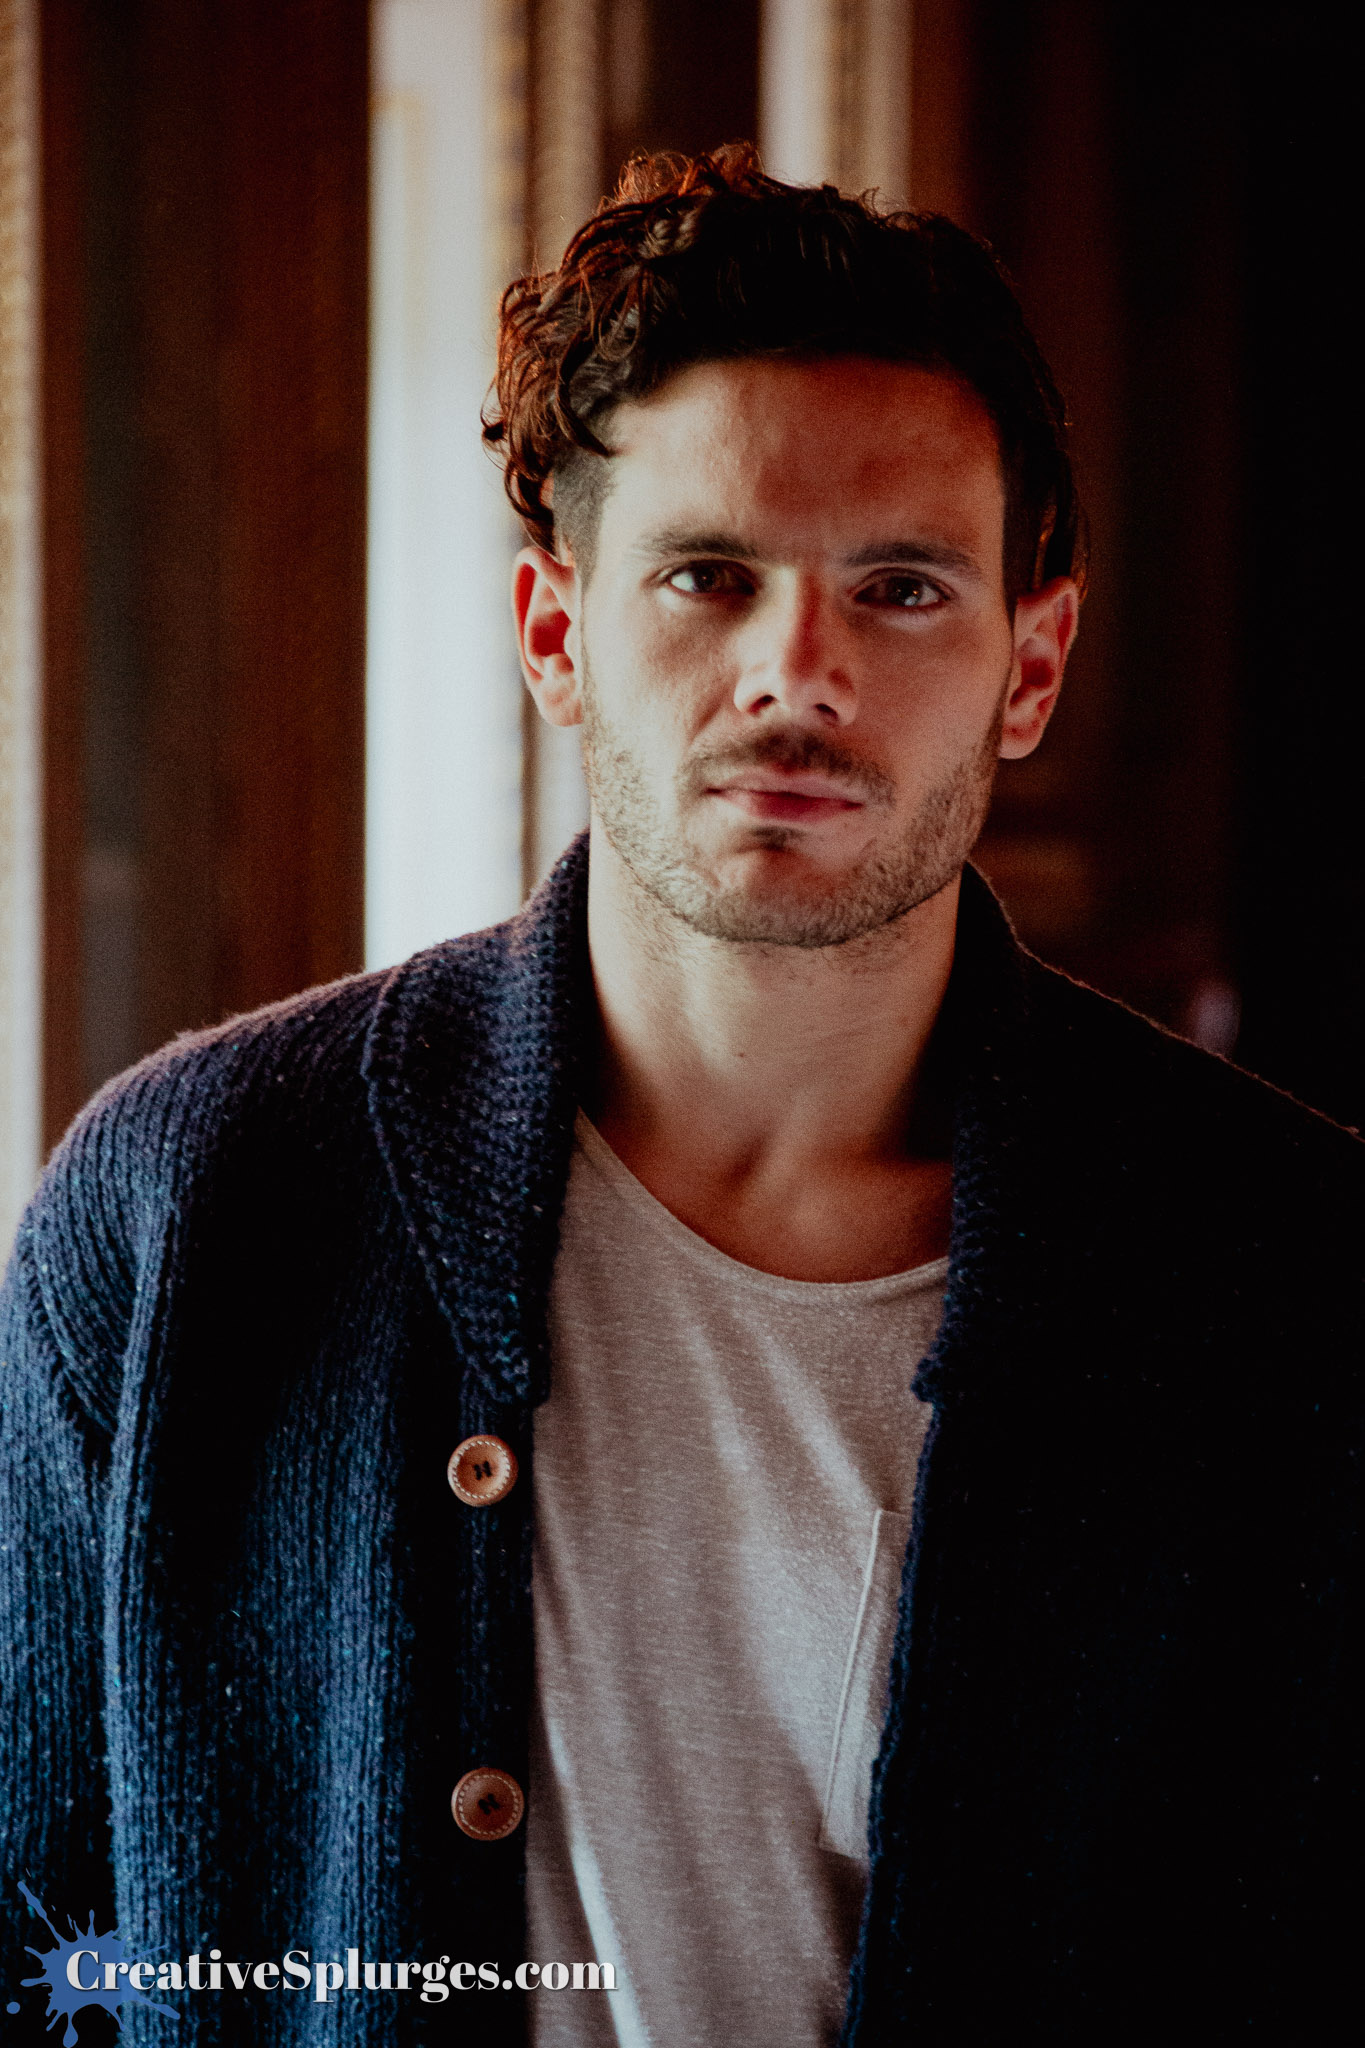
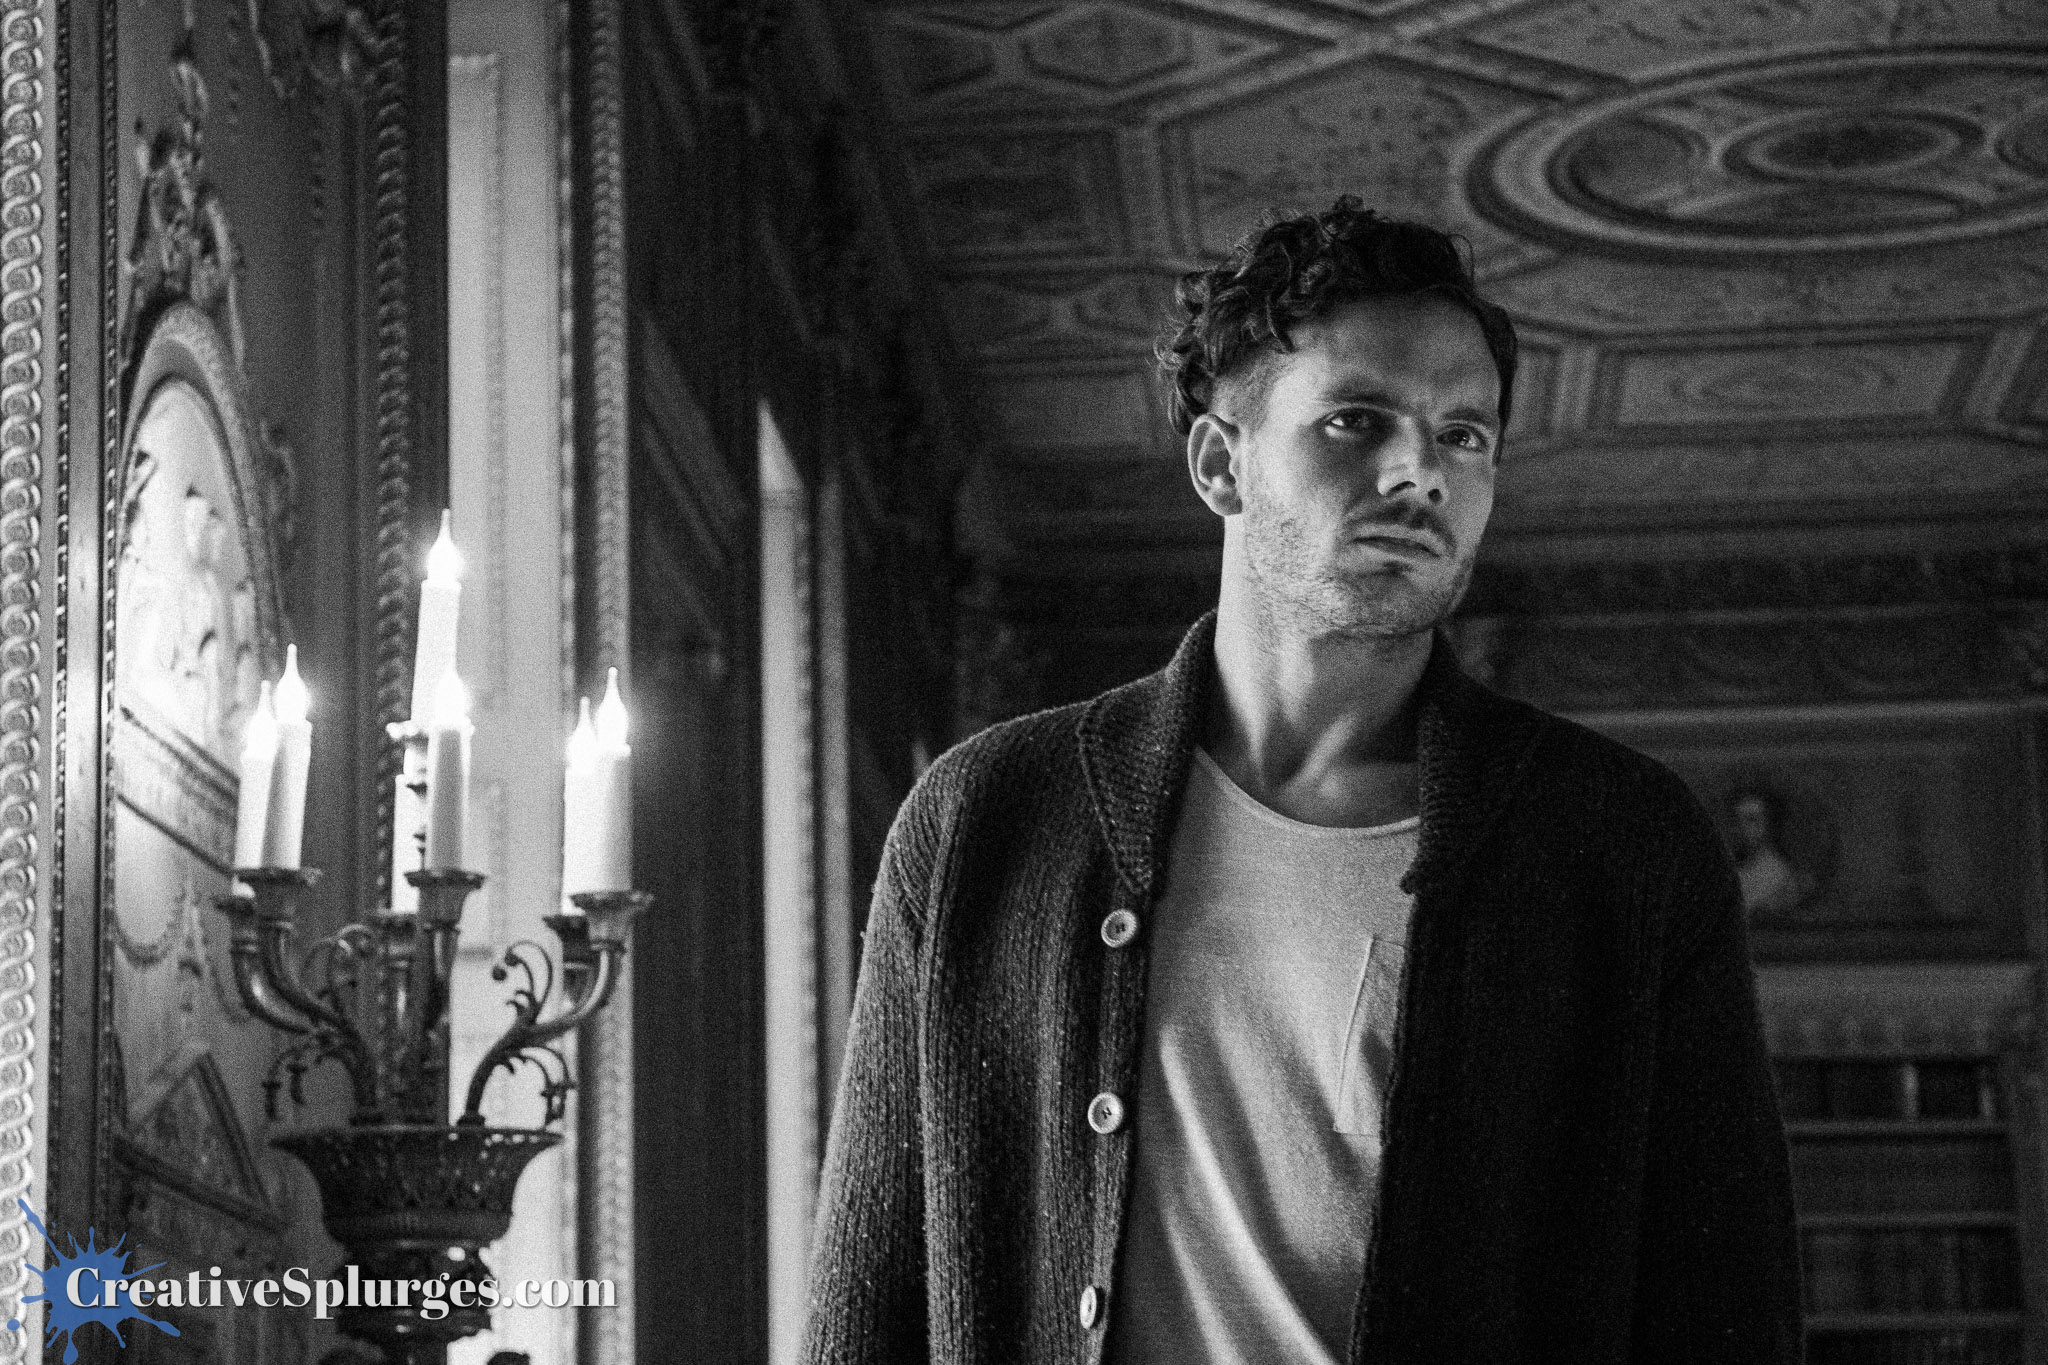
This is where we reach the slightly awkward point on this flash training course where I decided to stop using a flash. I think I remember why – I am a fan of soft, natural side light, and in this room I was getting more appealing photos without the flash than with it.
I think that you hopefully understand my choice looking at the image above.
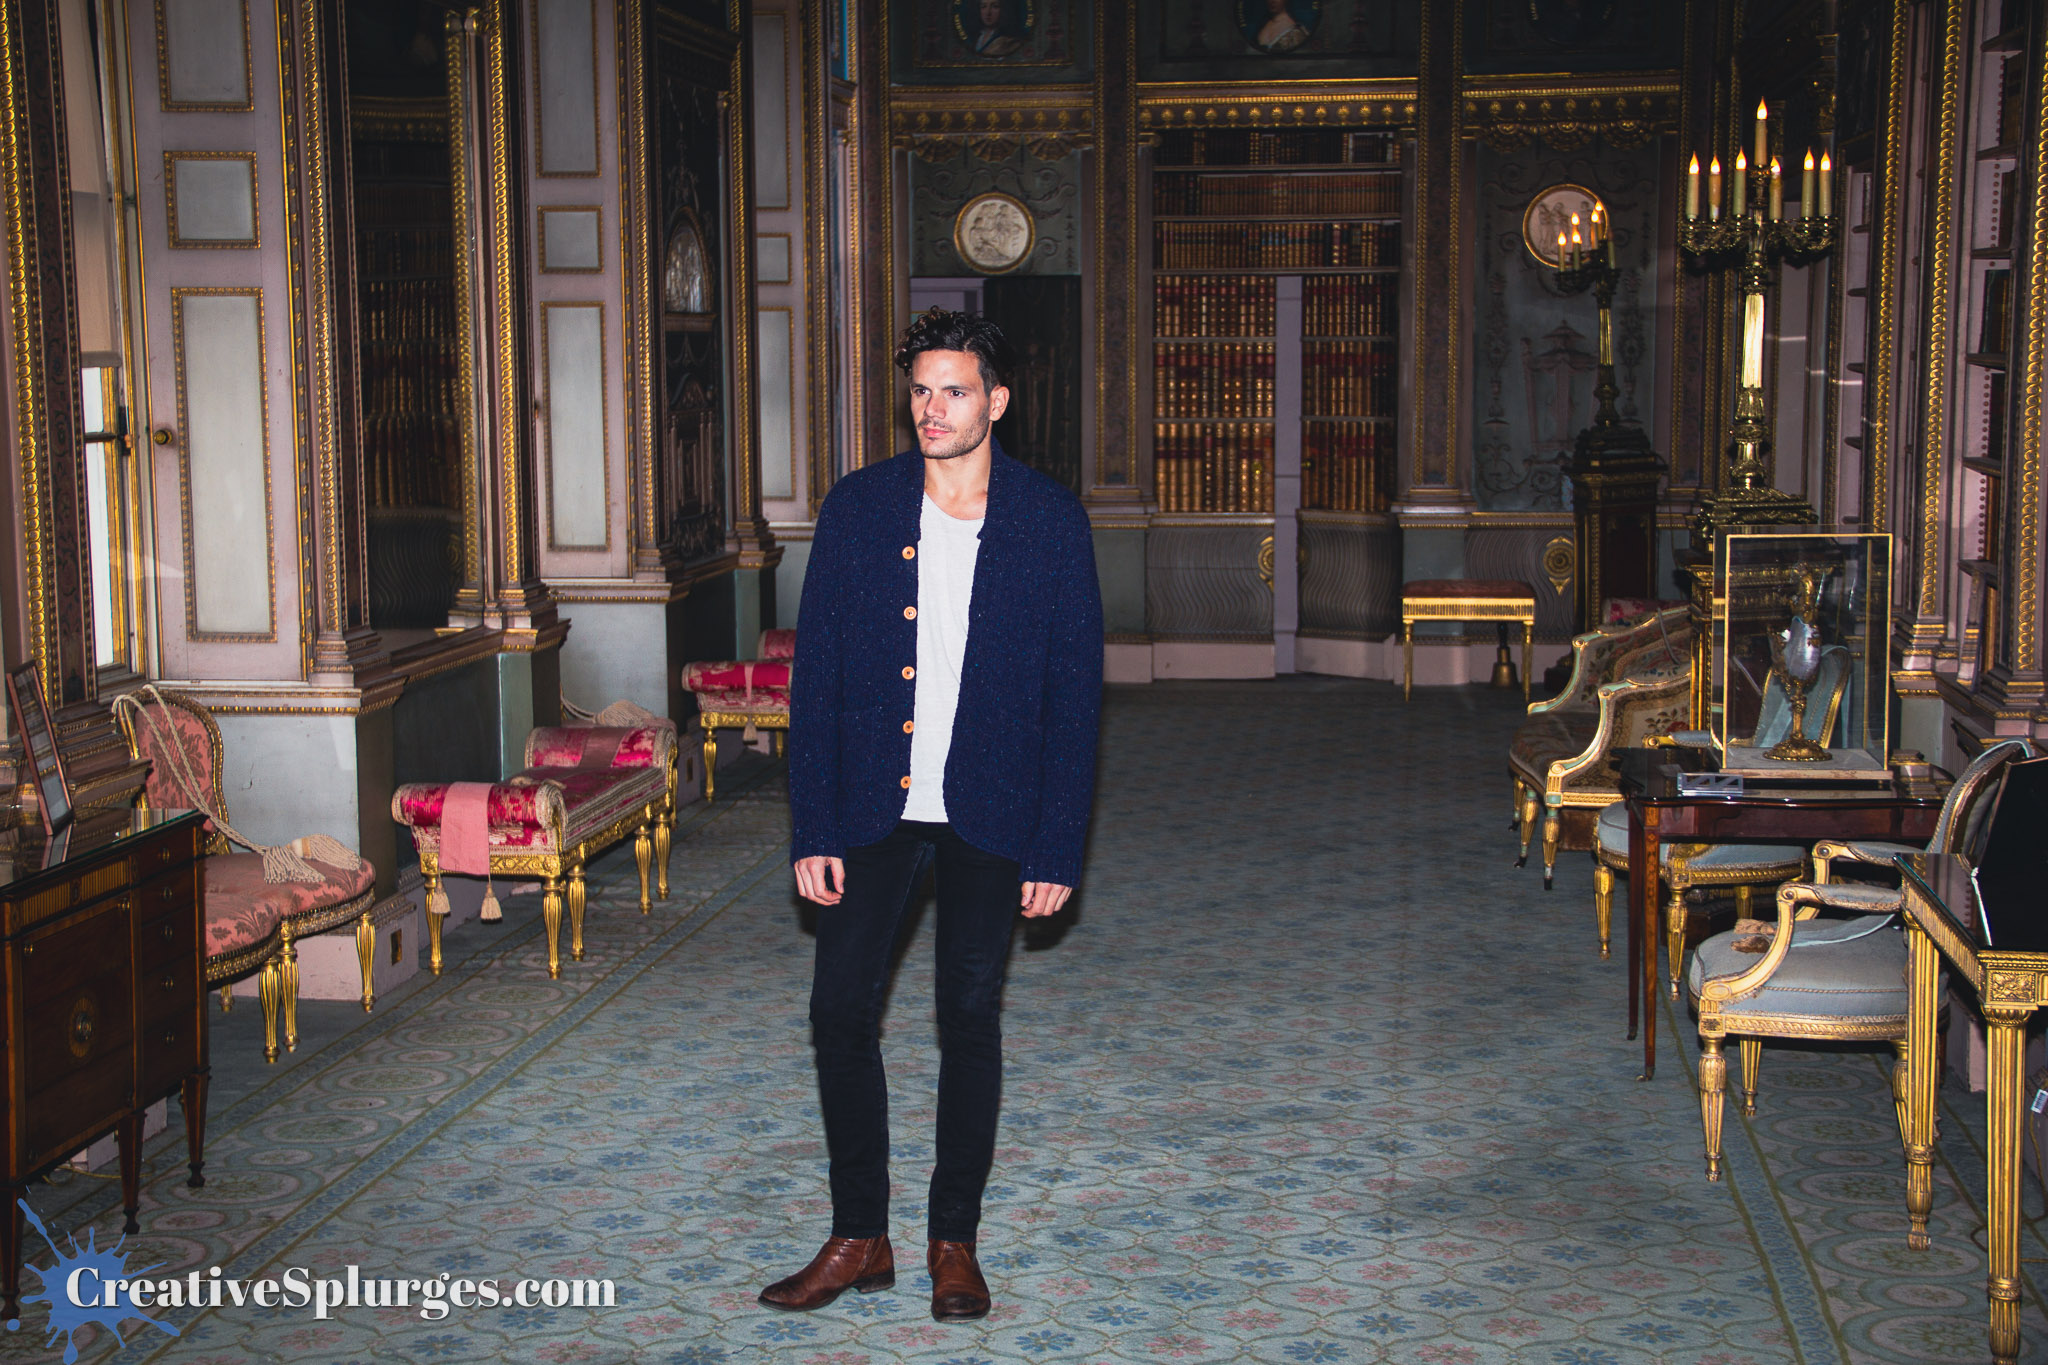
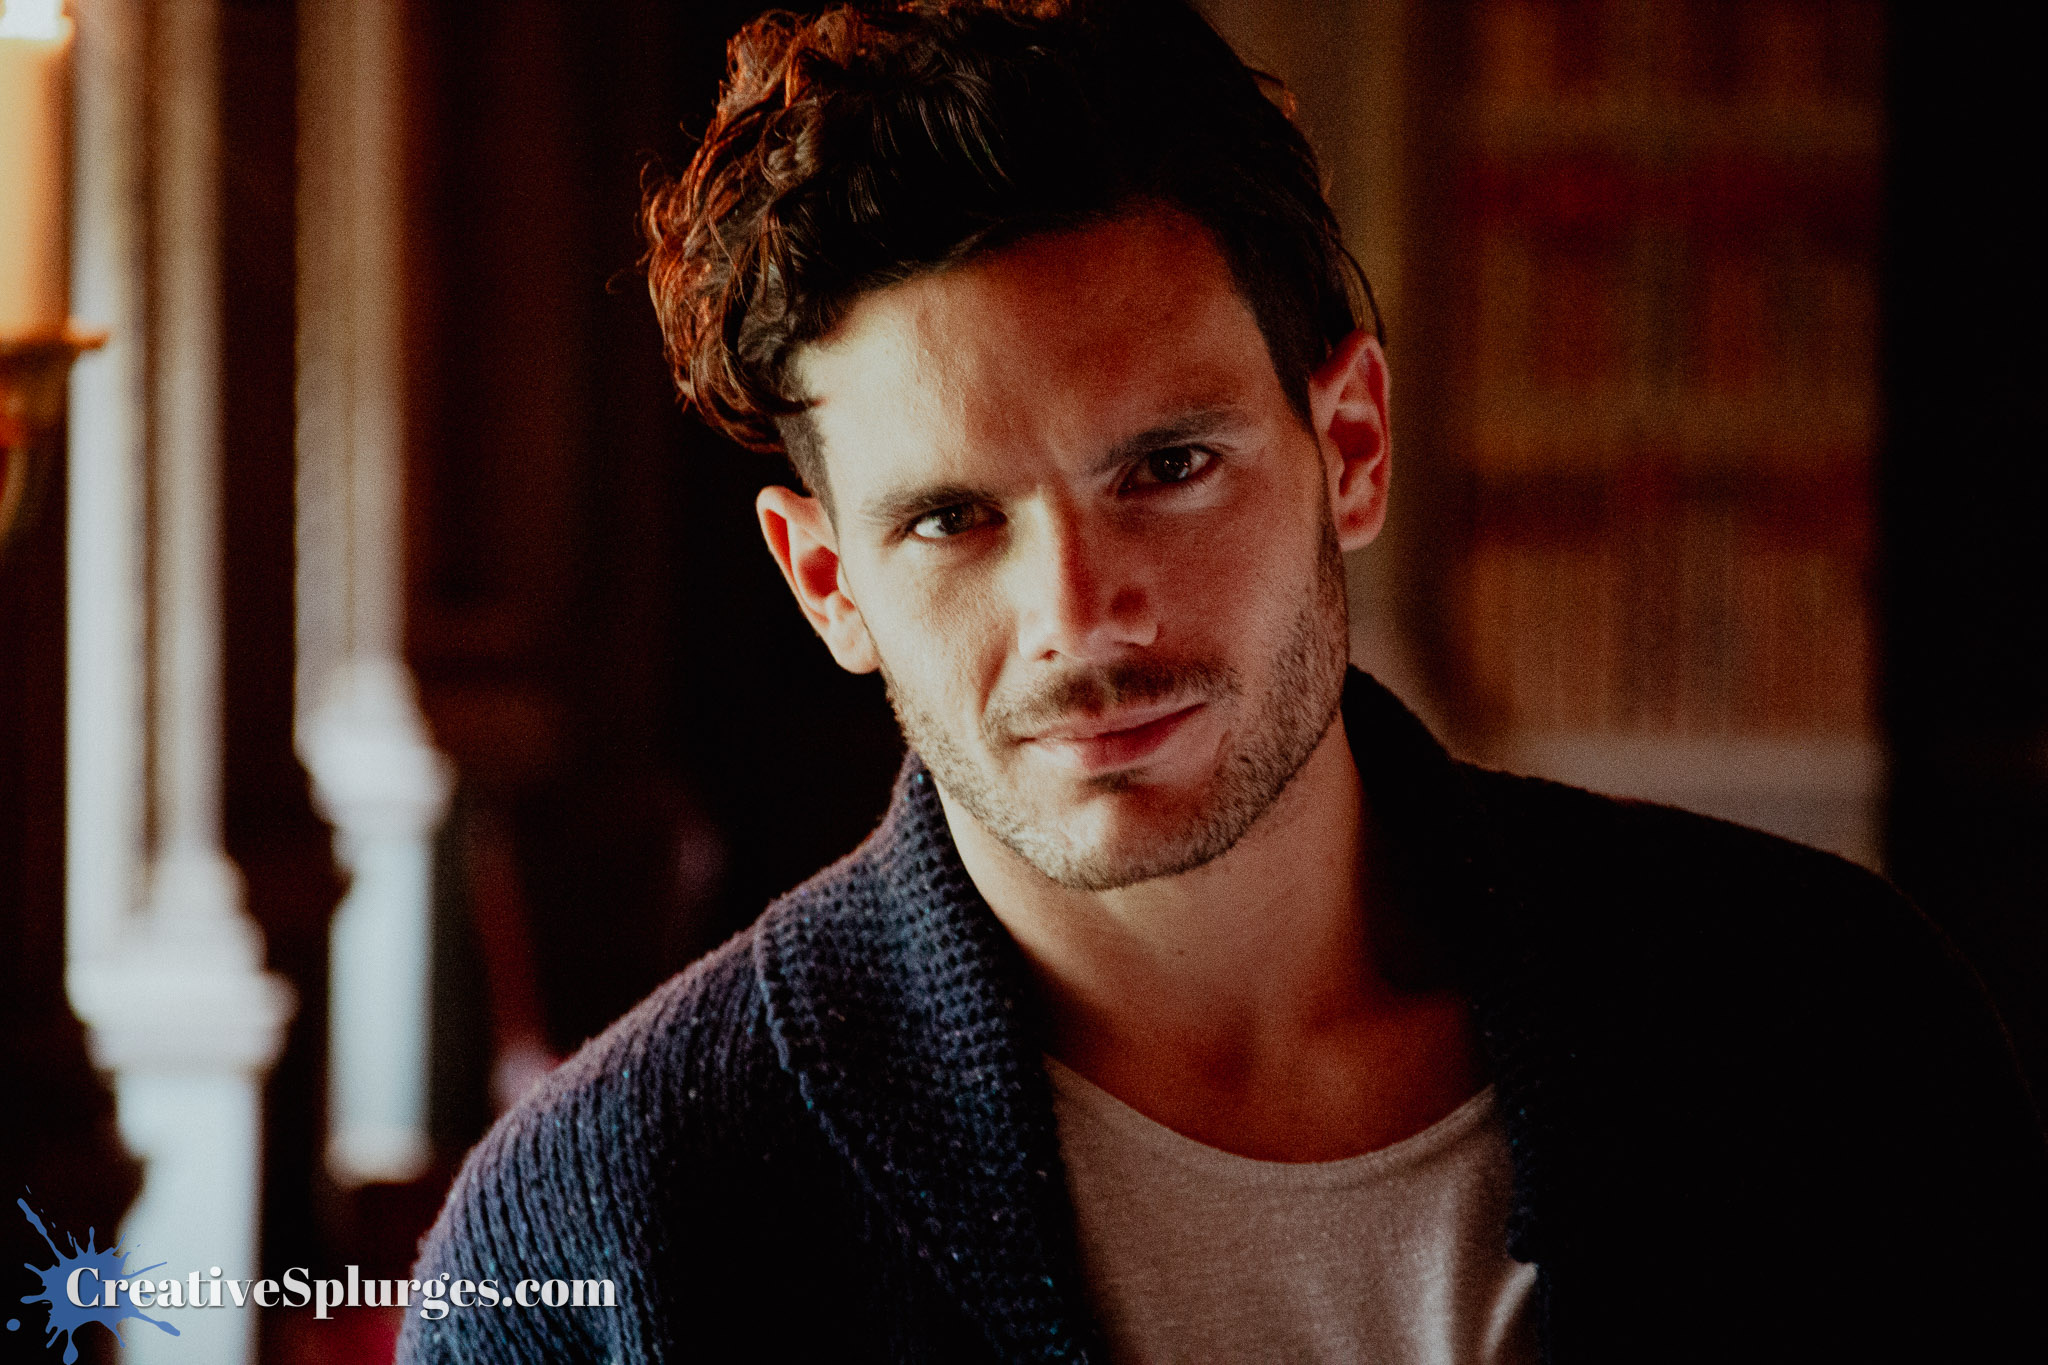
As you can see, I changed up my editing style to utilise a preset that emphasised some of the golden hues in the room.
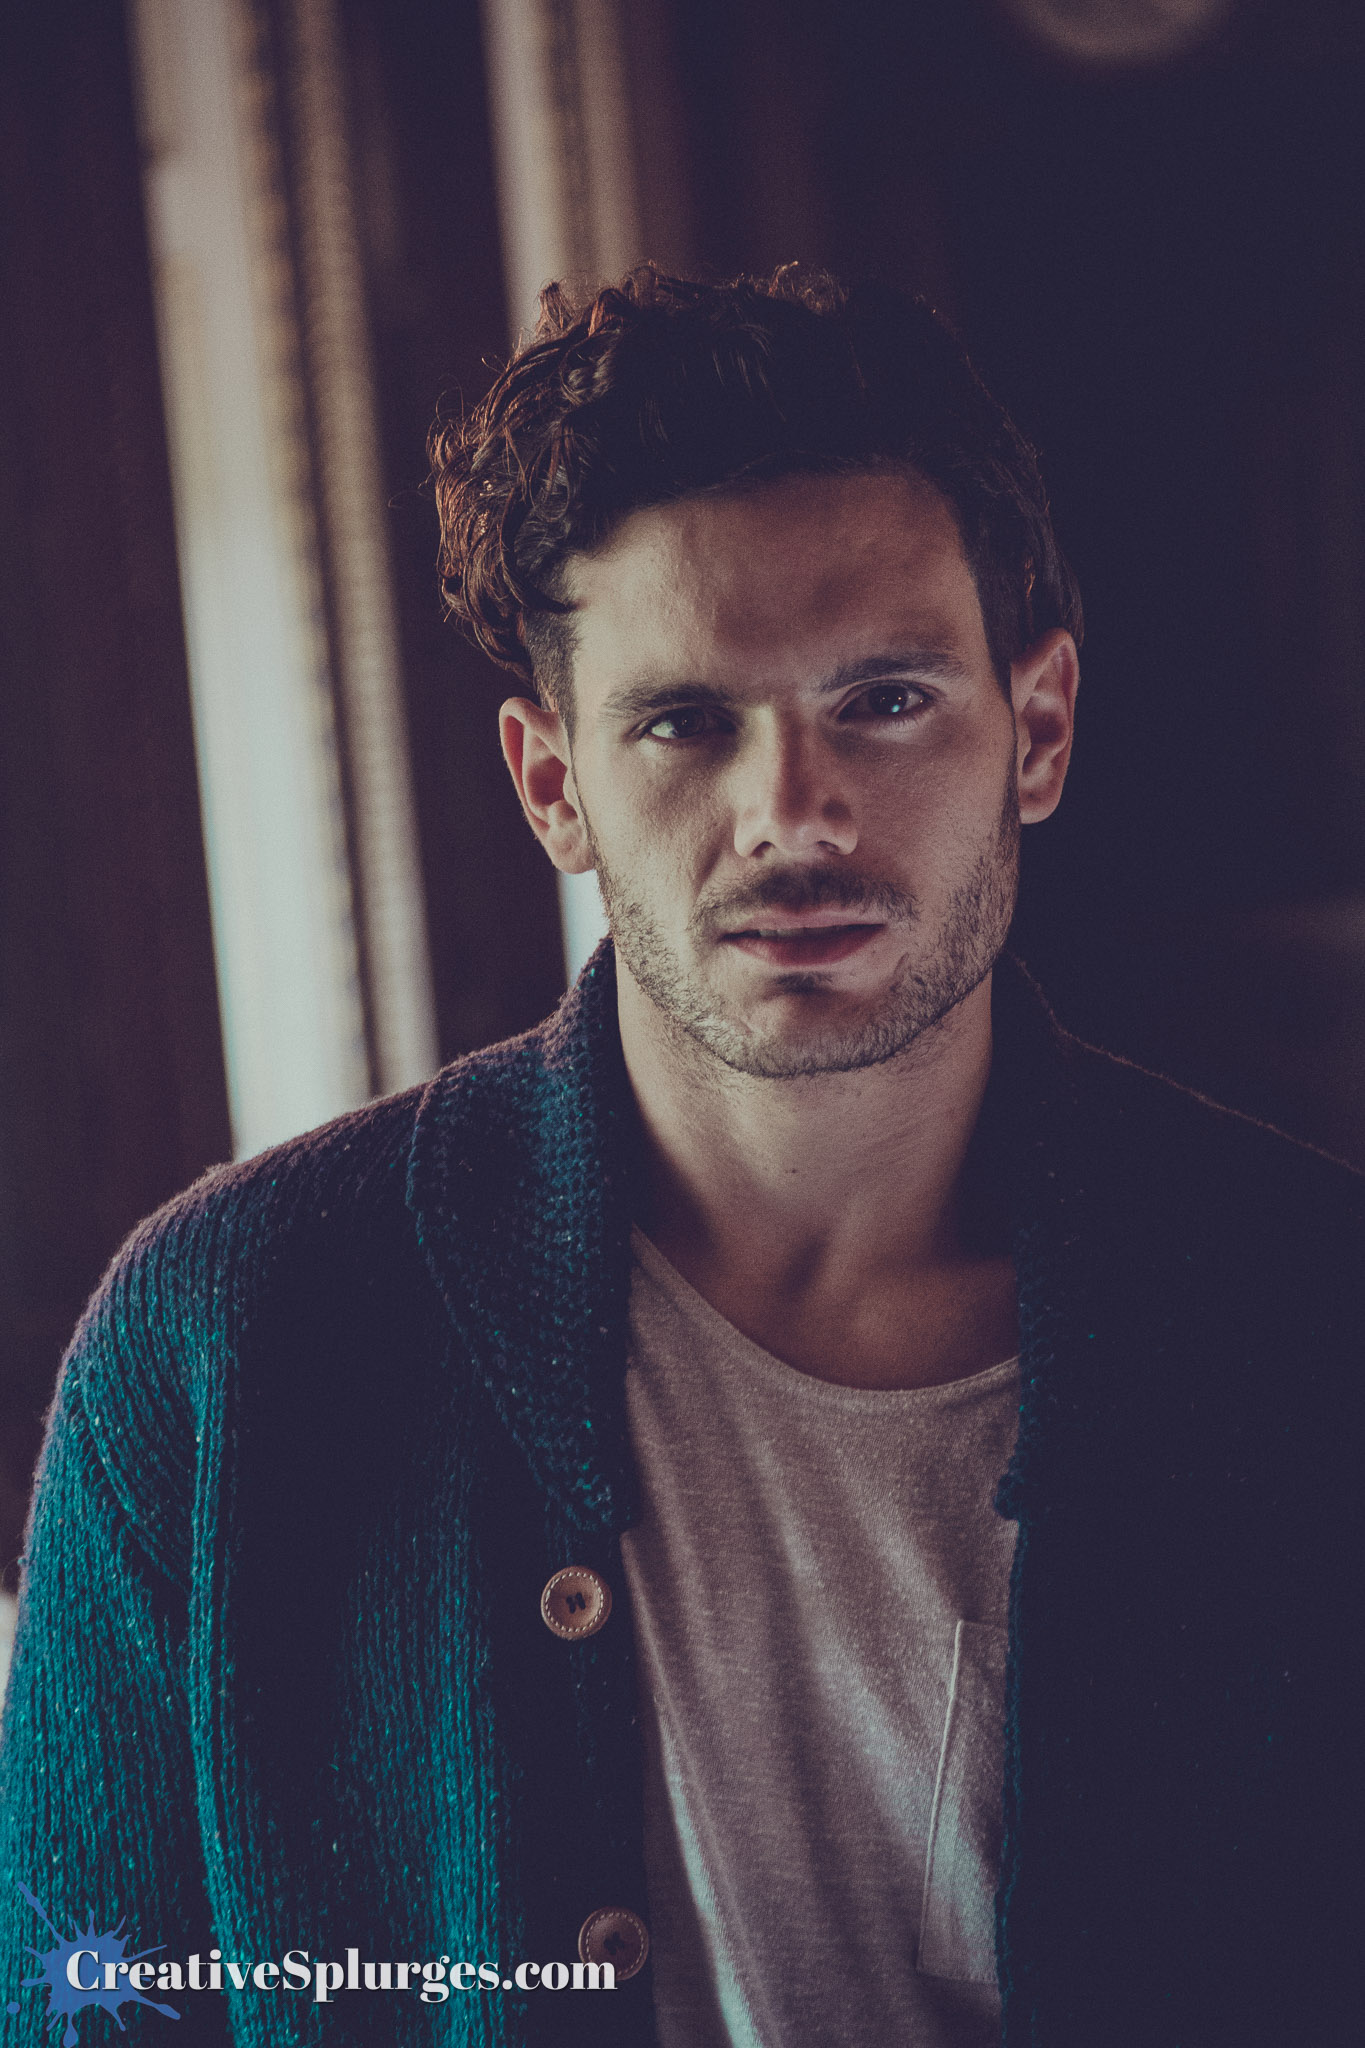
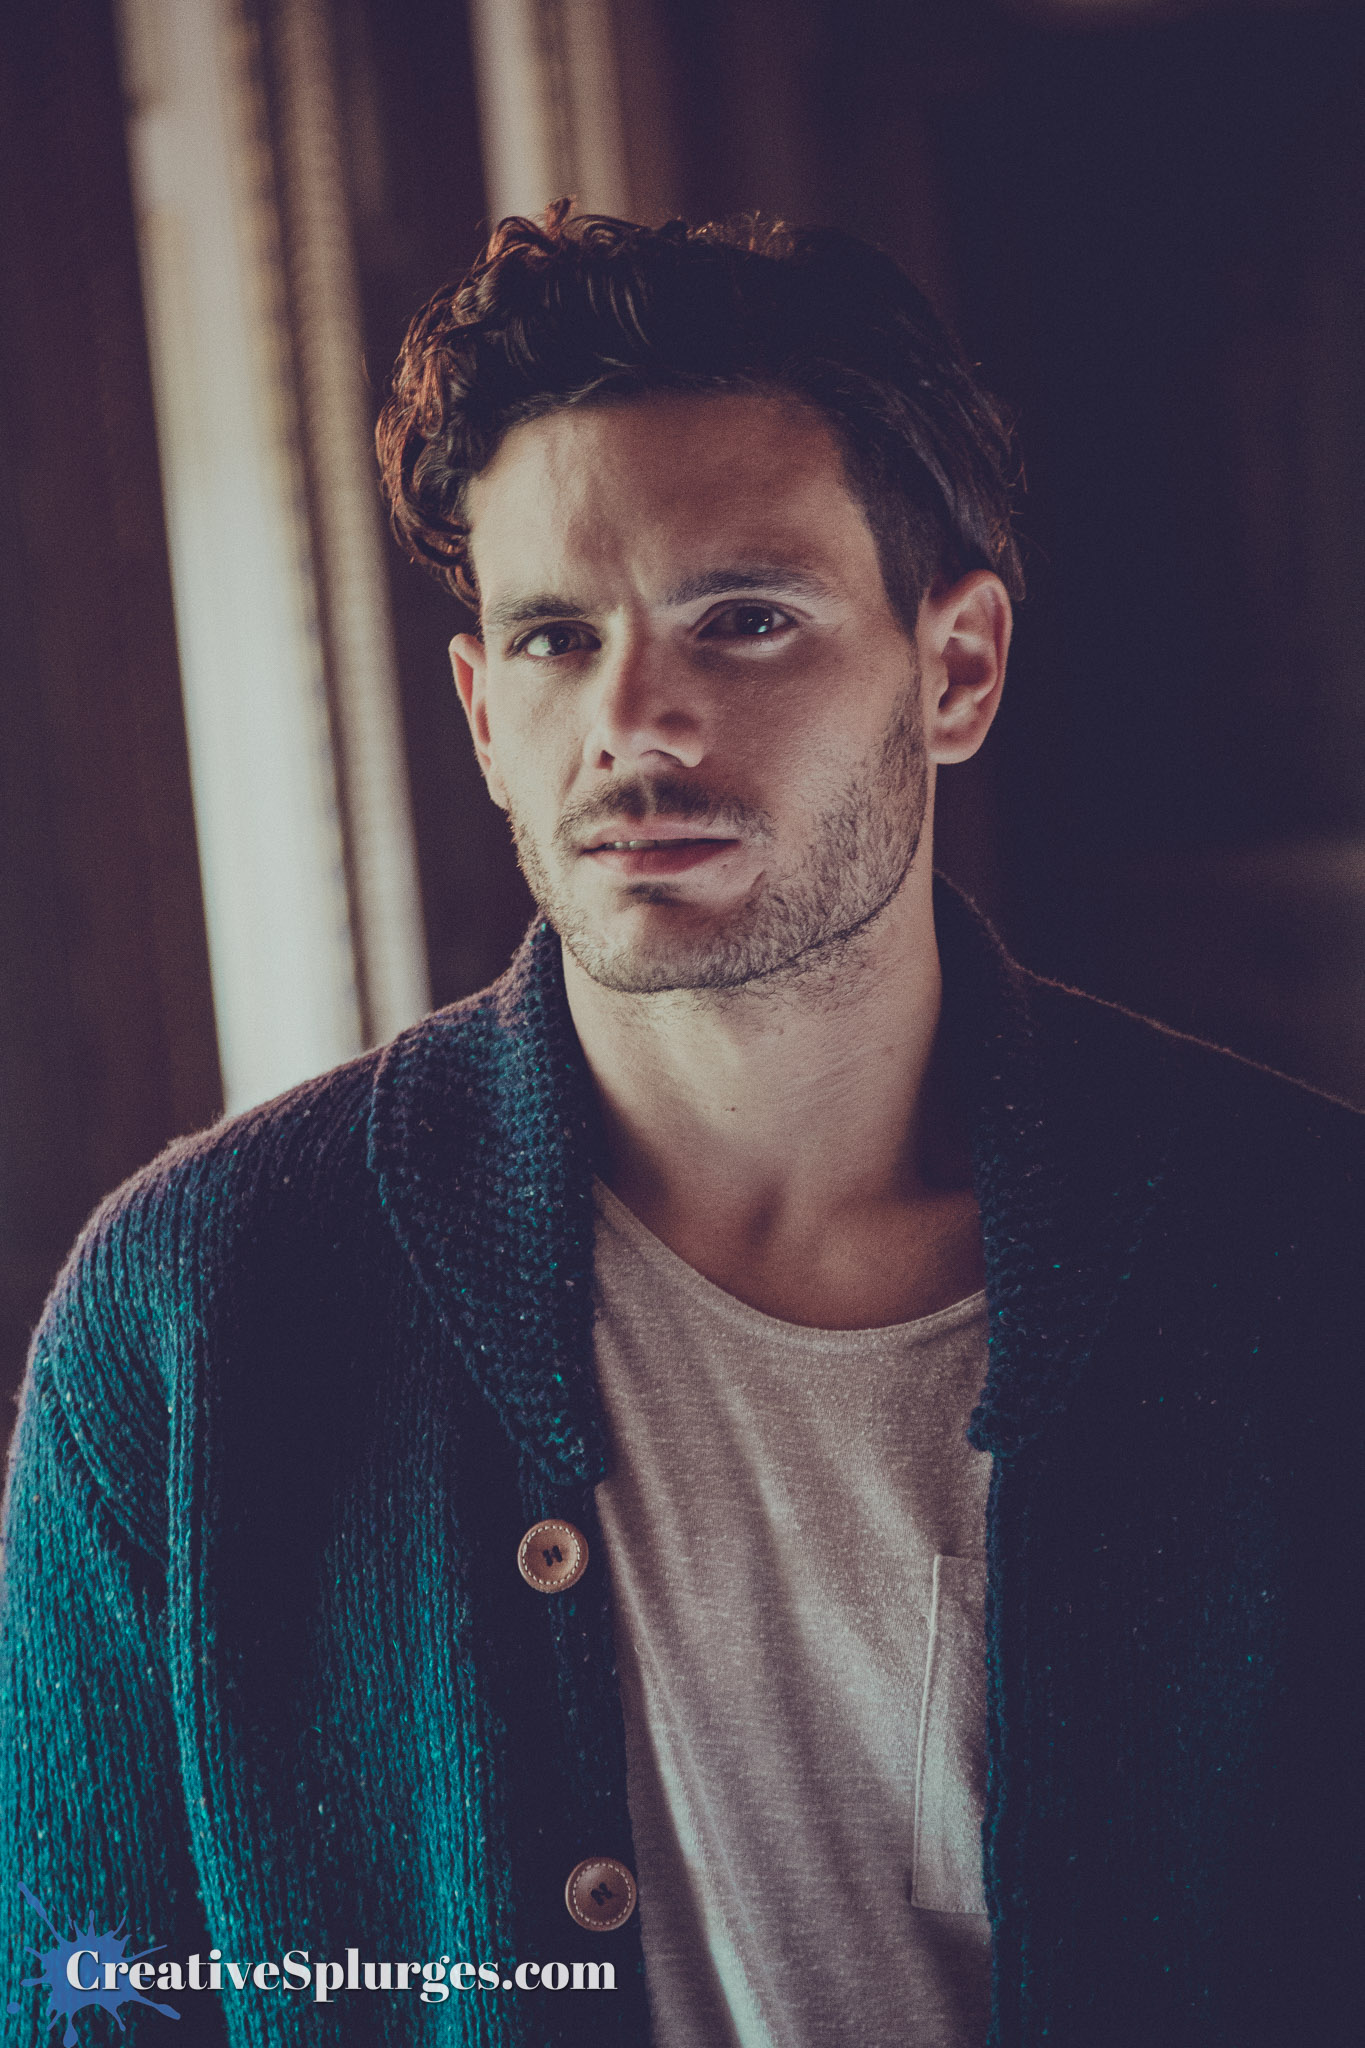
The main downside to dropping the flash is the eyes don’t pop quite as much.
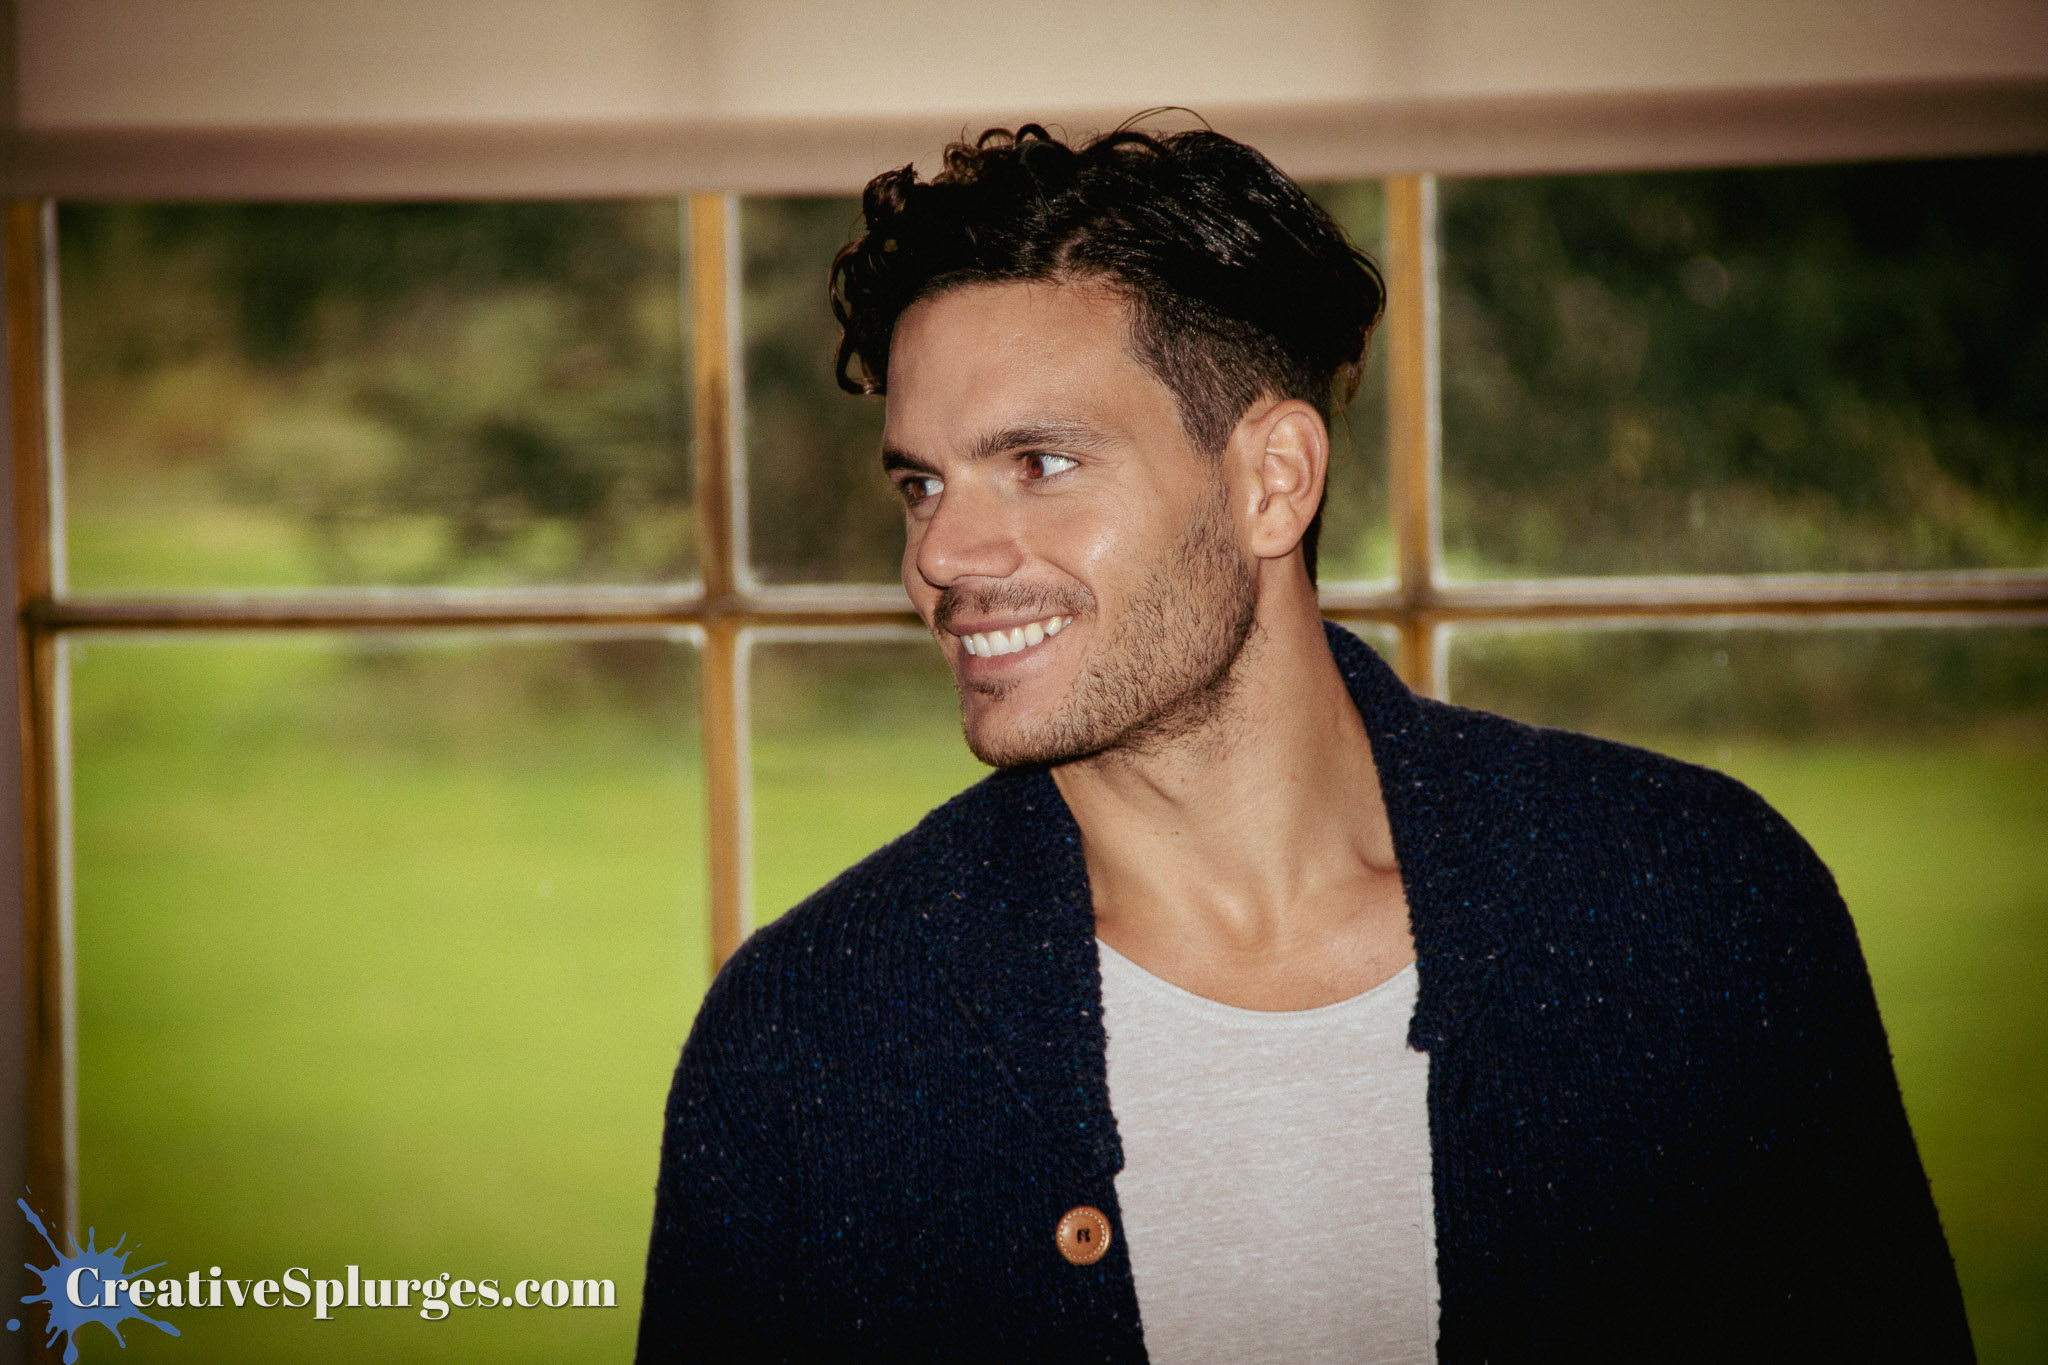
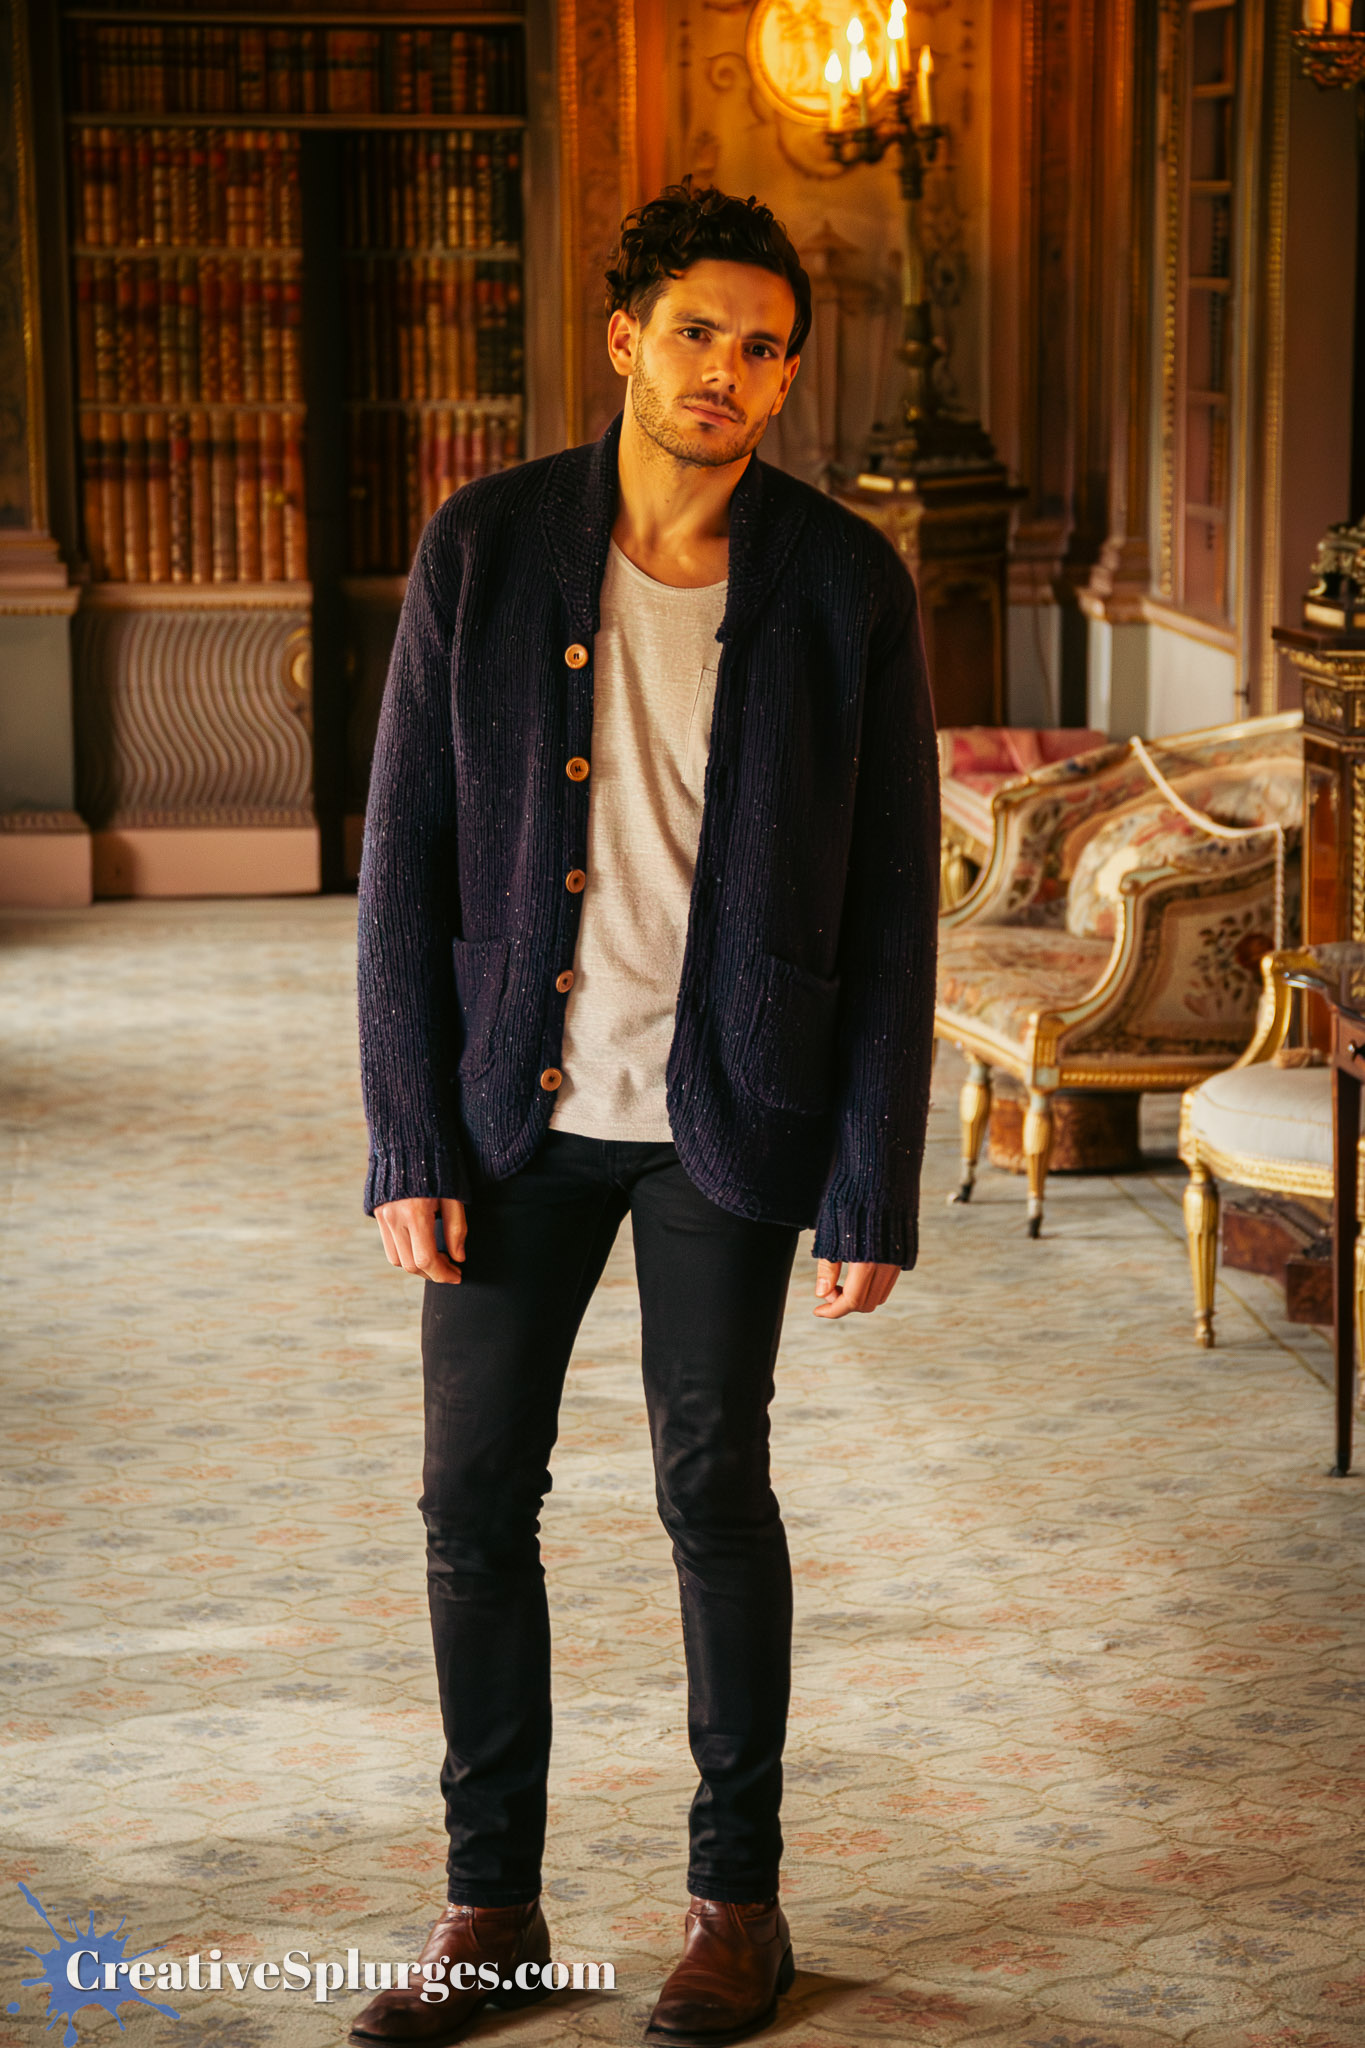
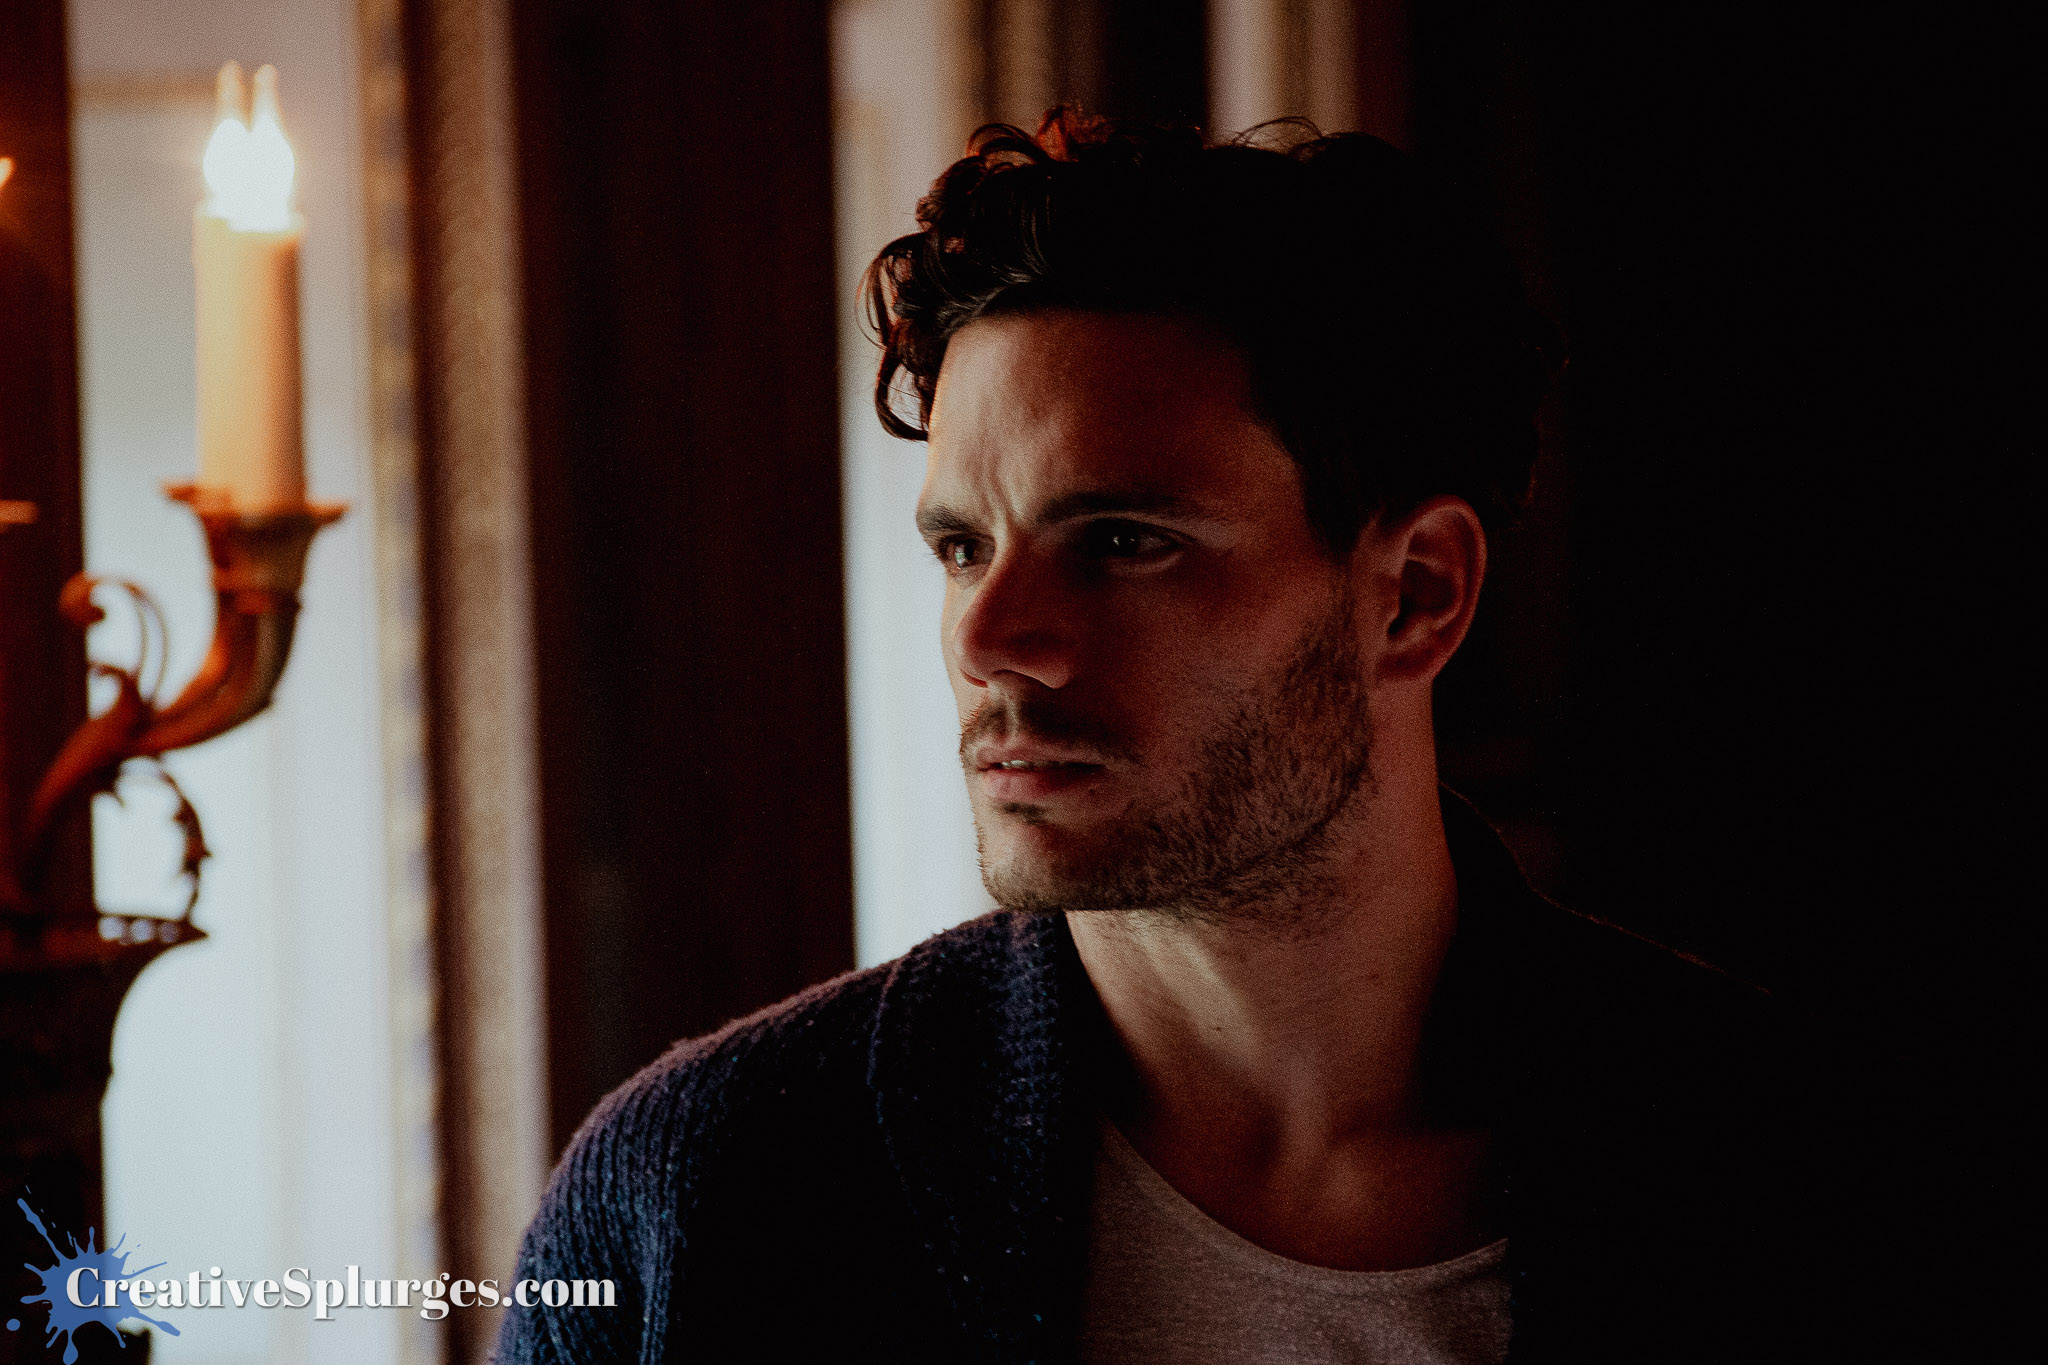
That said, occasionally his eyes would catch the light in the room just right.
I’m actually pretty pleased with how sharp these images came out, considering I was shooting inside at relatively high ISOs (for that camera at least, not that I’d blink at such numbers these days), low shutter speeds, and with a lens that I ultimately replaced because I wanted something sharper.
I actually think that the expectation that most of the shots wouldn’t be very good is why I wasn’t in a hurry to edit them – although the fact it was a week after an intensive safari photography experience might have meant I just didn’t have the time straight away, and then forgot about them.
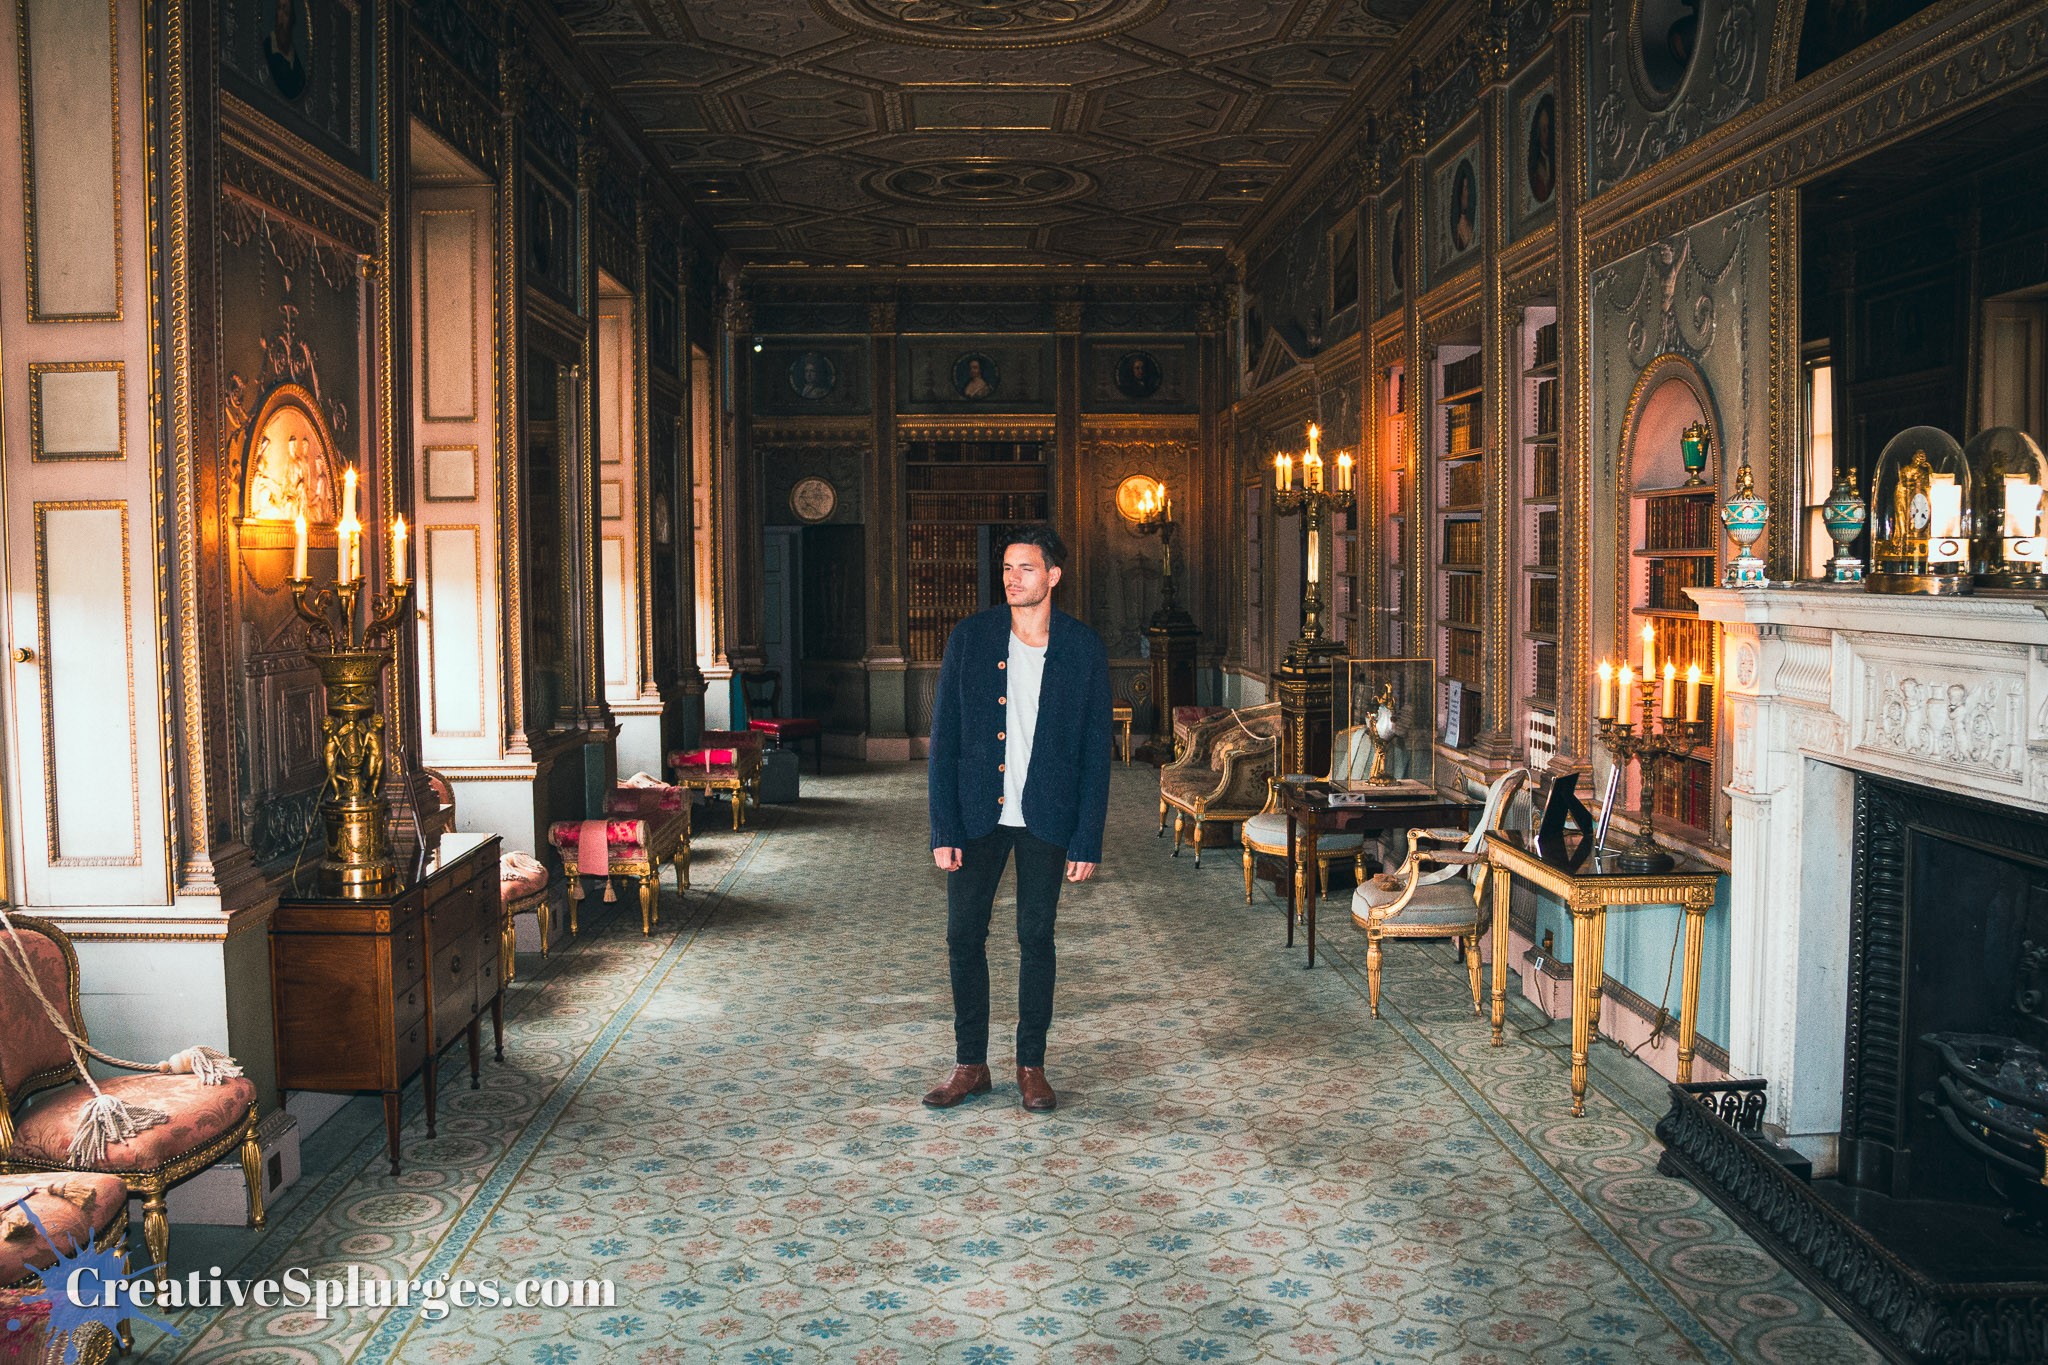
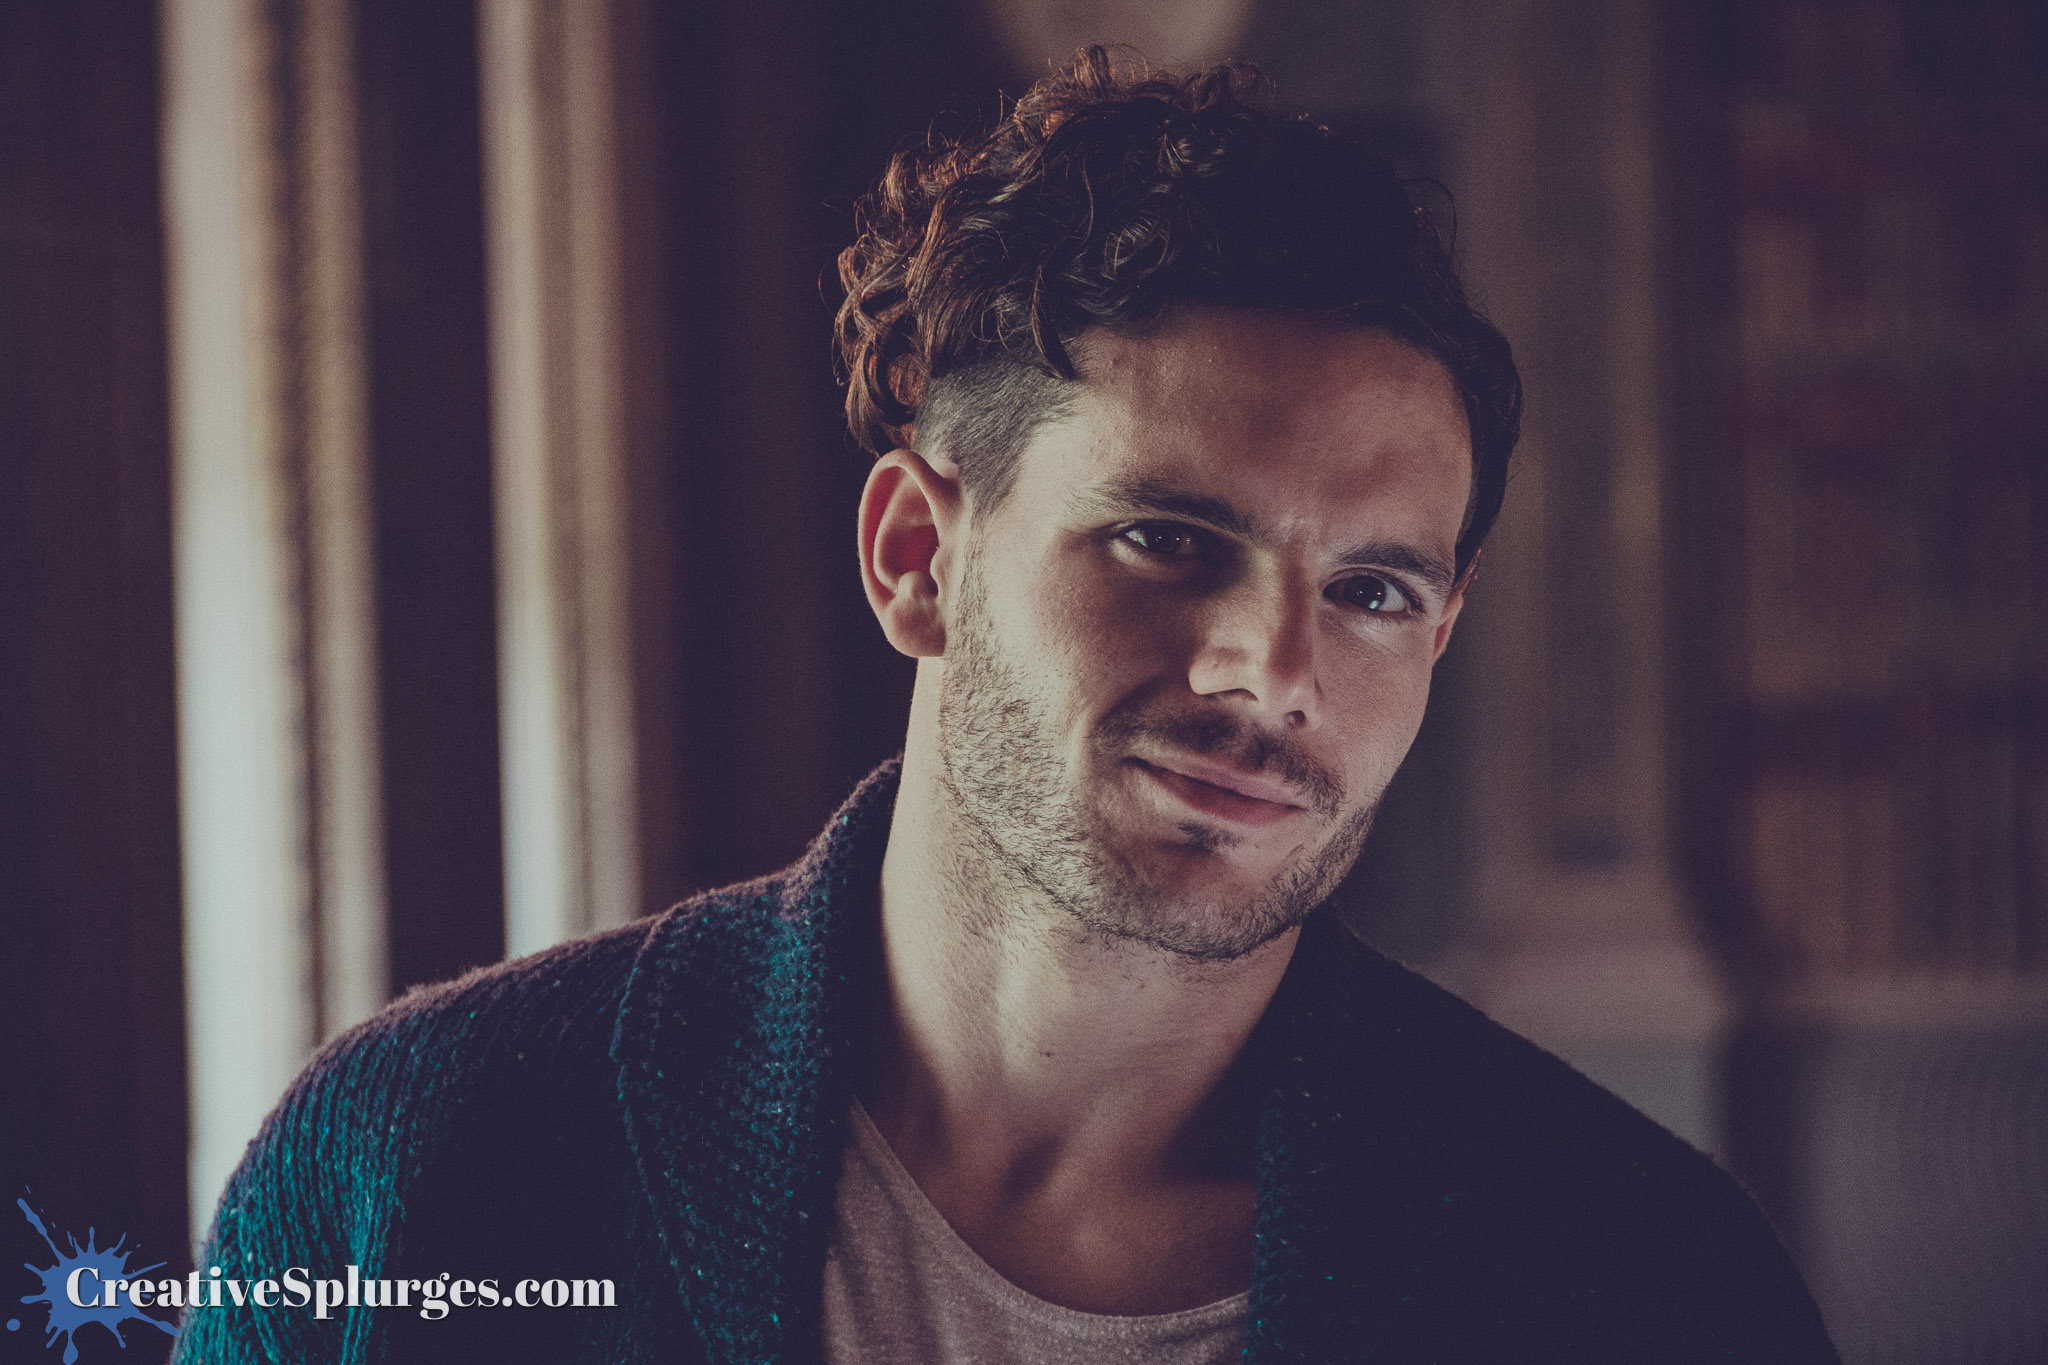
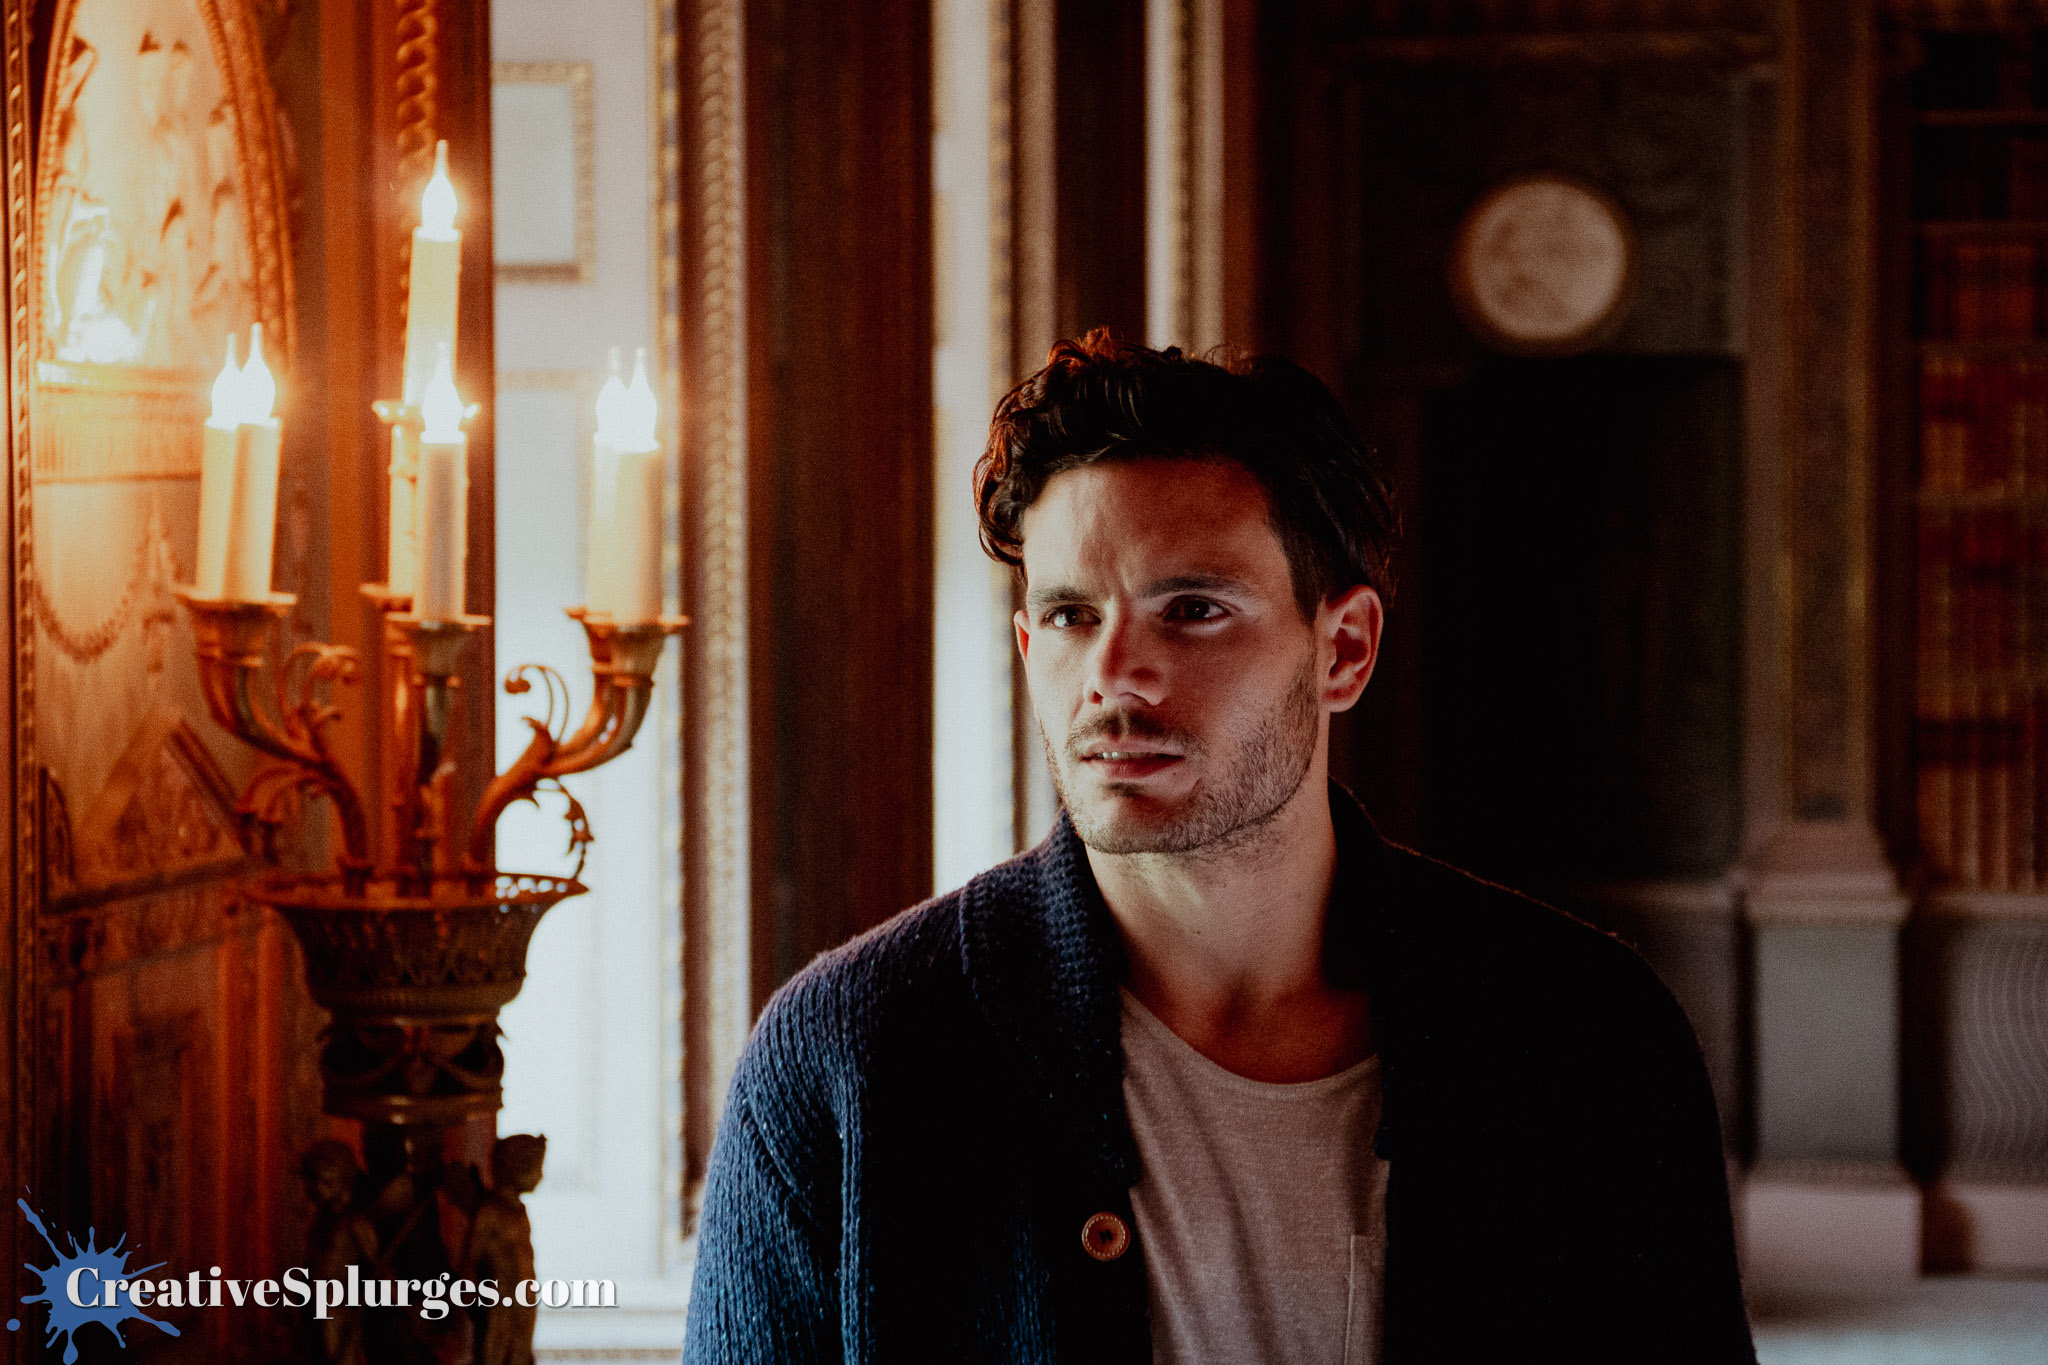
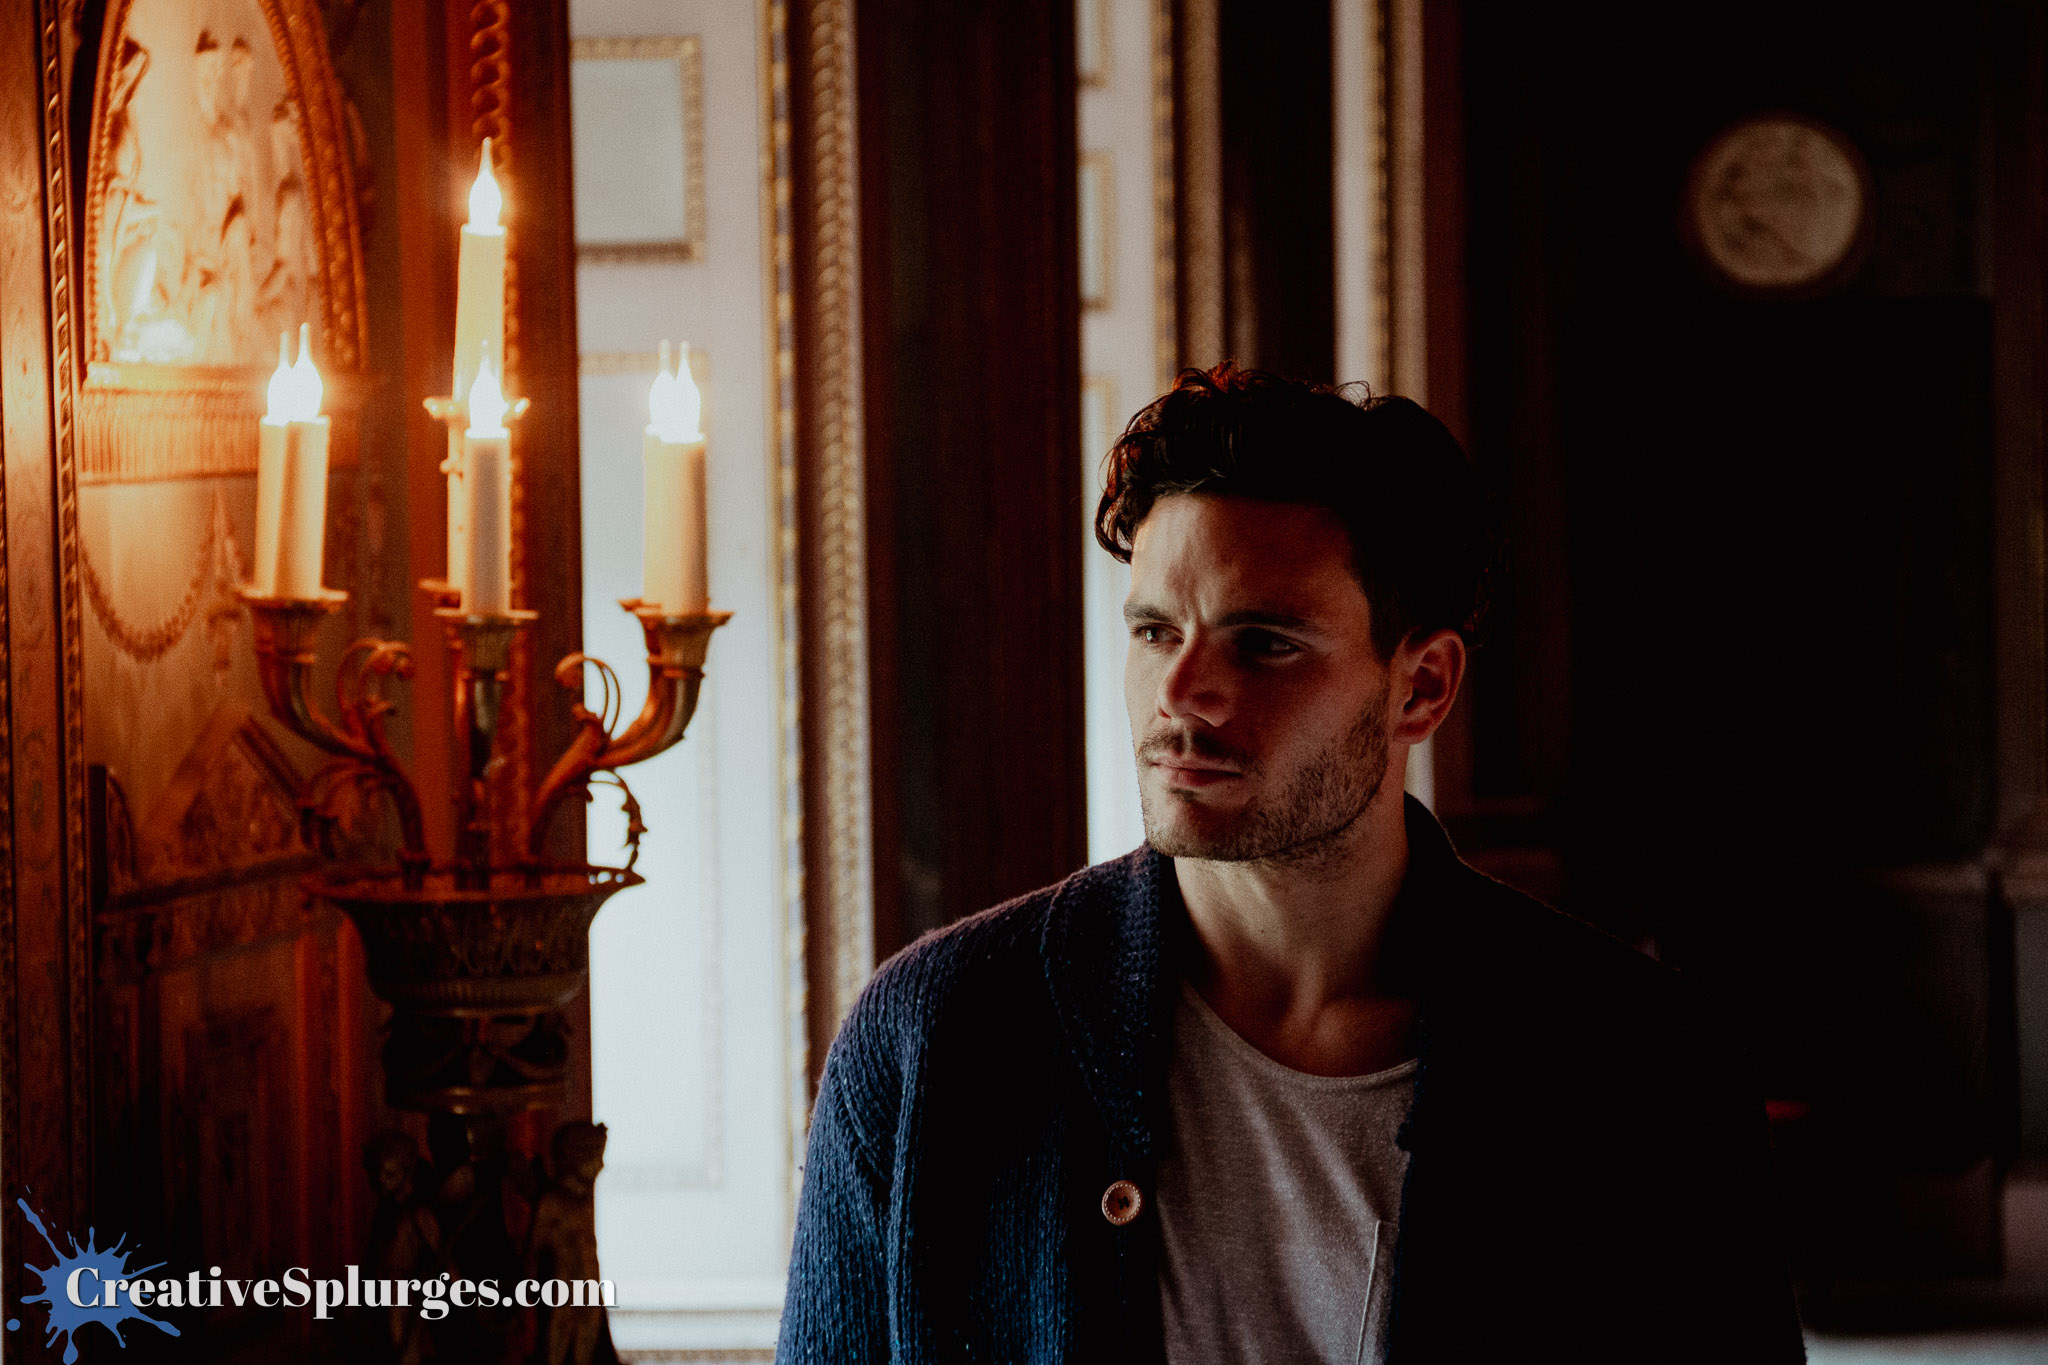
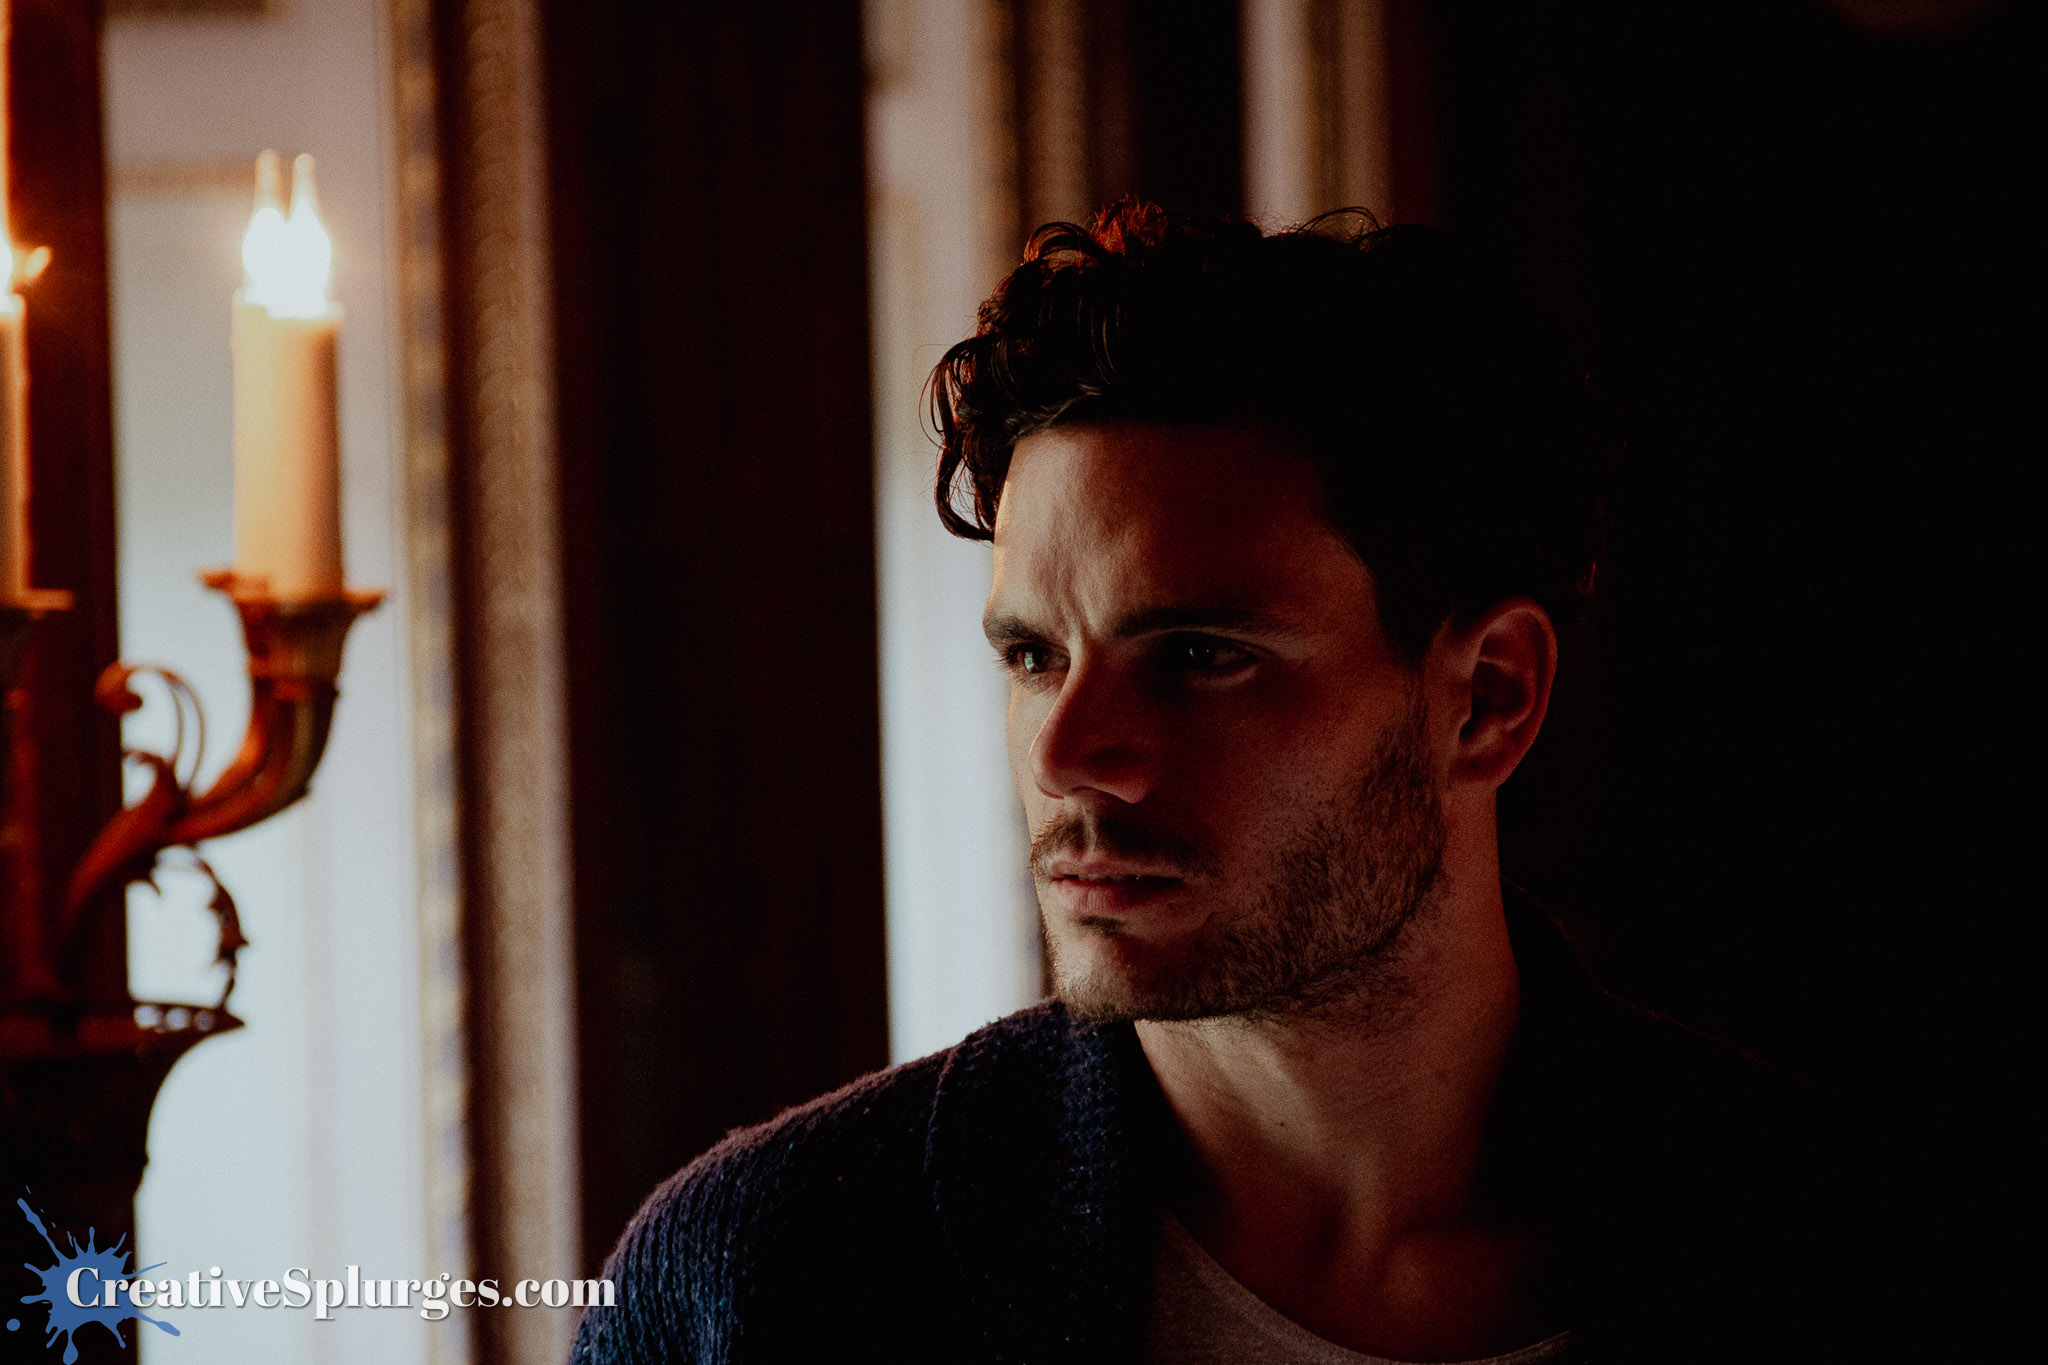
Meanwhile in 2025, the older, wiser me that was editing these images decided to switch things up a bit and try a preset that was a bit less contrasty, more washed out, and not as predominantly orange.
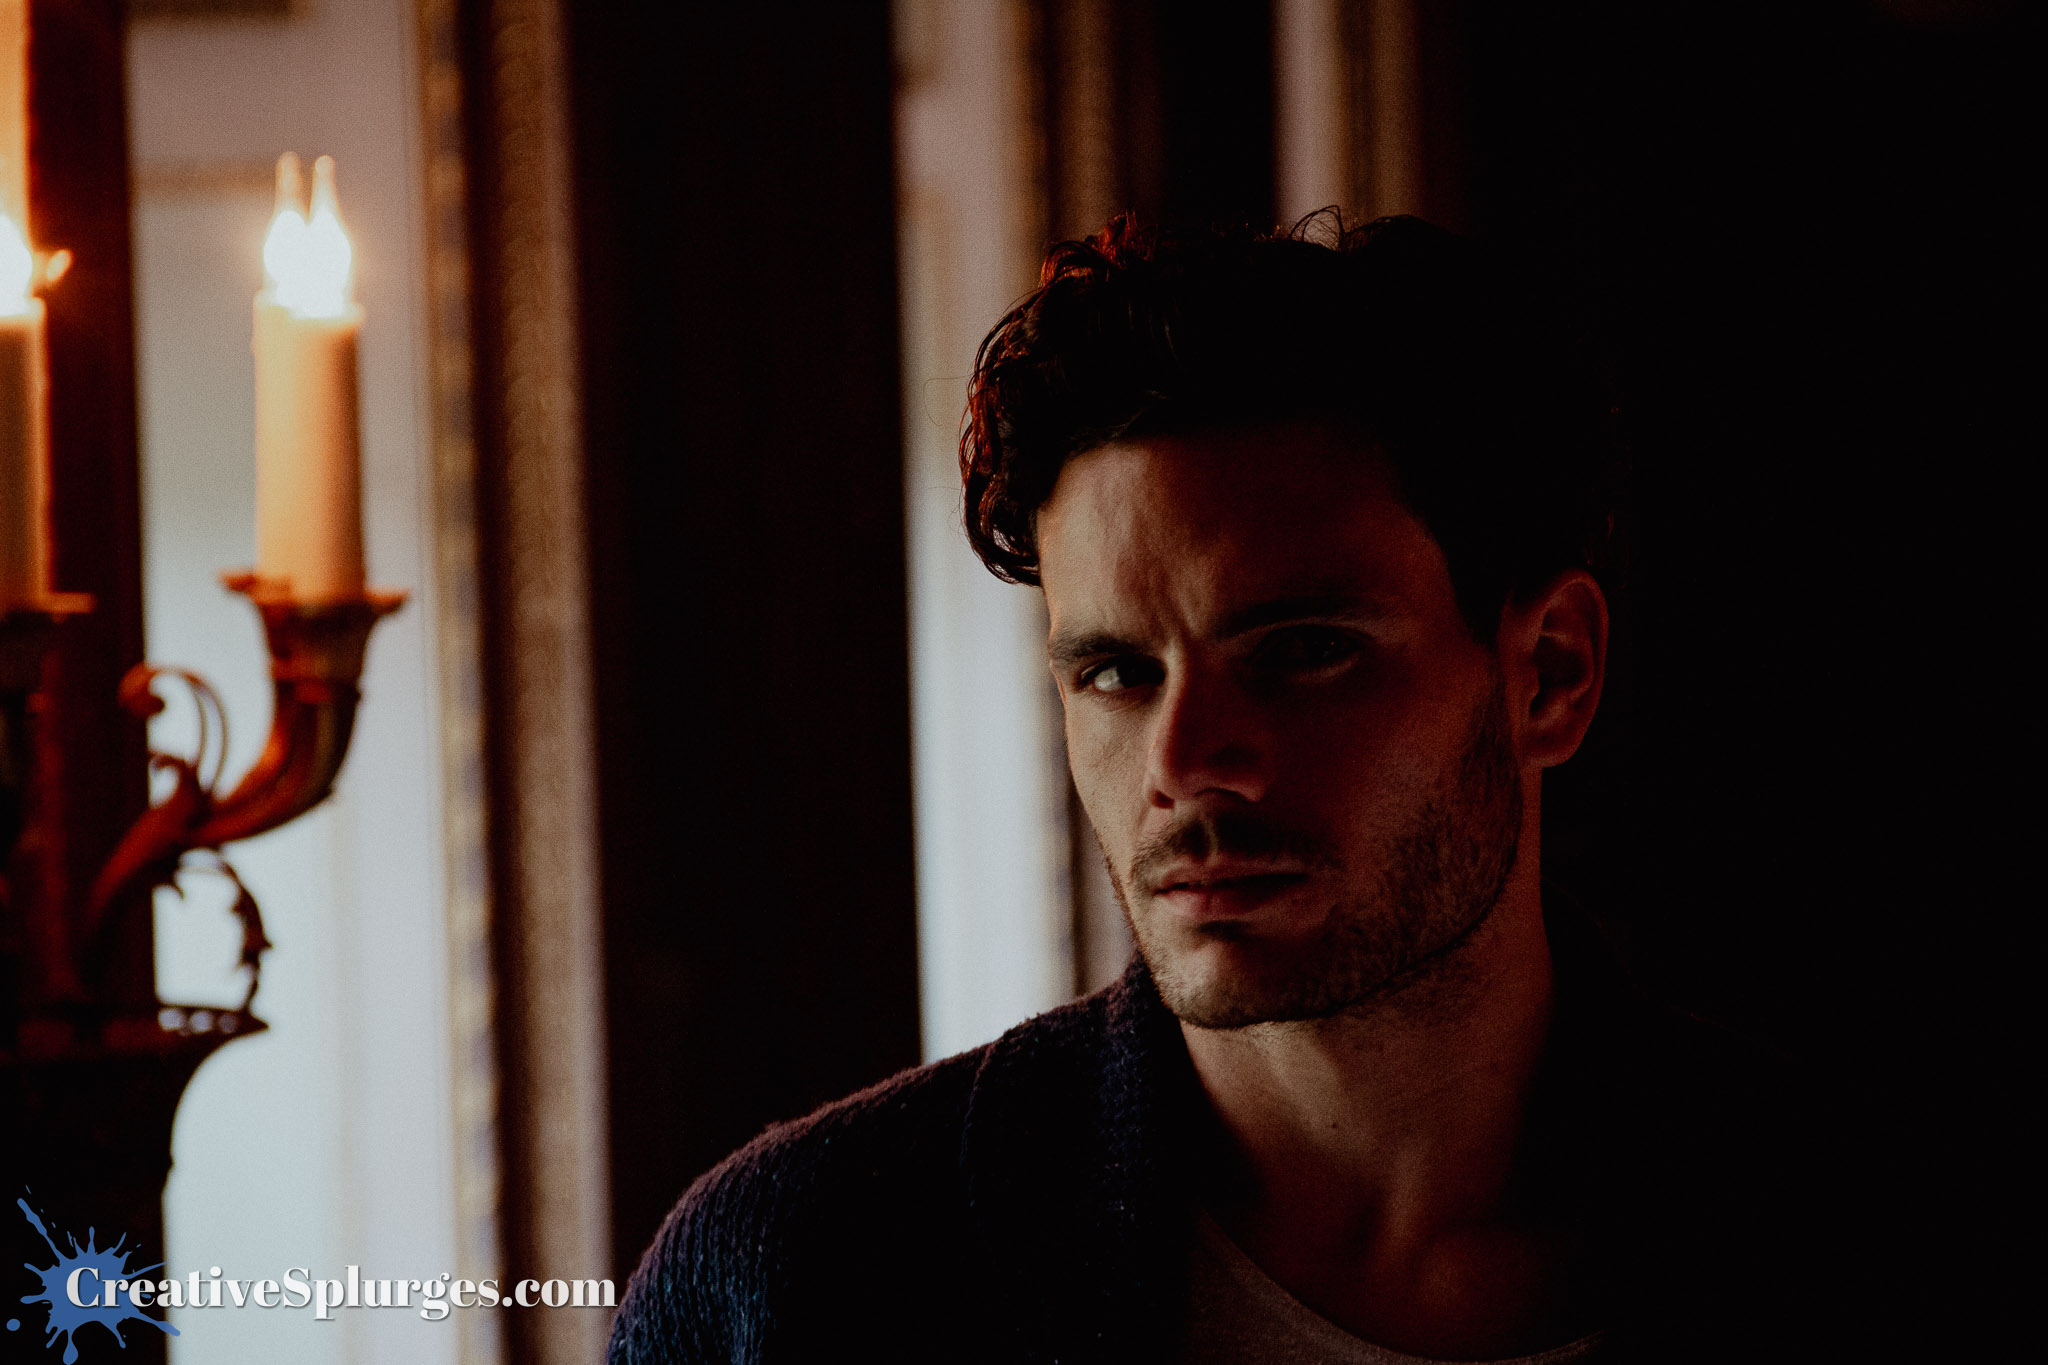
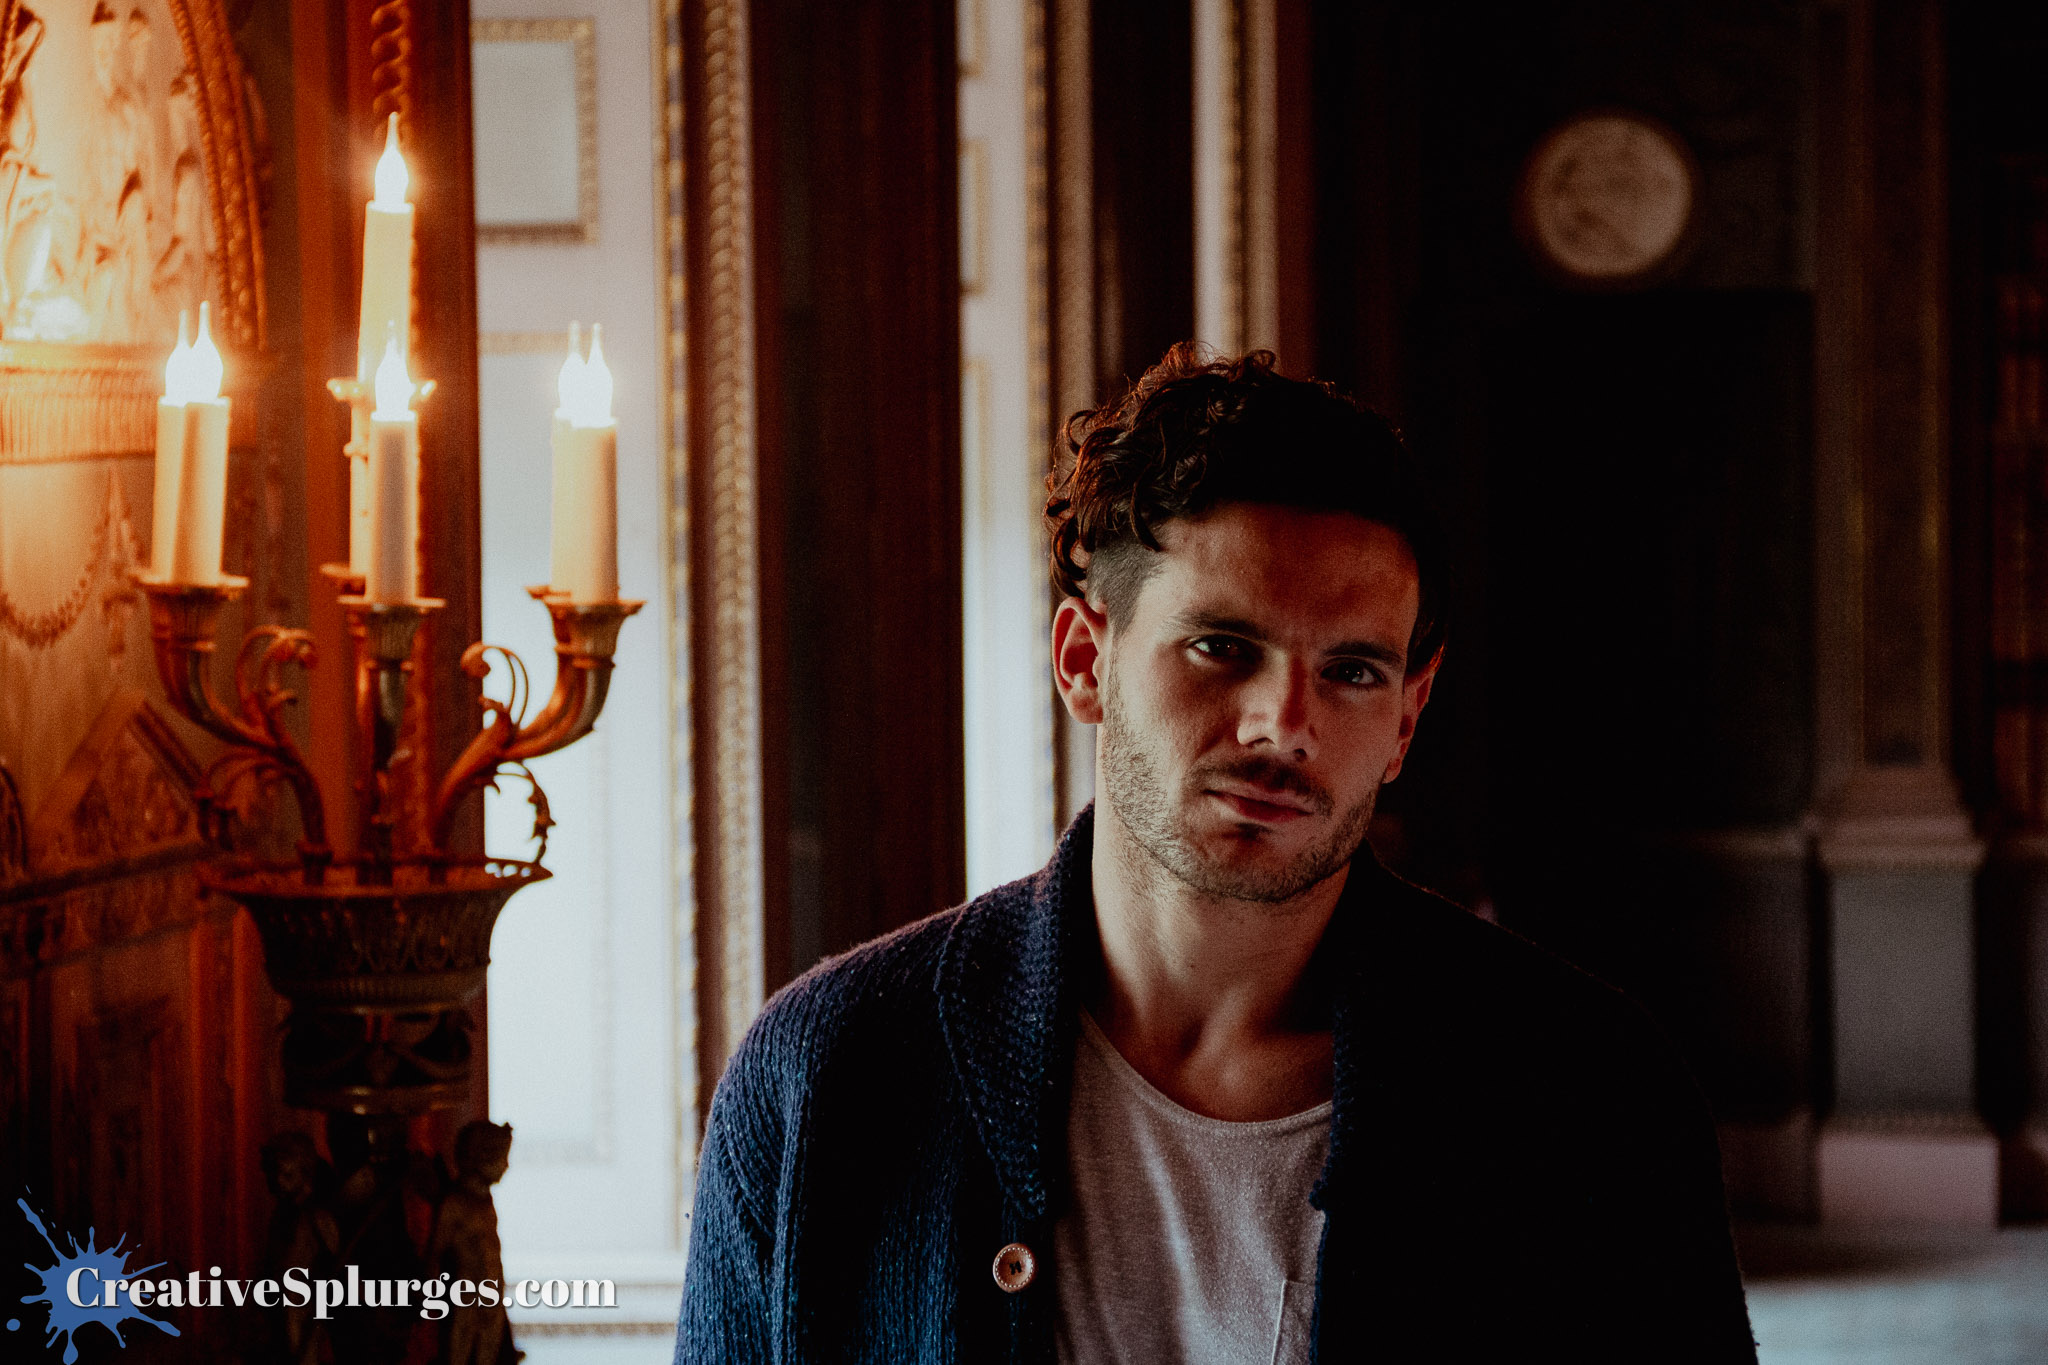
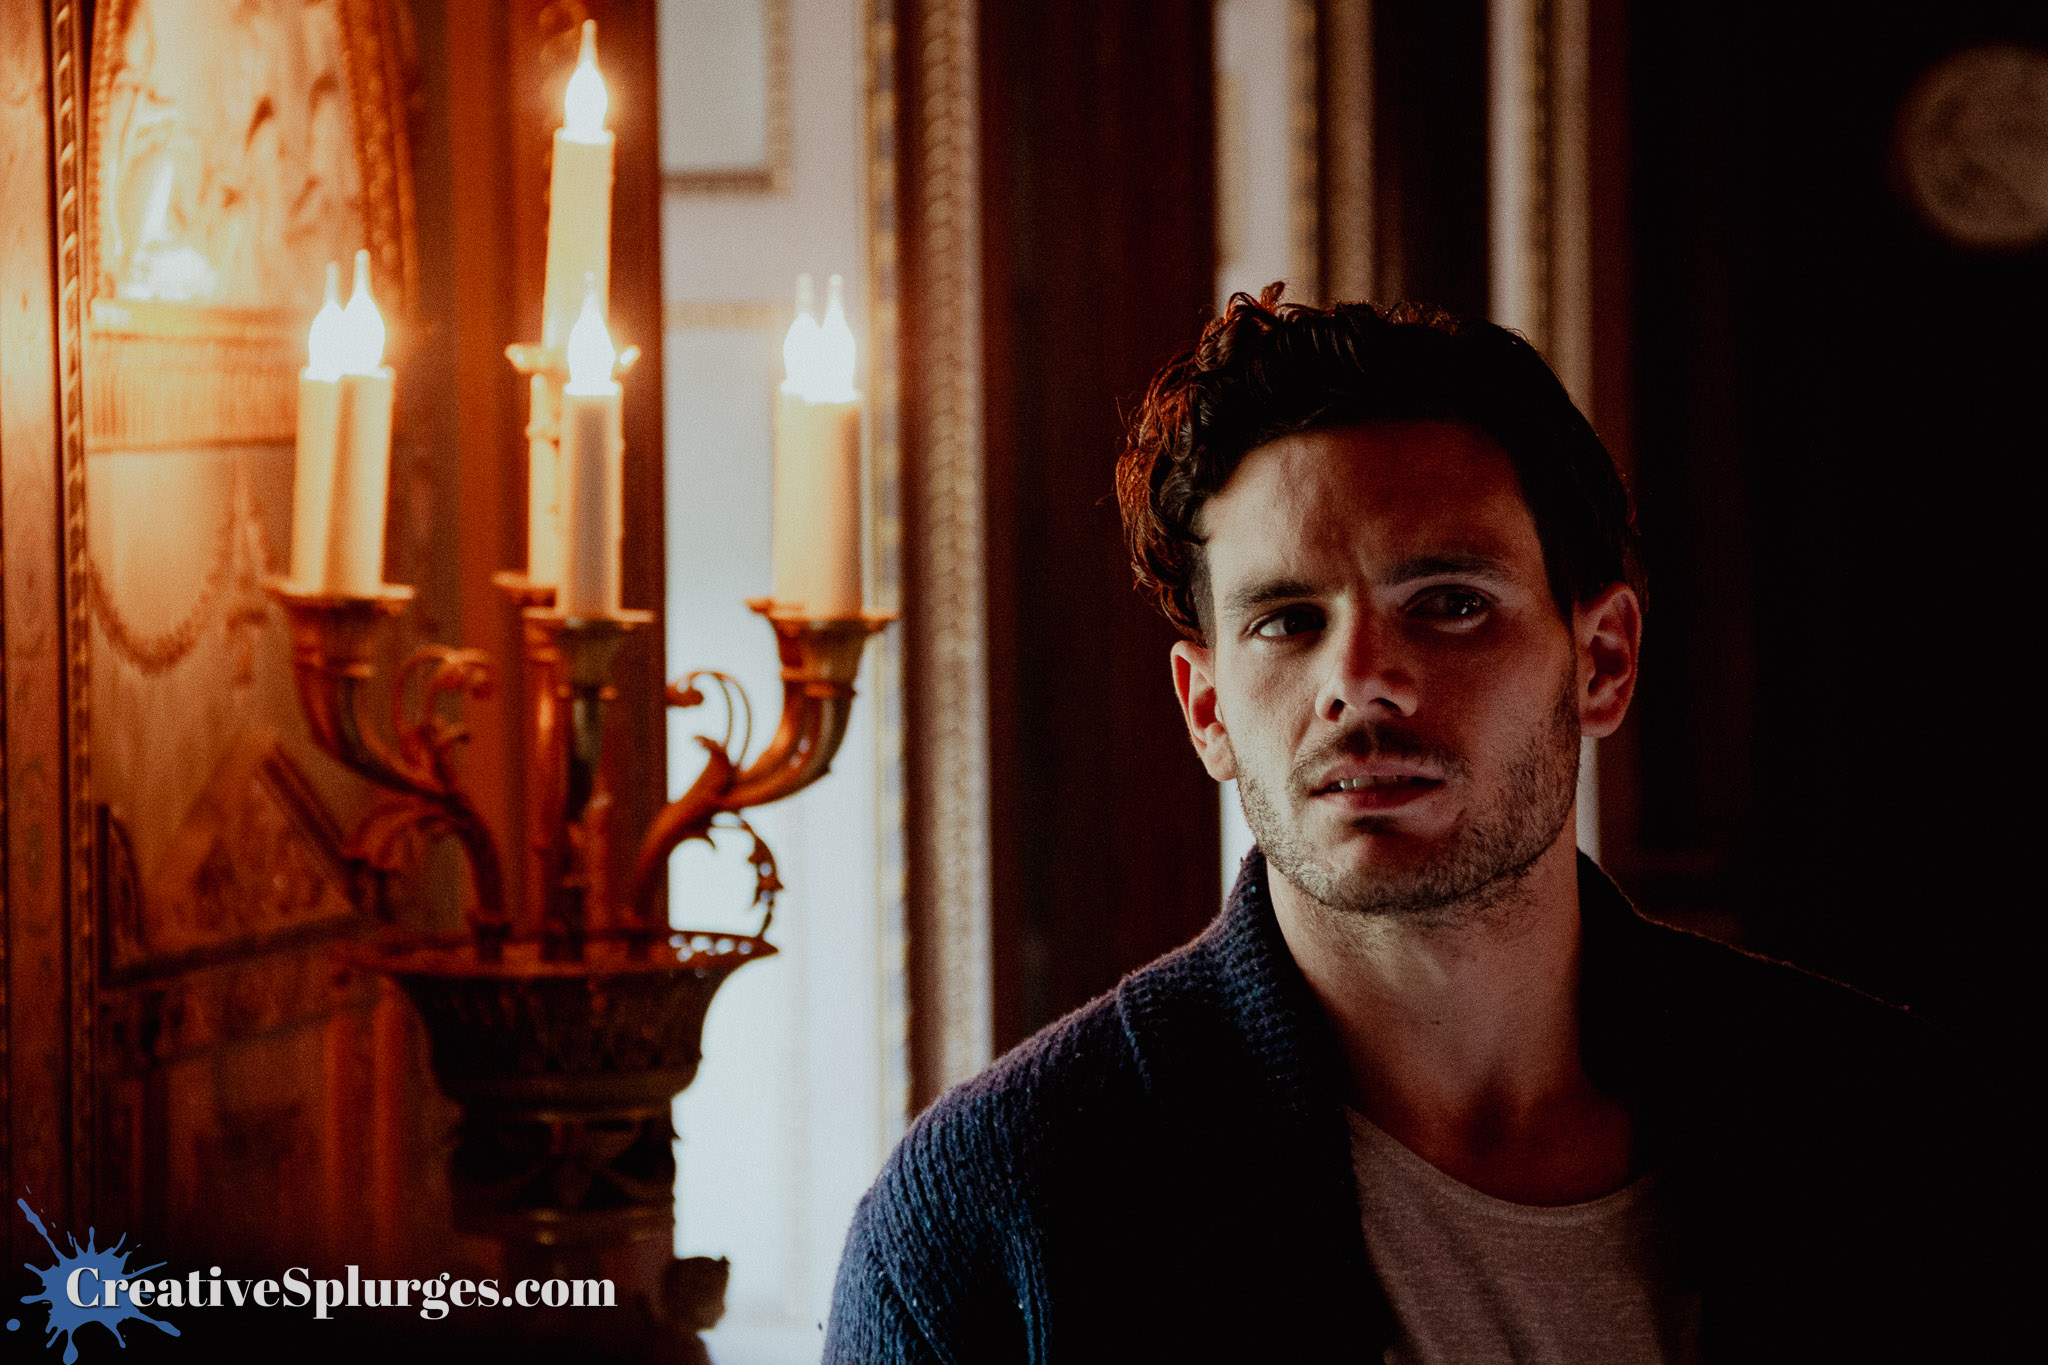
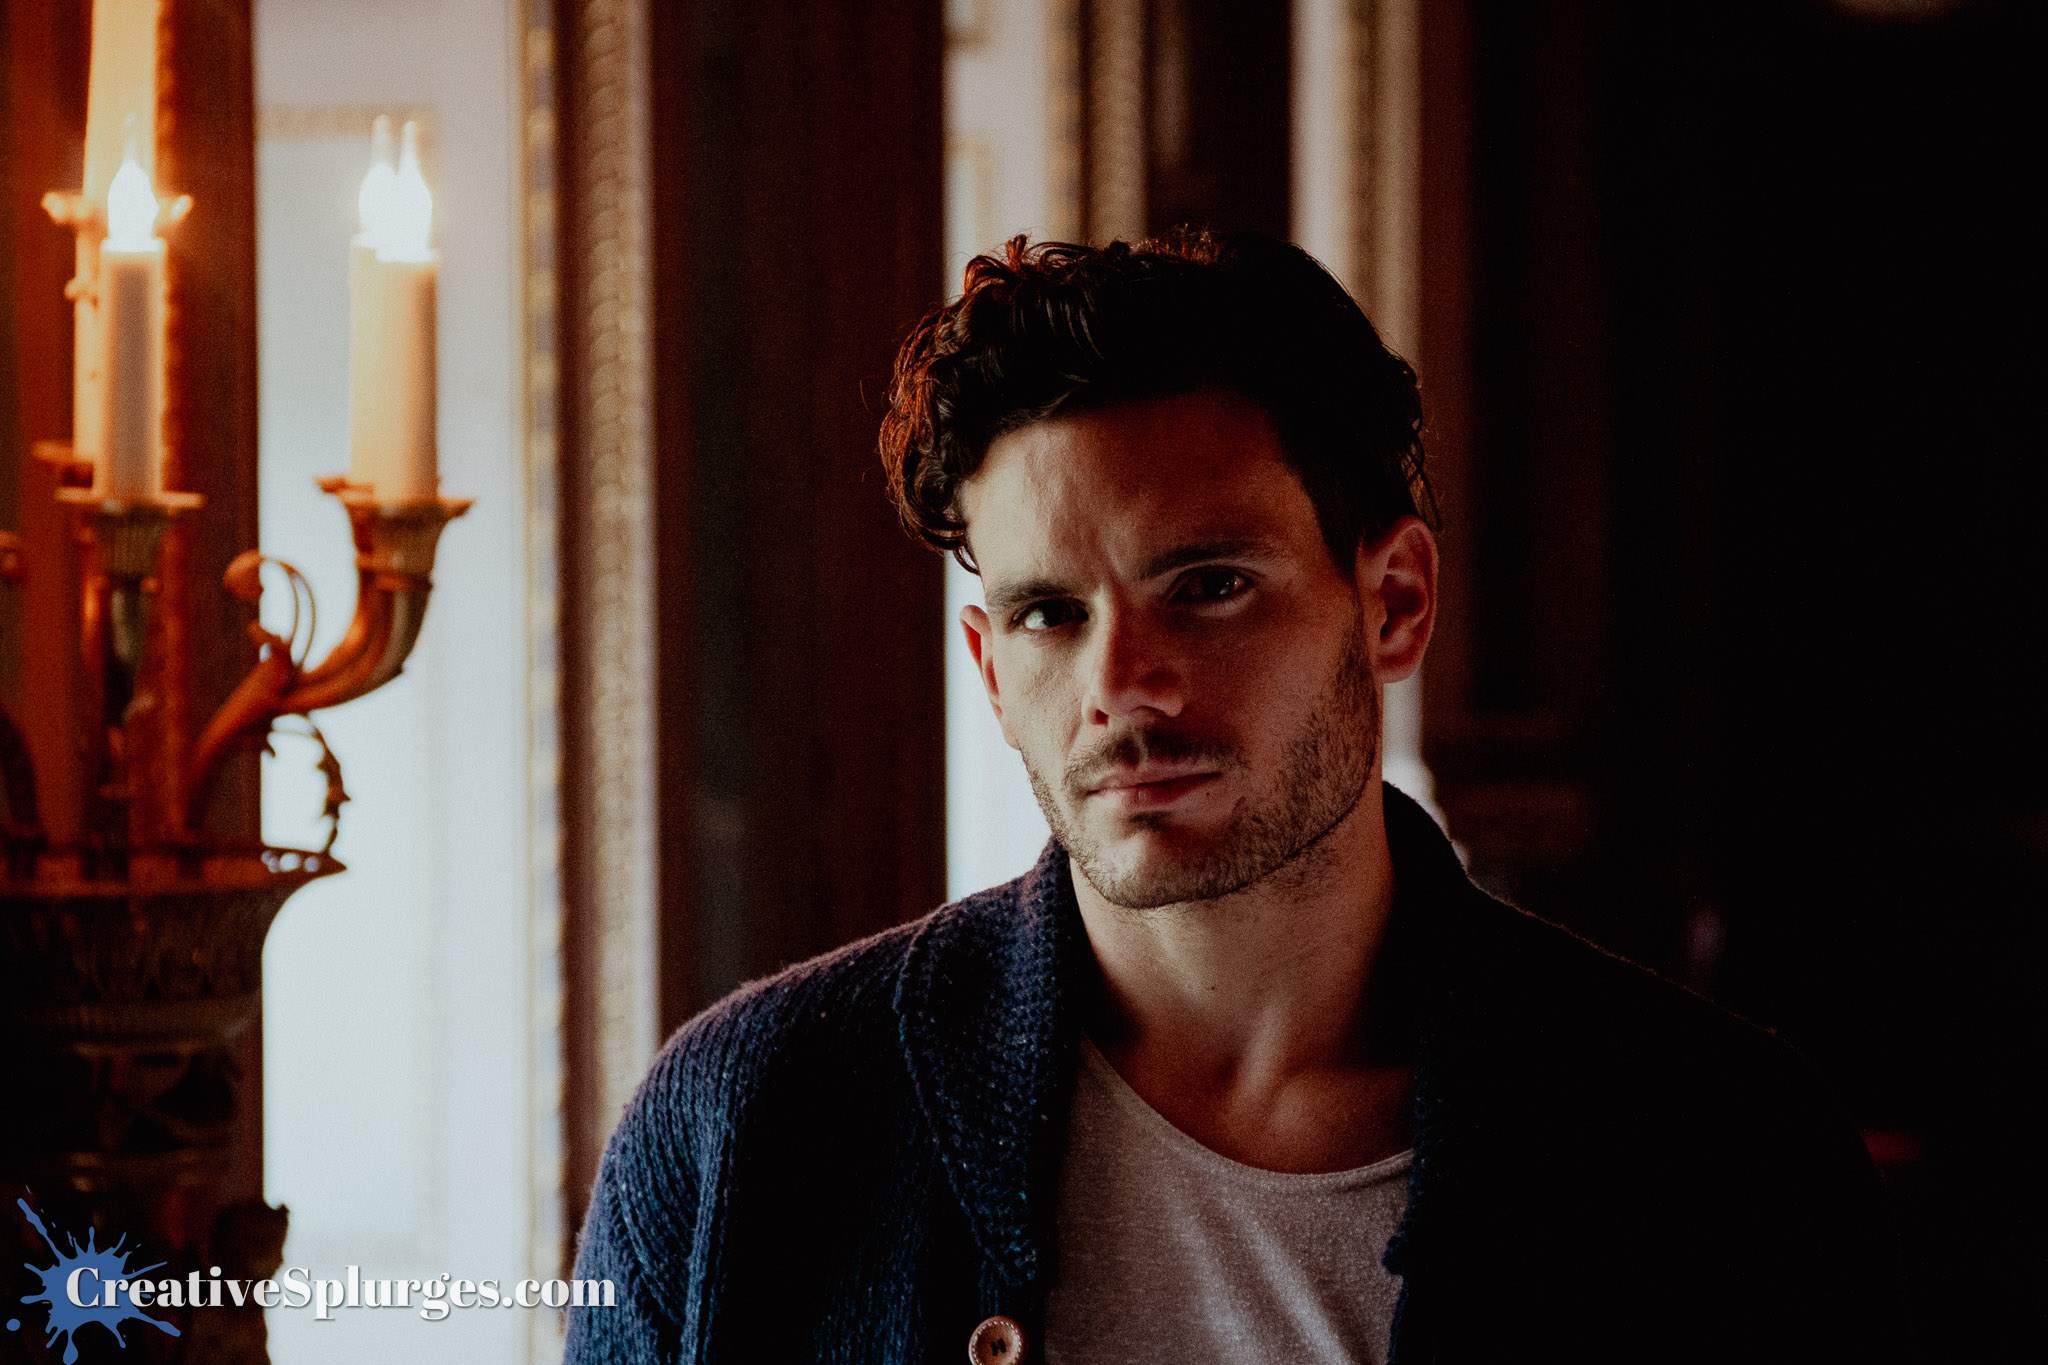
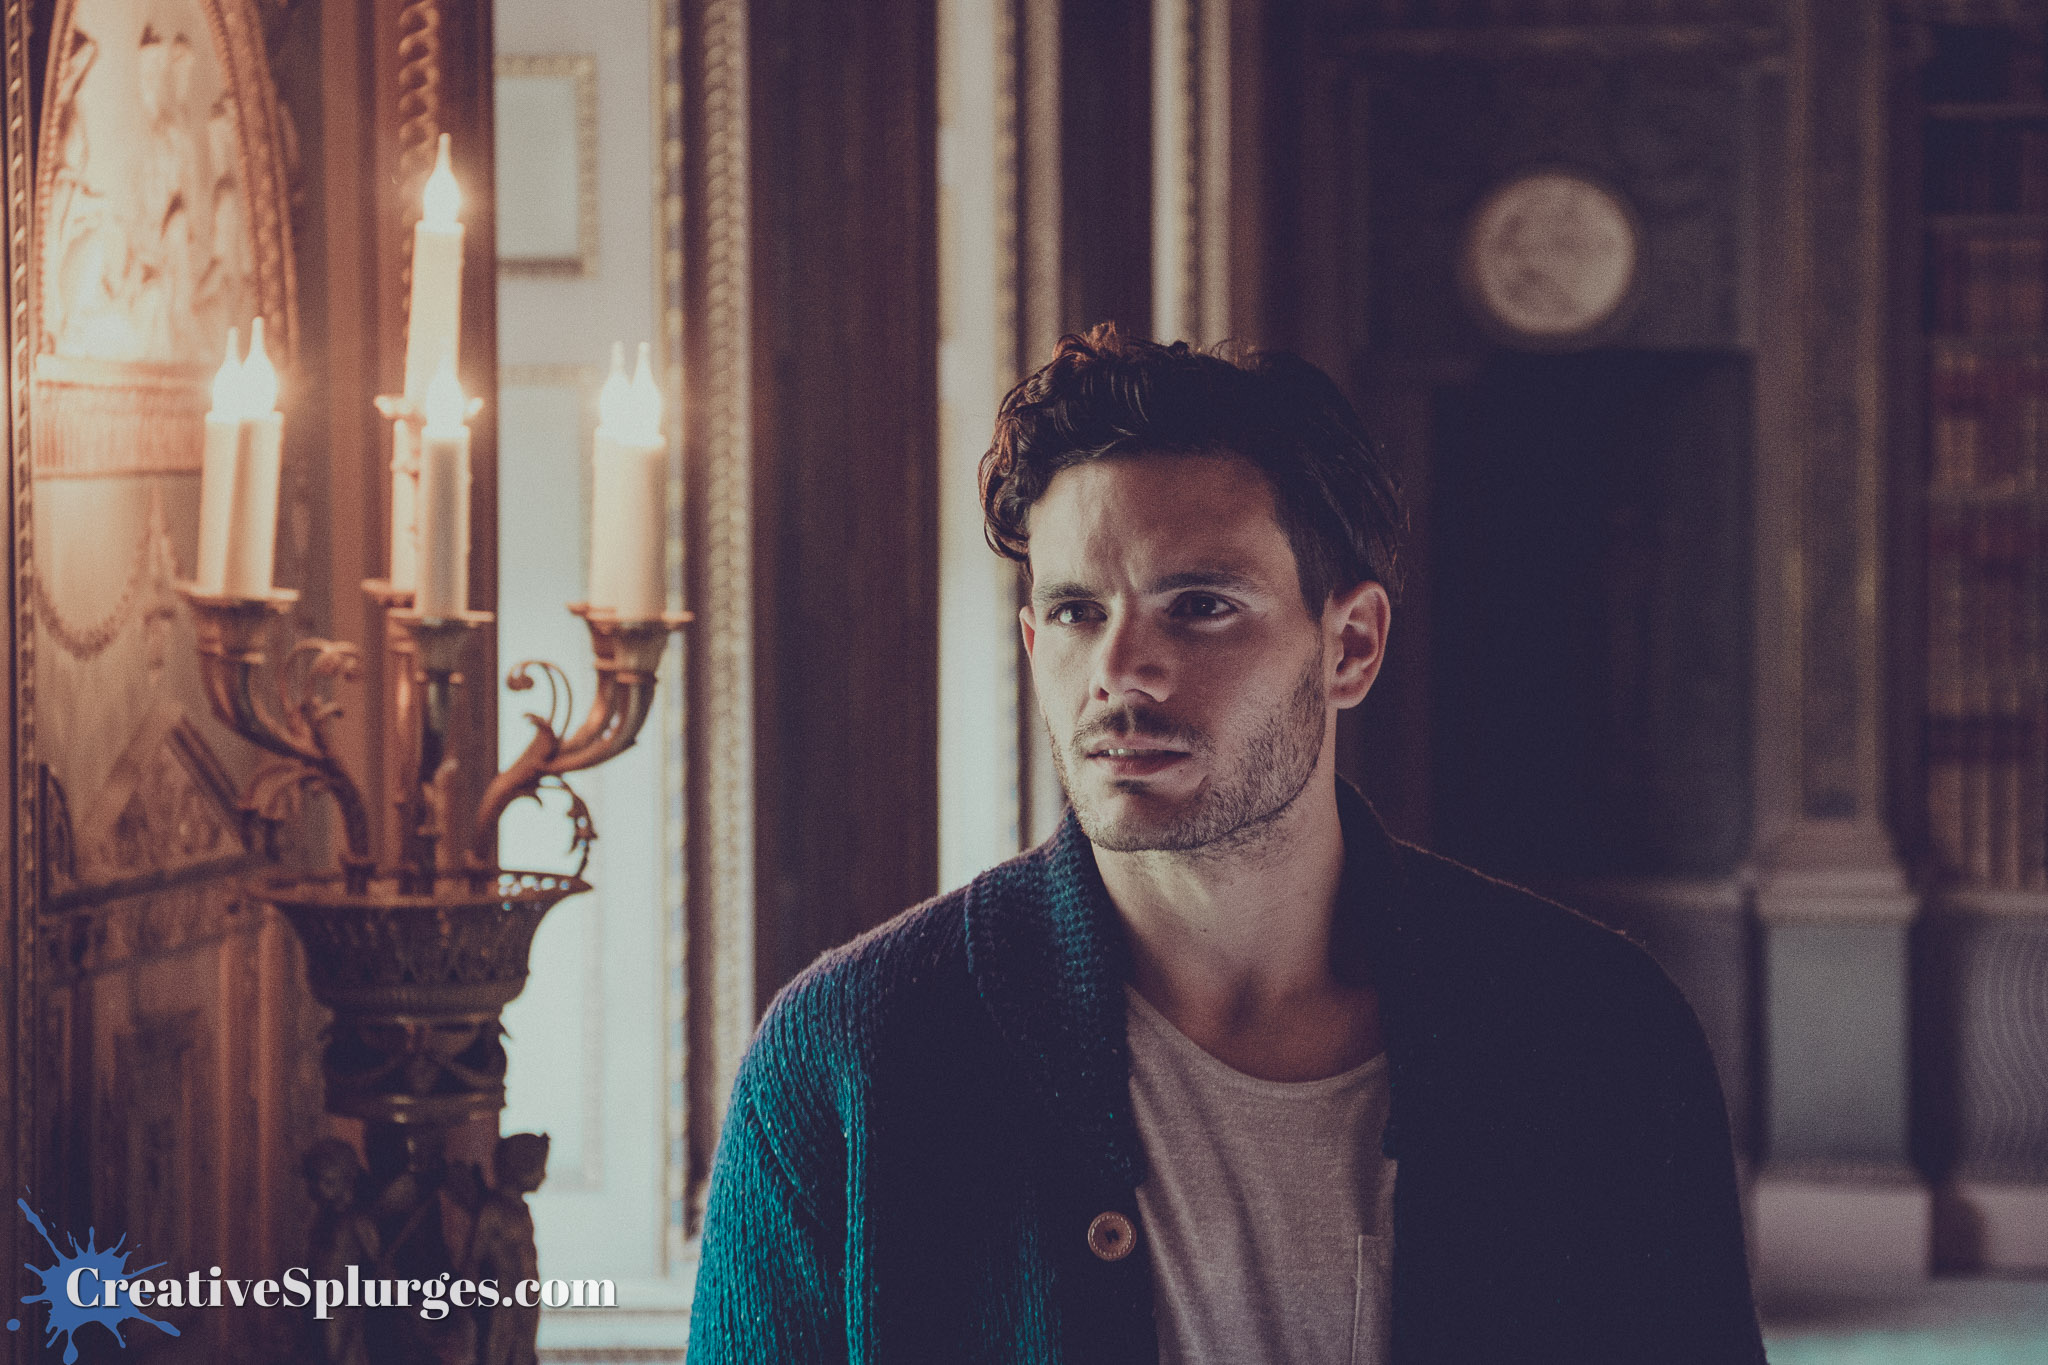
This sometimes led to me being indecisive about which to use – especially for the shots that included the candles. The more faded look works nicely for the model, but I do like how the redder more contrasty one looks when the candles are in frame. For this next one I’ve sided with the washed out look – but both versions are in the gallery at the end of this post, so let me know what you think.
Soon I decided to throw a third preset into the mix, and edit some images in a high contrast monochrome style.
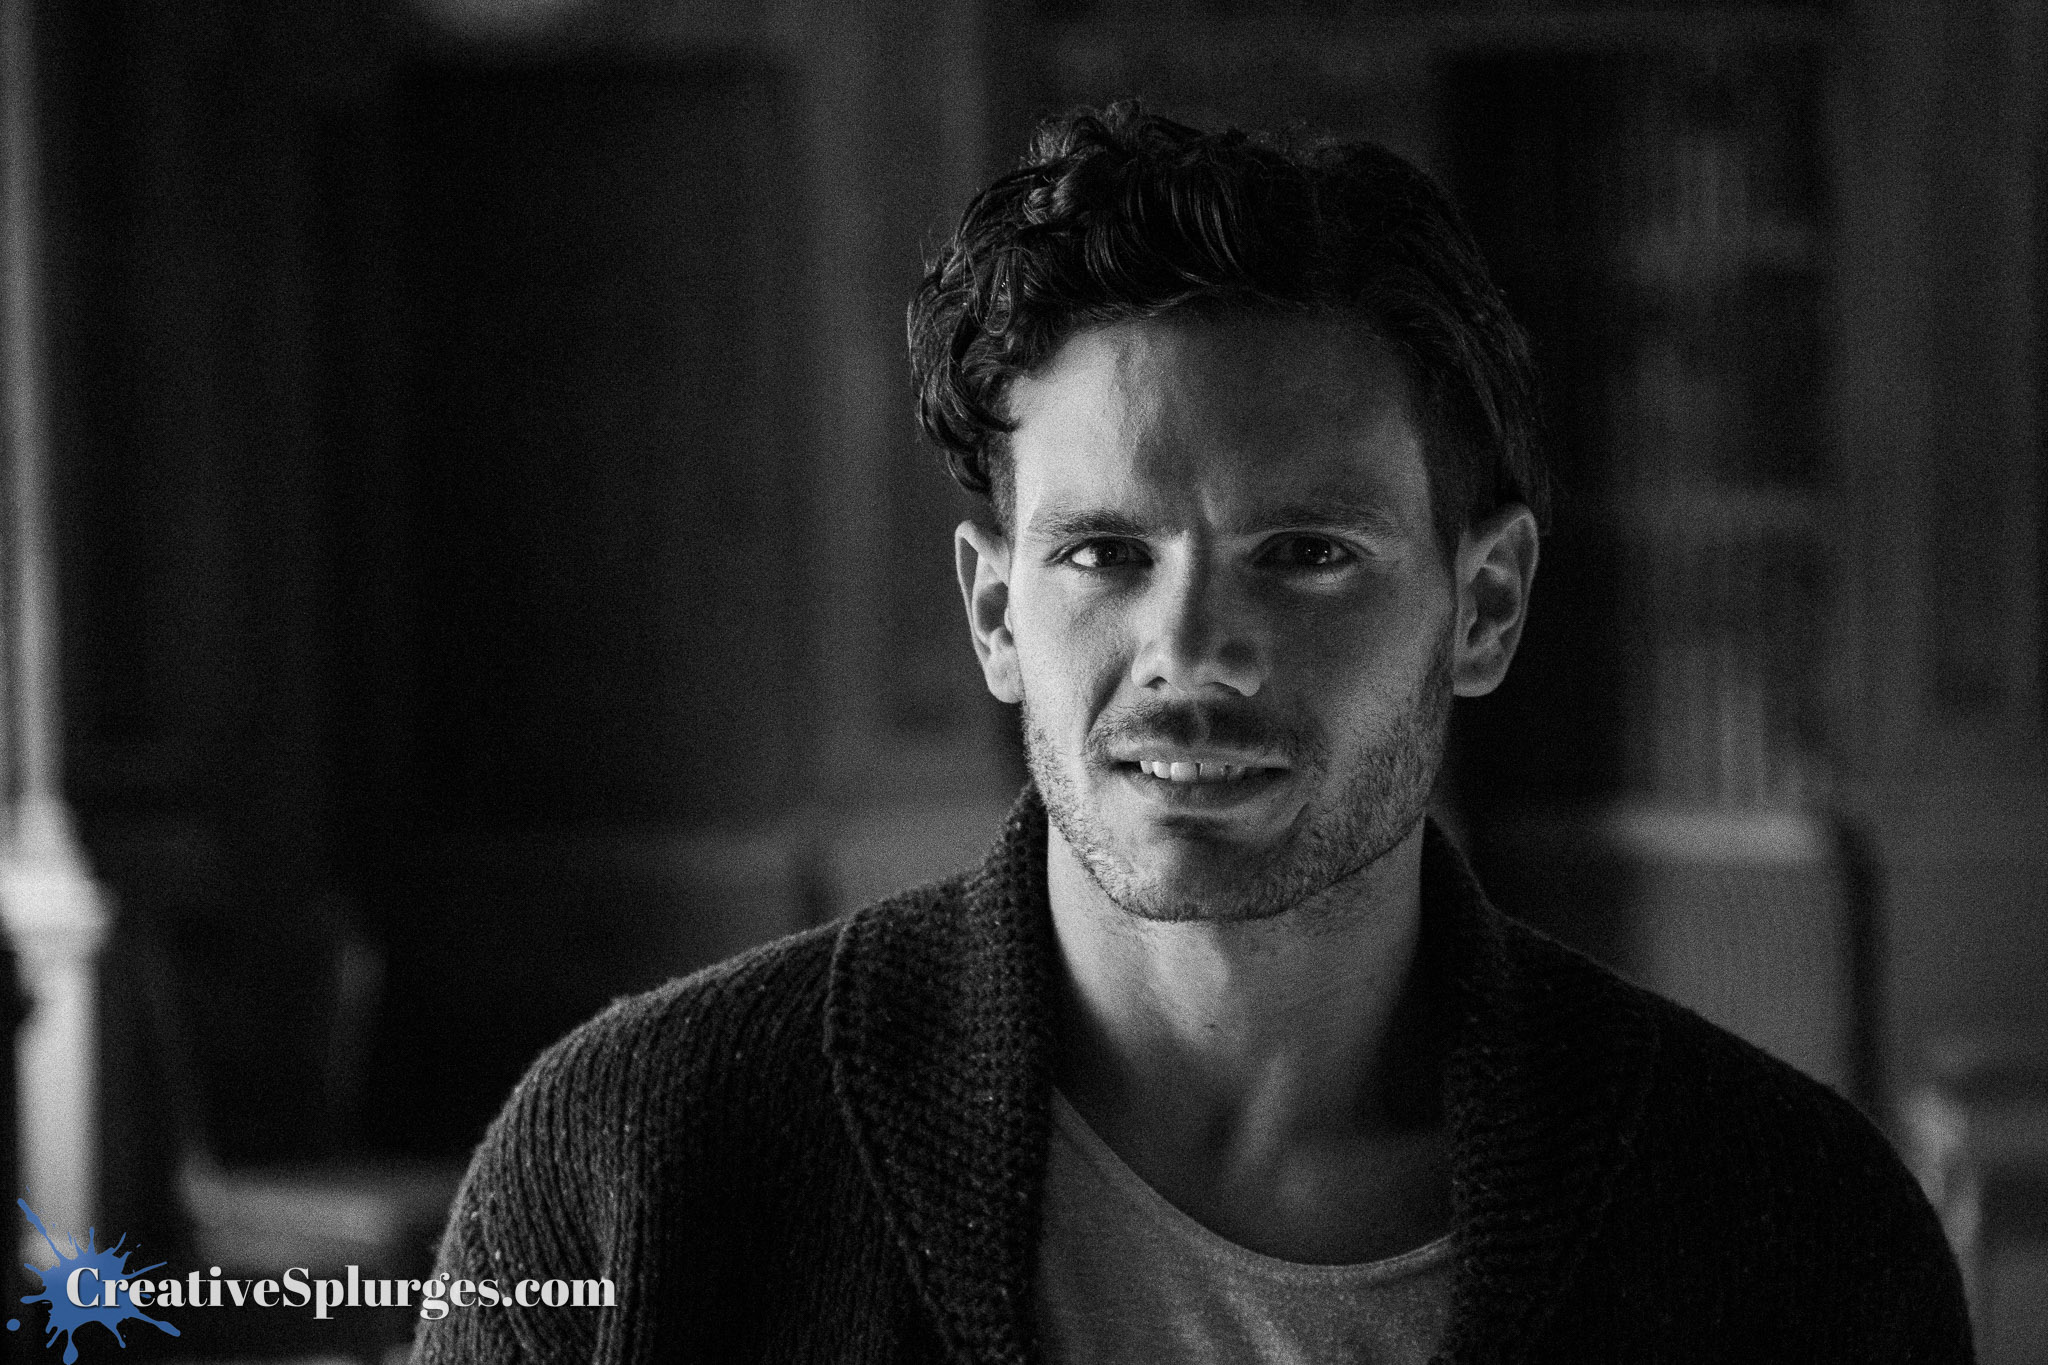
It worked quite nicely with this one frame shot from a dramatic angle.
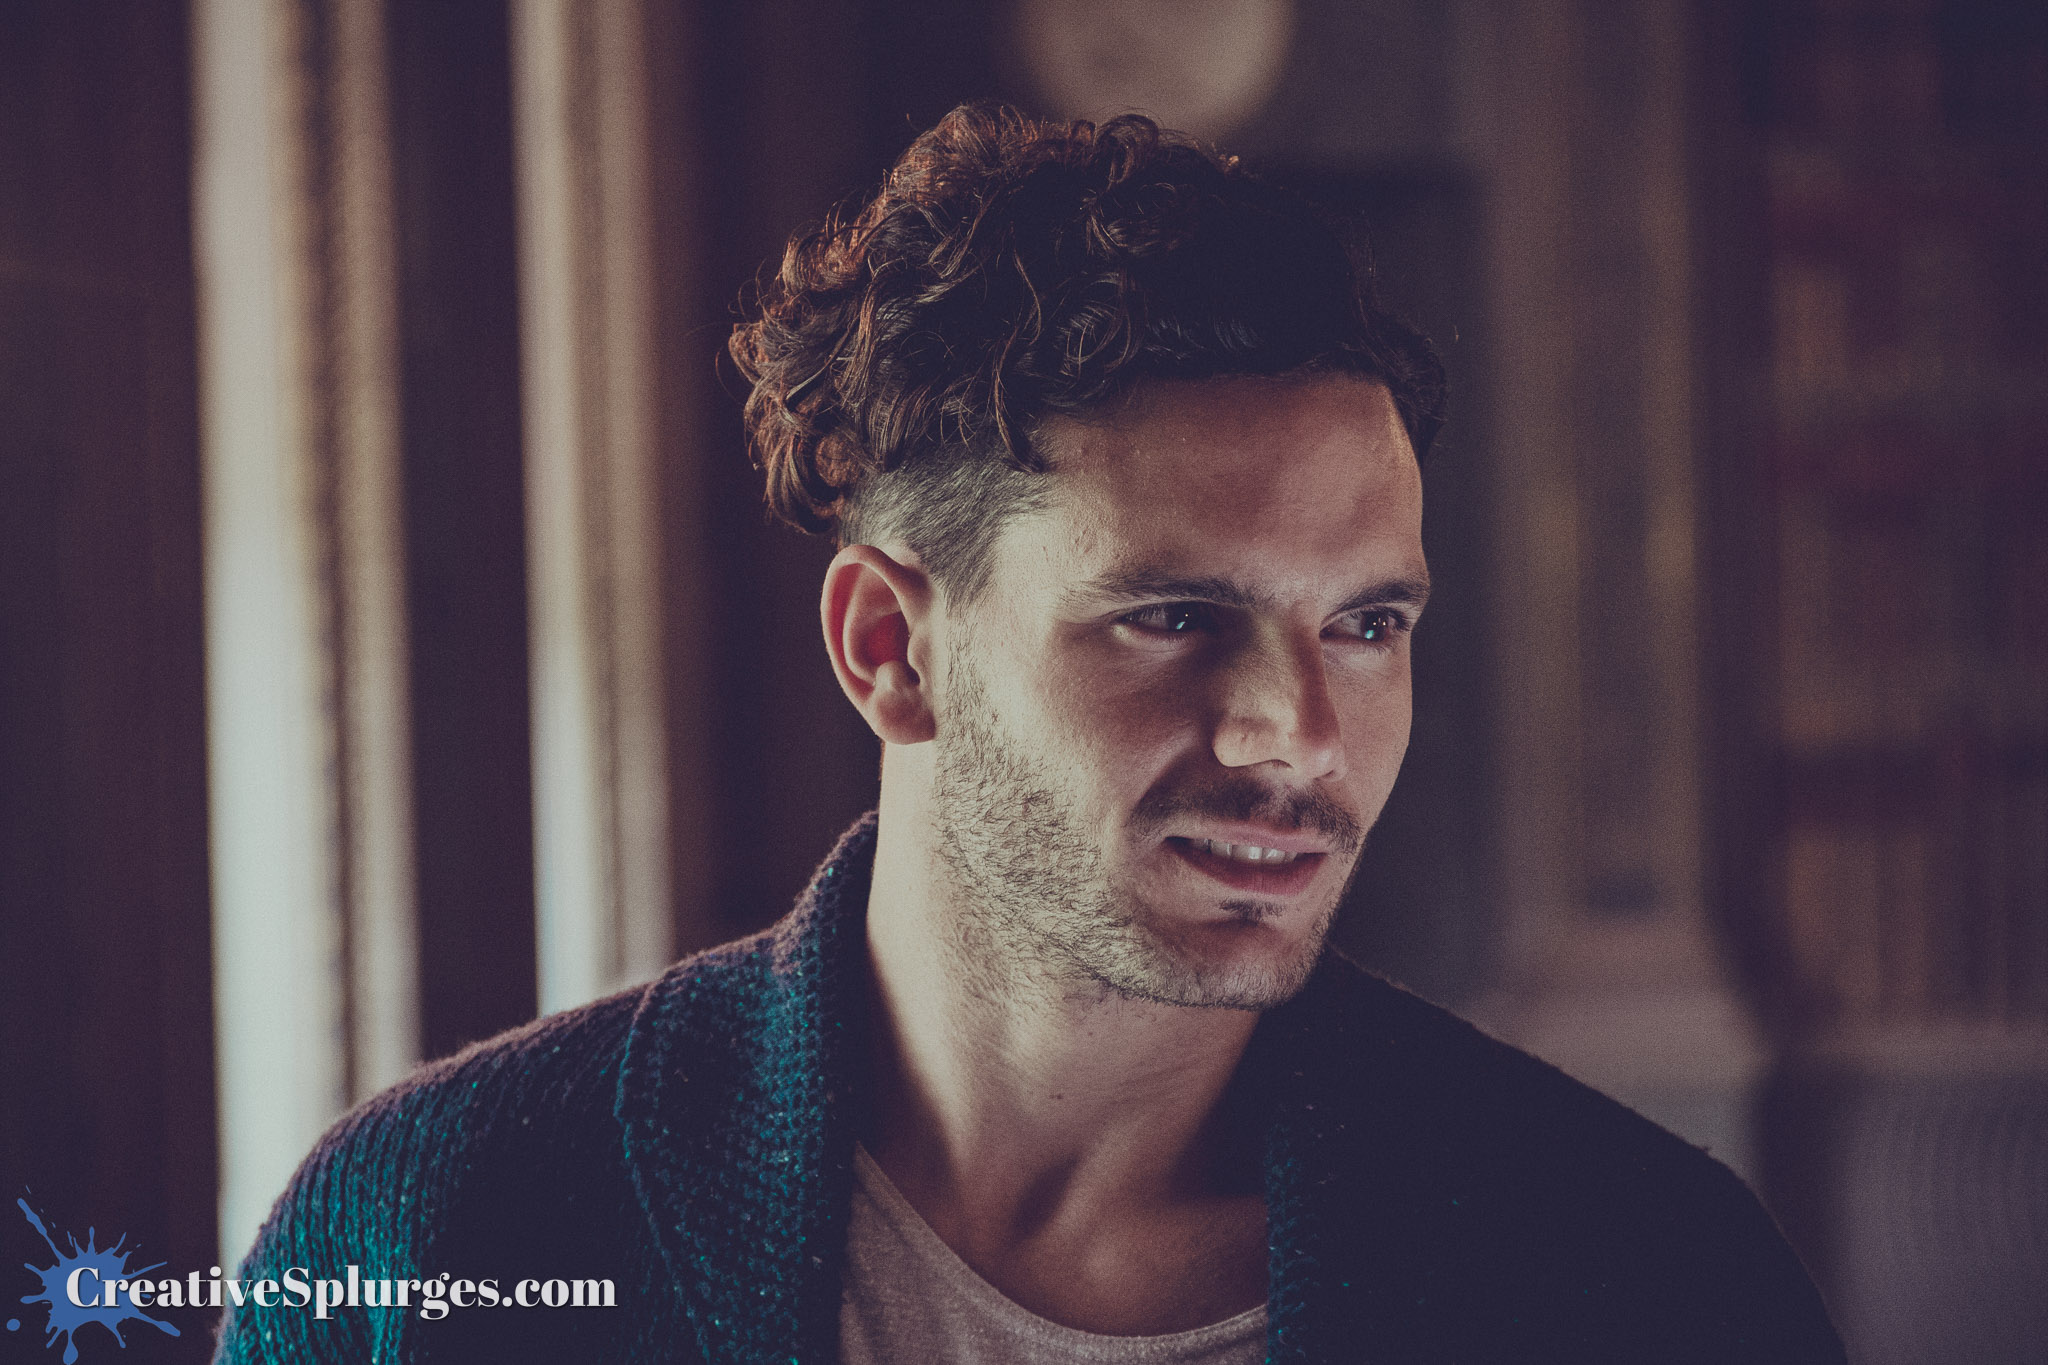
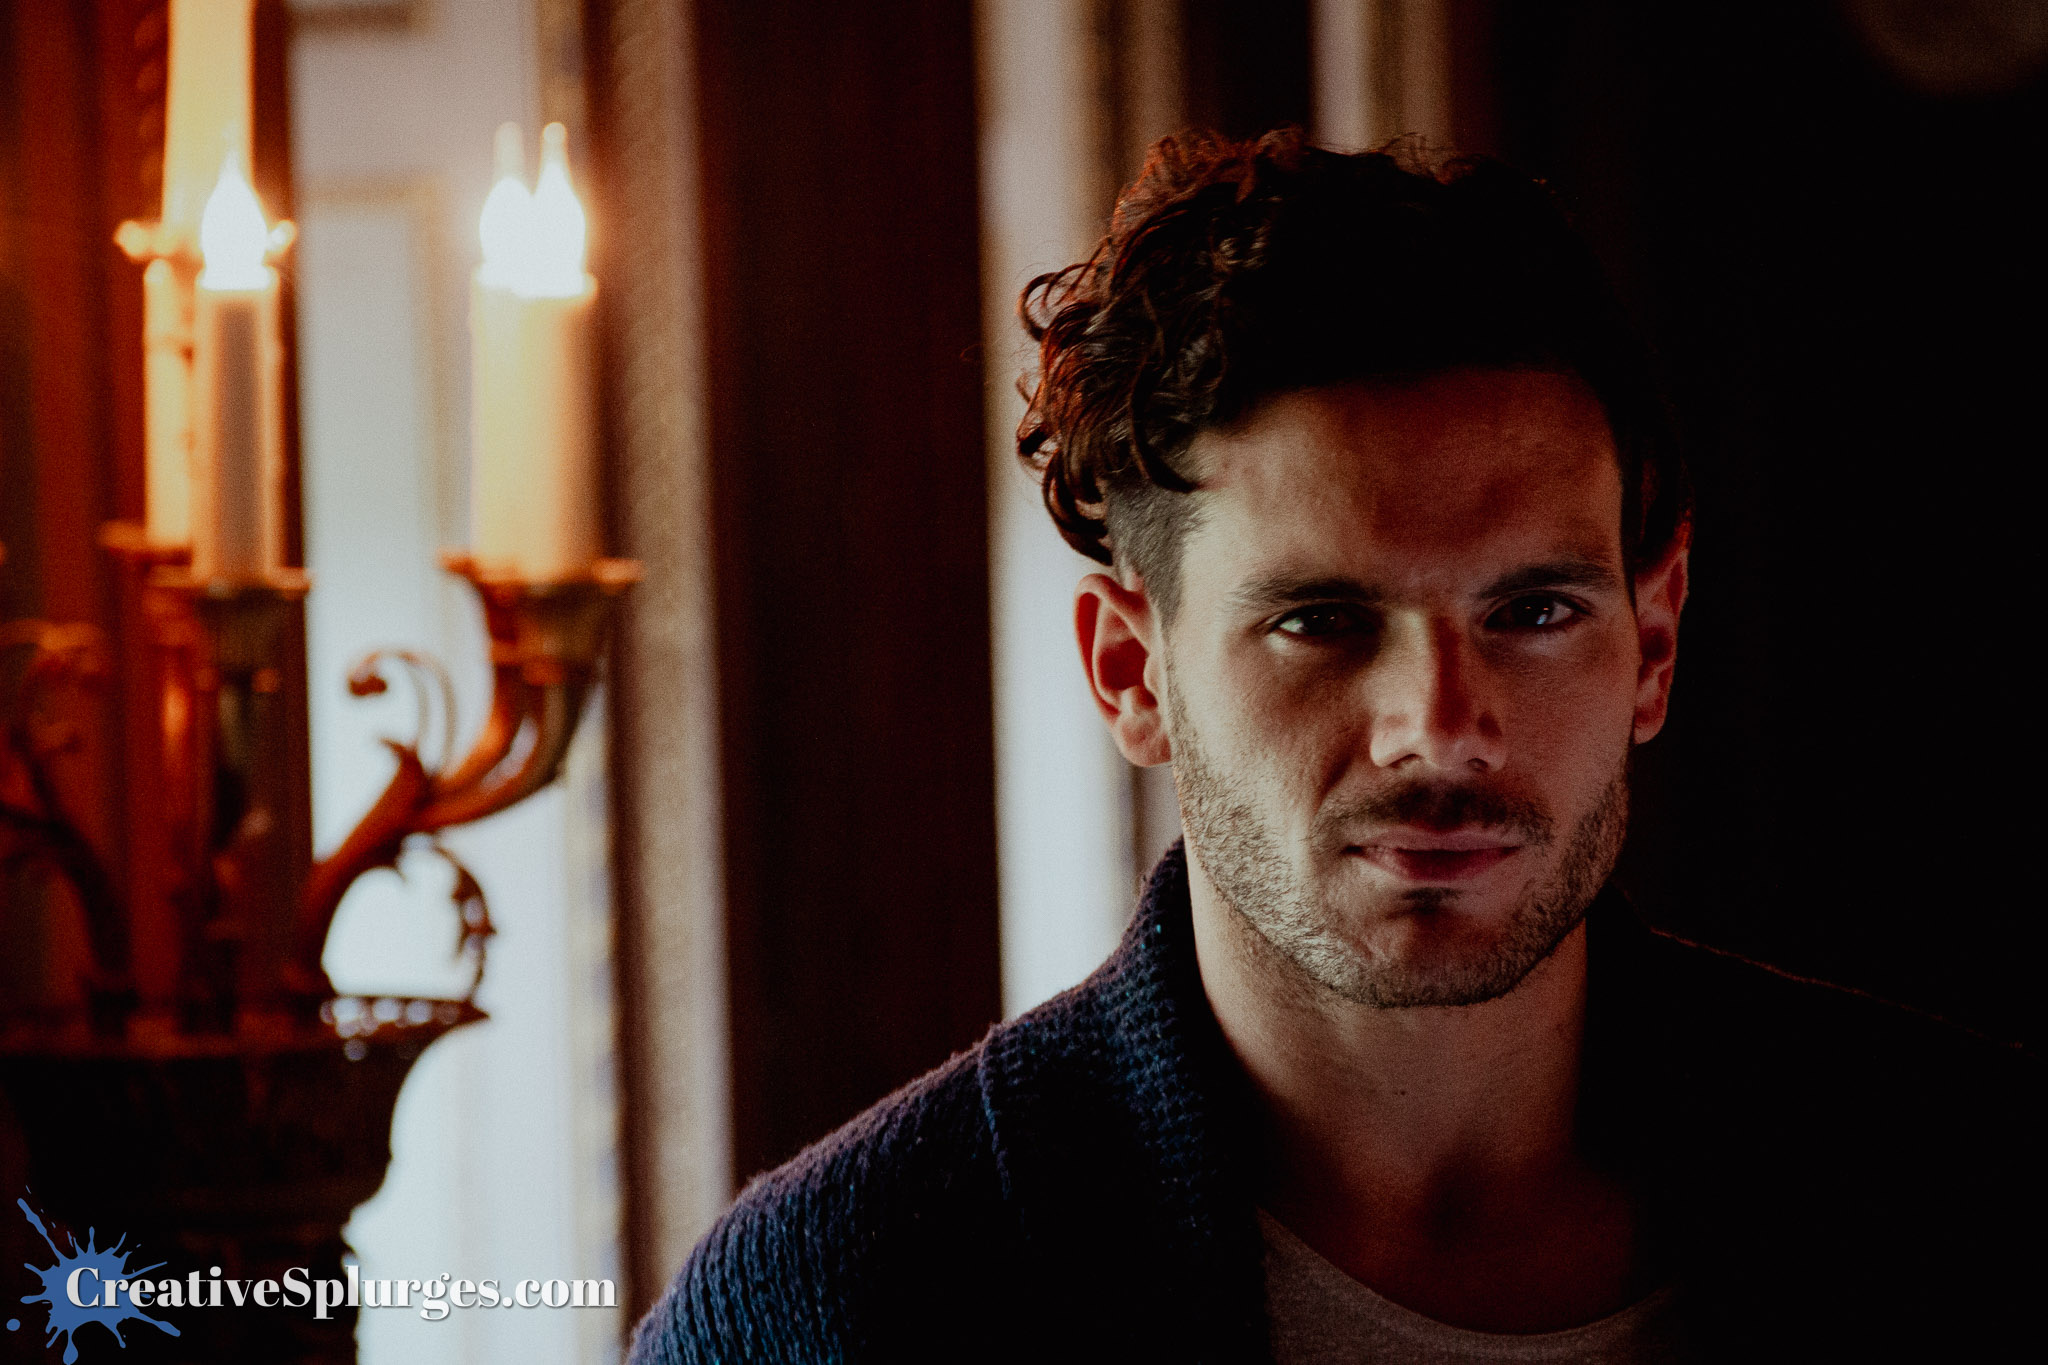
Turns out that using the more contrasty style in combination with the right framing and pose gave the model a 90s heartthrob look.
The pose in this final shot is perhaps even more heartthrobby.
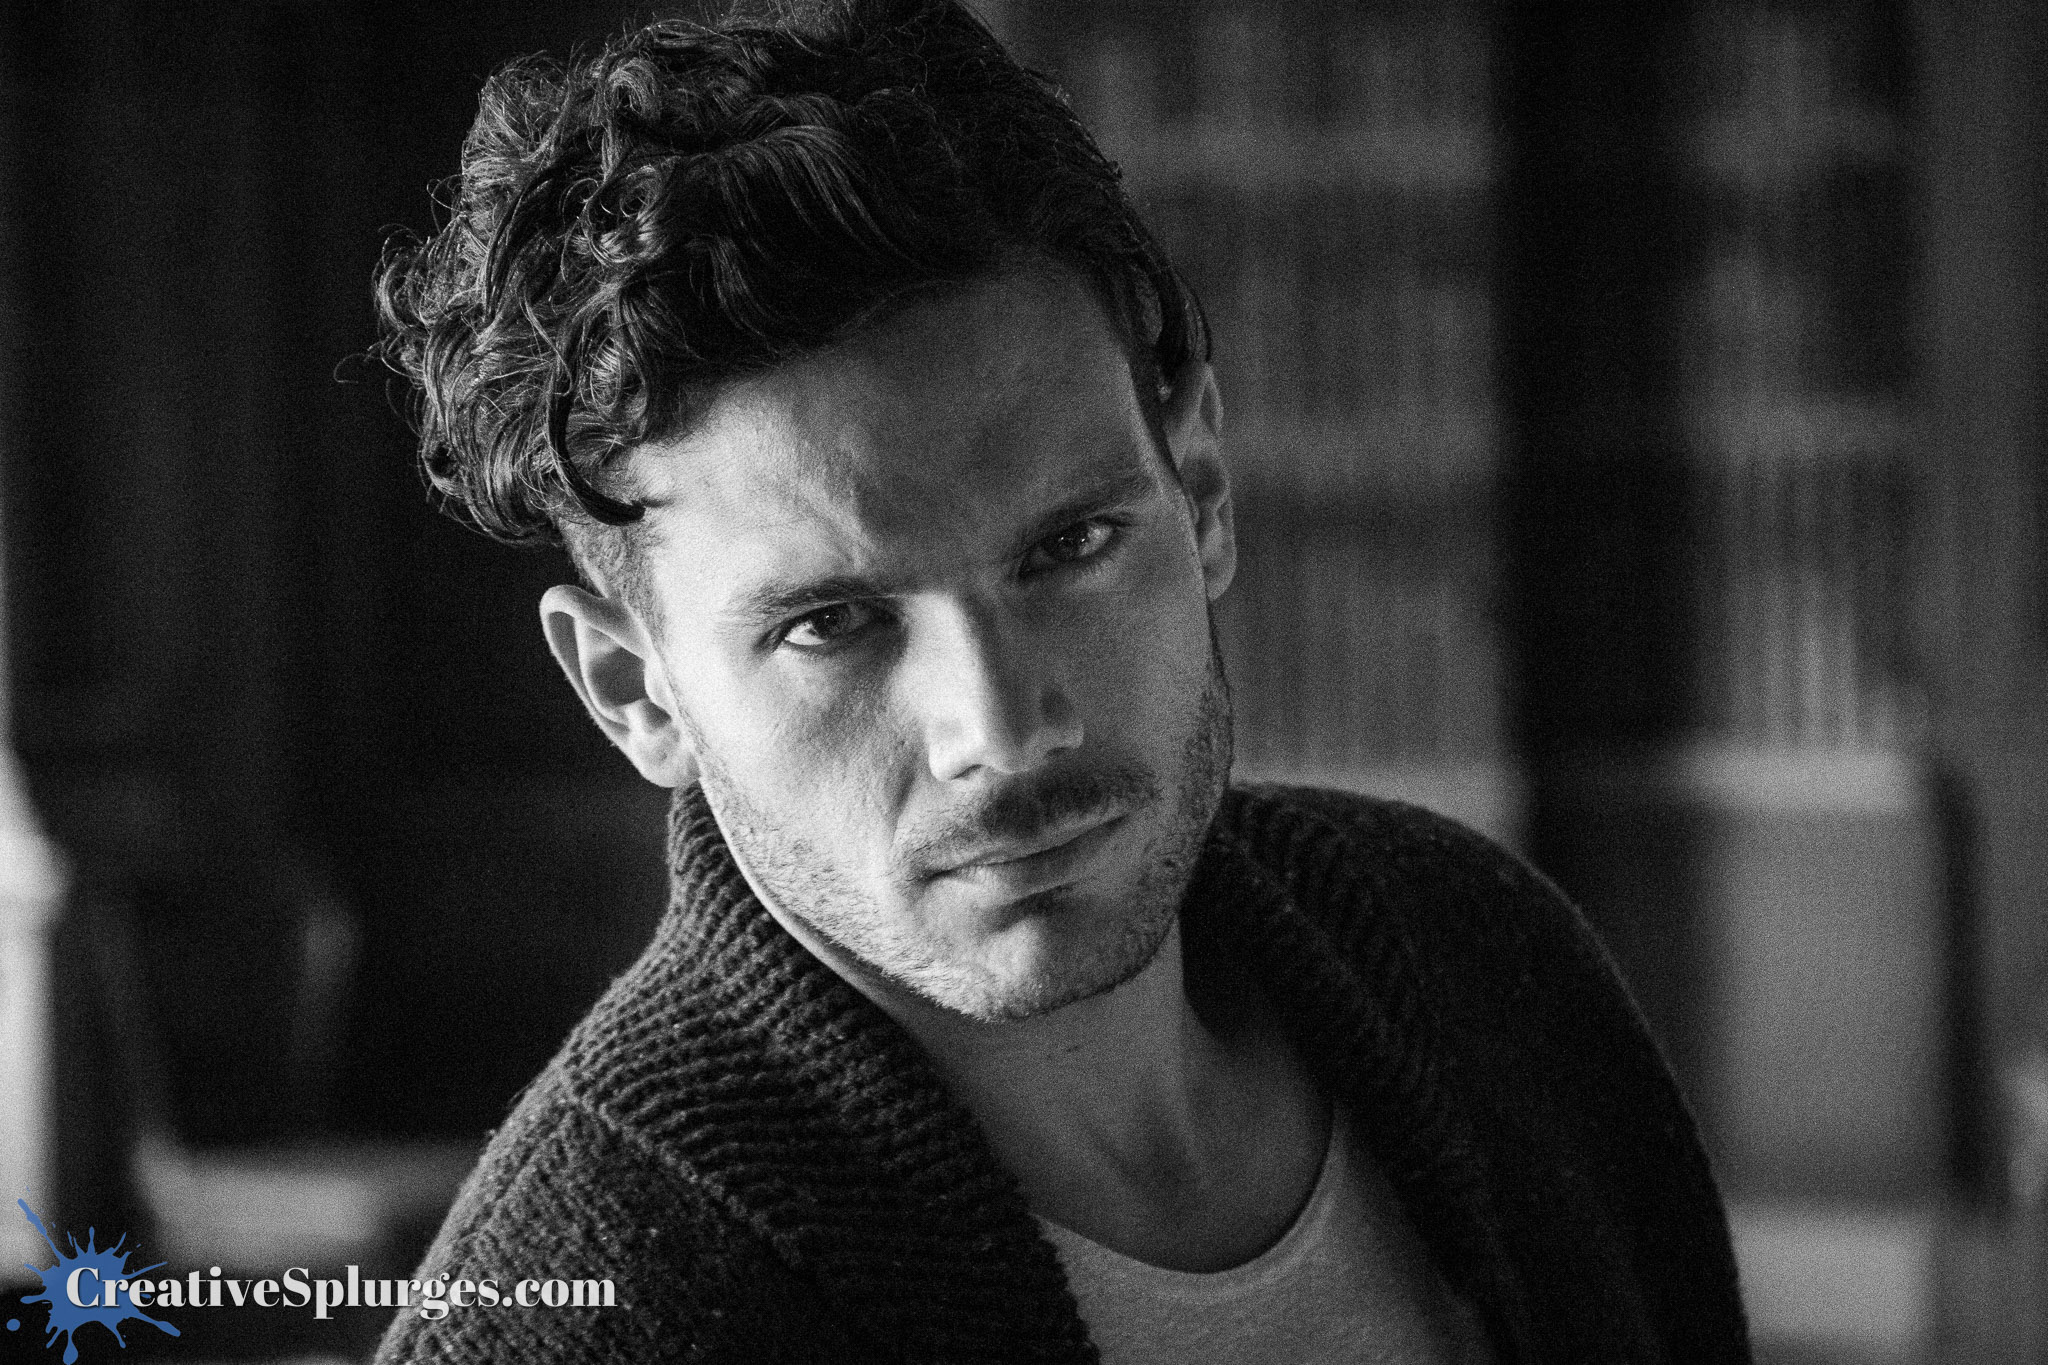
It is perhaps a little telling that some of the best pictures from this training course about using my flash properly didn’t use a flash at all. Although I did learn some stuff at the time, I never really had the chance to put it into use, and whatever I learned is mostly long forgotten. To this day, I tend to much prefer shooting with the available natural light, something even easier now than it was when I went on this course almost 13 years ago with today’s more sensitive camera sensors.
To be honest, I’m also glad I waited almost 13 years to post these images. The me of 2012 would not have done justice to the shots with the editing skills I had at the time. Although maybe in a decade I’ll look back and wander why I edited them all in this way. Such is the nature of time and the evolution of tastes.
Whilst I was editing these images I also found a few other sets that I have long put off editing. Maybe I should find the time to sift through those as well. I also found a shot I really liked that didn’t make the cut for the Woburn sets I posted, which has itself become the first image to be added to Random Gems #7 which will be released at some point in the far future.
As ever I have included a choice selection of images above, and a fuller set including some alternate takes is in the gallery below. Or you can use it to look at the pictures without all of my words getting in the way.